Hall Tree Bench DIY
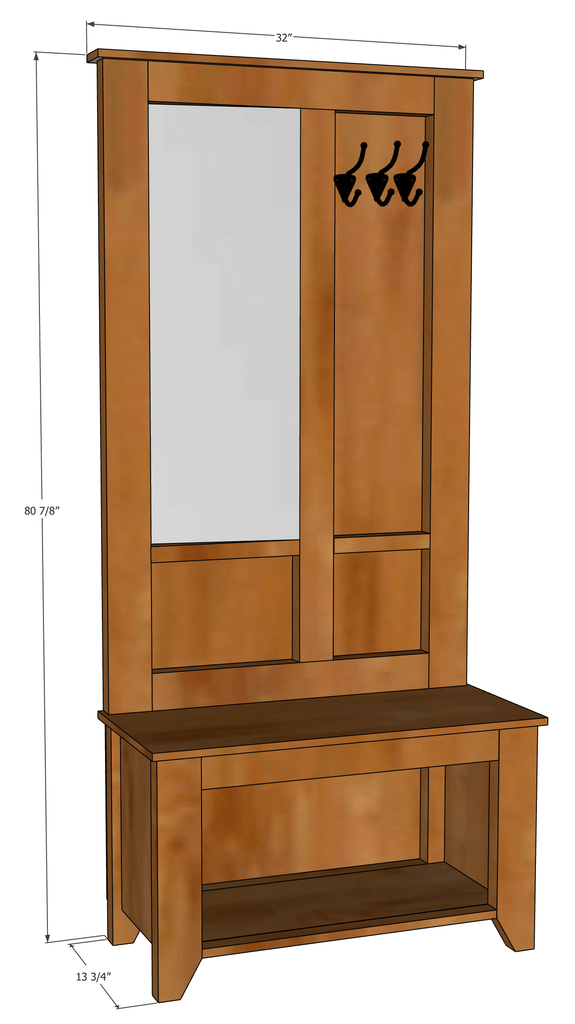
"Give your entryway a fresh new look with this DIY Hall Tree Bench."
- 7 - 1x3x6 (Select Pine)
- 1 - 1x2x6 (Select Pine)
- 1 - 1/4" piece of plywood
- 1 - 3/4" piece of plywood
- 1 - Project Panel
- 2 - 3/4" Dowel
- 12x48 Frameless Mirror
- Coat Hooks
- Pocket Hole Screws
- Mirror Adhesive
- Brad Nails
- Staples
- Wood Glue

For those of you who are more visual, I created a quick video of my process building this hall tree. Check it out and then read the steps below.
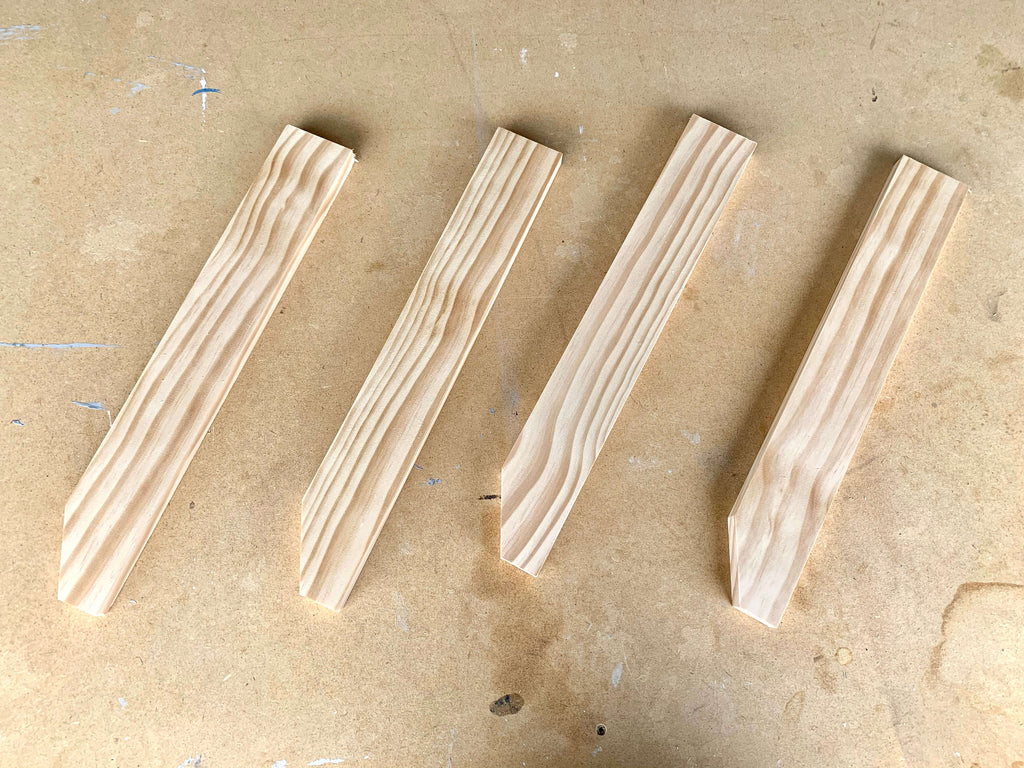
Step 1: Build Hall Tree Bench Sides
To begin building the bench sides, I first had to cut the notches out of my 1x3s; I did this by using my miter saw. I marked off where I wanted to cut and made the same beveled cut for all four legs of the hall tree bench.
 Next, I attached the bench sides to the 1x3 legs using a Kreg Jig on a 3/4" setting. I assembled them together using pocket hole screws and added some wood glue for extra strength.
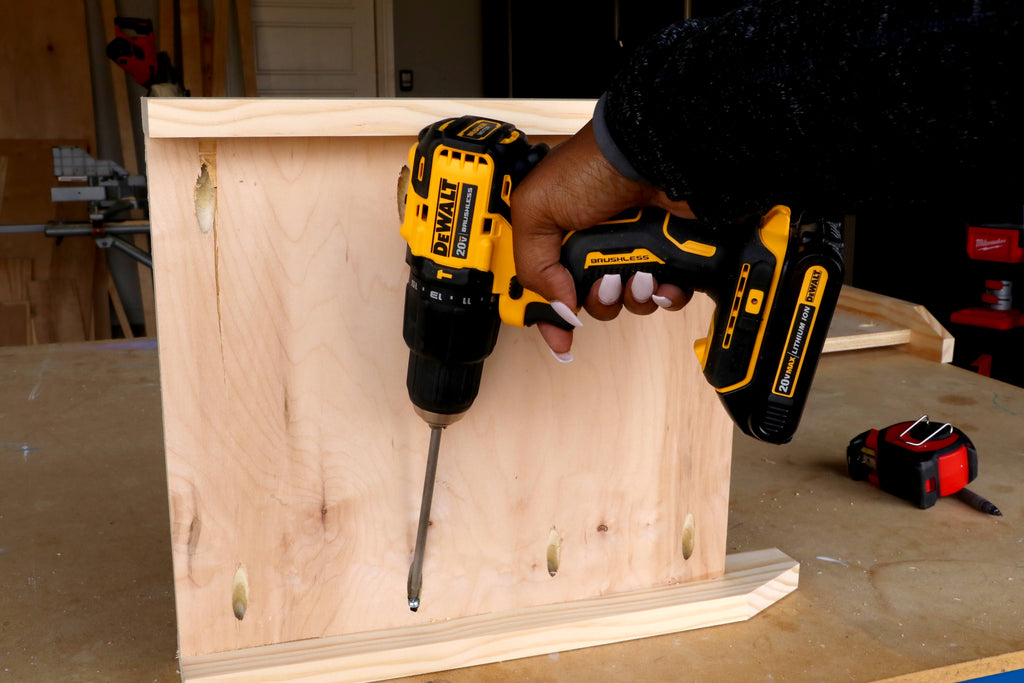
I used my new DEWALT Atomic Hammer Drill for this build and it did a great job creating pocket holes and drilling in screws. It features a 2-speed brushless motor and its compact size of 6.8" makes it really lightweight. At 2.5 lbs, it was the perfect drill for a project like this one. The kit comes with two batteries, a charger and a bag.
 I inset the hall tree bench sides so that the inside of the bench sides were aligned at the beginning of the notched corner. The pocket holes should be facing inward and the notched side of the bench leg should be facing inward.
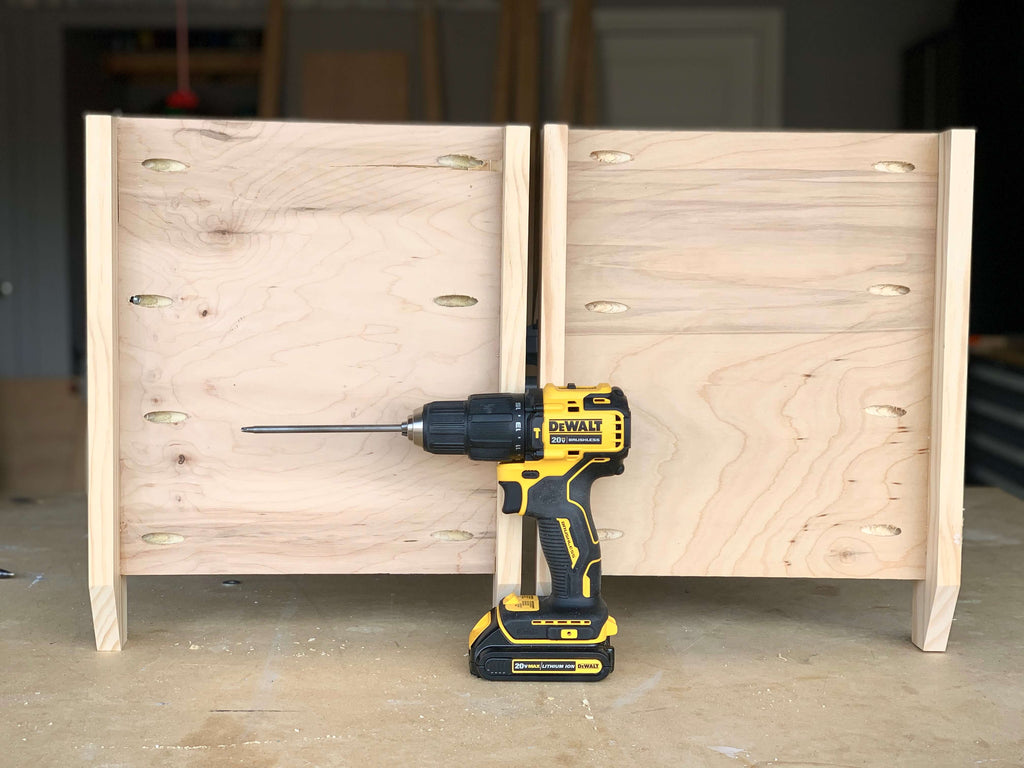
Step 2: Assemble Bench Frame
Once the bench sides were assembled, I attached the longer 3/4" plywood boards to the assembled sides using a Kreg Jig on a 3/4" setting and pocket hole screws.
 The pocket holes on the top 3/4" board should be facing upward and the pocket holes on the bottom board should be facing down.
Step 3: Add Trim to Hall Tree Bench Frame
Next, I added the trim to the hall tree bench. I used my brad nailer and wood glue to attach the trim to the assembled bench.
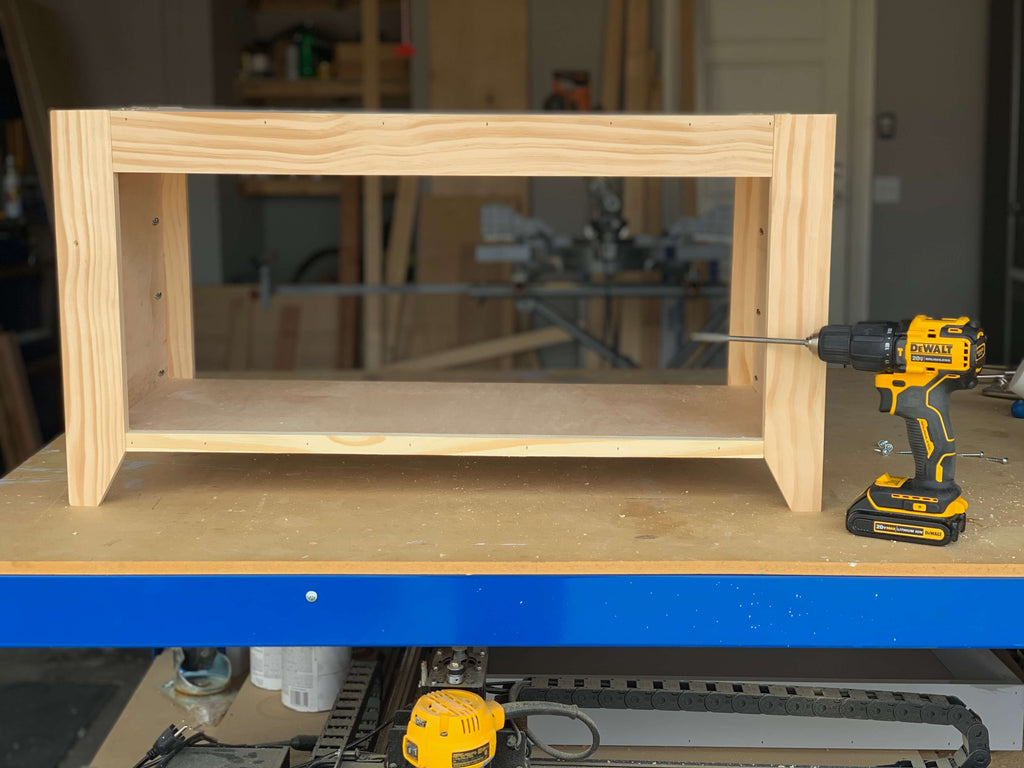 I attached a 1x3 board to the top of the bench and the top back side and used a 3/4" dowel for the bottom front and back trim, as shown above.
Step 4: Attach Bench Top
With the bench assembled, it was time to add the bench top. I used a project panel to create the hall tree bench top. I first had to cut it down to size using my circular saw.
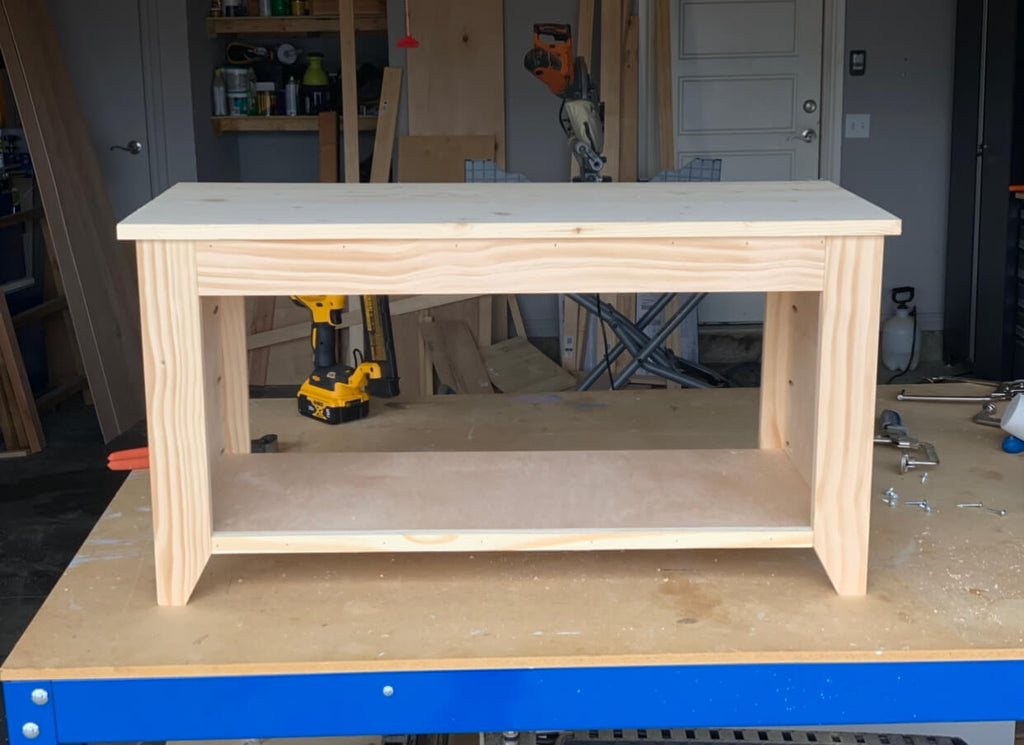 Then I attached it to the bench using my brad nailer , brad nails and wood glue. The back of the project panel top should be flush with the back of the bench, to ensure the hall tree backing can sit evenly on the back of the hall tree bench.
Step 5: Build Upper Hall Tree Frame
Next, I began building the upper frame of the hall tree by attaching 1x3s together using a Kreg Jig on a 3/4" setting and pocket hole screws. I first created the outer square and then attached the middle 1x3. I made sure to place the mirror down in the frame to make sure there was a snug fit.
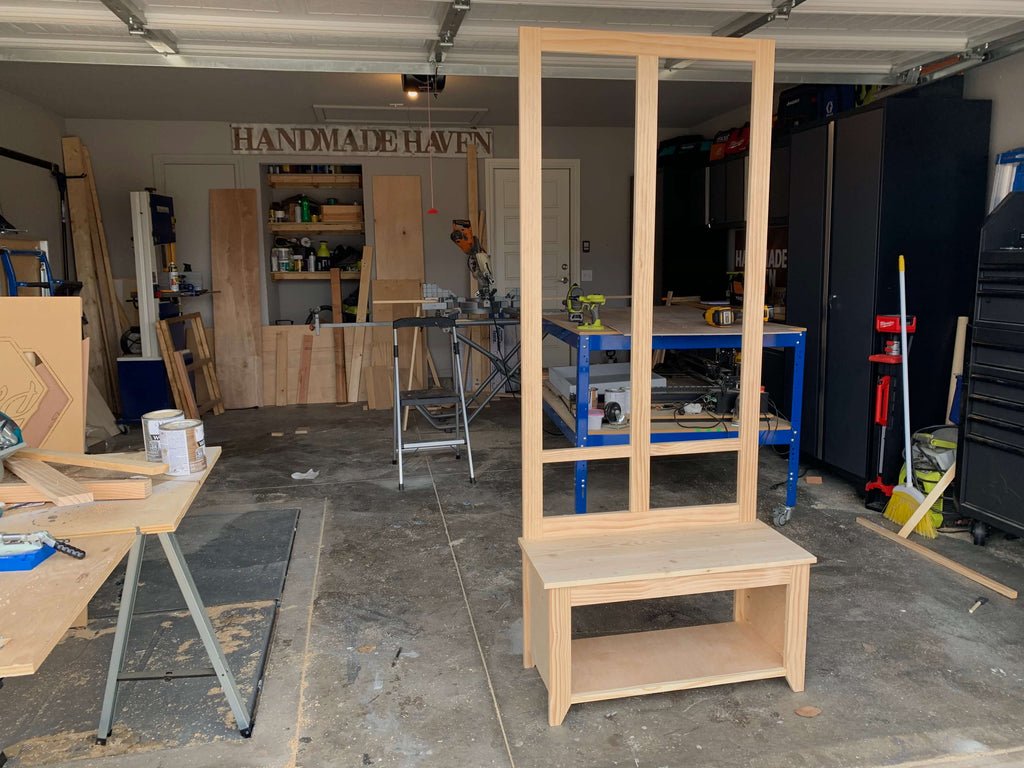 Once I assembled the upper frame, I attached it to the bottom bench using the pre-drilled pocket holes and pocket hole screws. Be careful when assembling these two together because the top is a little flimsy without the backing.
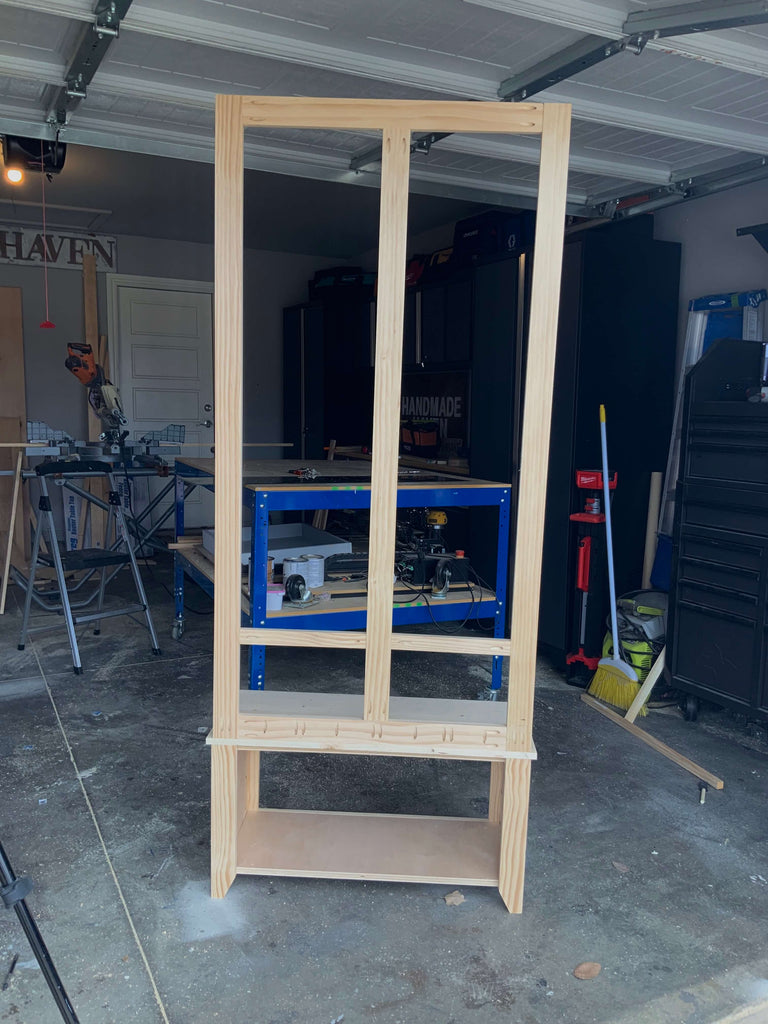
Step 6: Attach Hall Tree Bench Backing
Next, I began building the upper frame of the hall tree by attaching 1x3s together using a Kreg Jig on a 3/4" setting and pocket hole screws. I first created the outer square and then attached the middle 1x3. I made sure to place the mirror down in the frame to make sure there was a snug fit.
Once I assembled the upper frame, I attached it to the bottom bench using the pre-drilled pocket holes and pocket hole screws. Be careful when assembling this two together because the top is a little flimsy without the backing.
Step 6: Attach Hall Tree Bench Backing
Next, I attached the 1/4" piece of plywood backing to the assembled hall tree bench. I first applied some glue to the back of the hall tree frame and then clamped the plywood and secured it down with my staple gun.
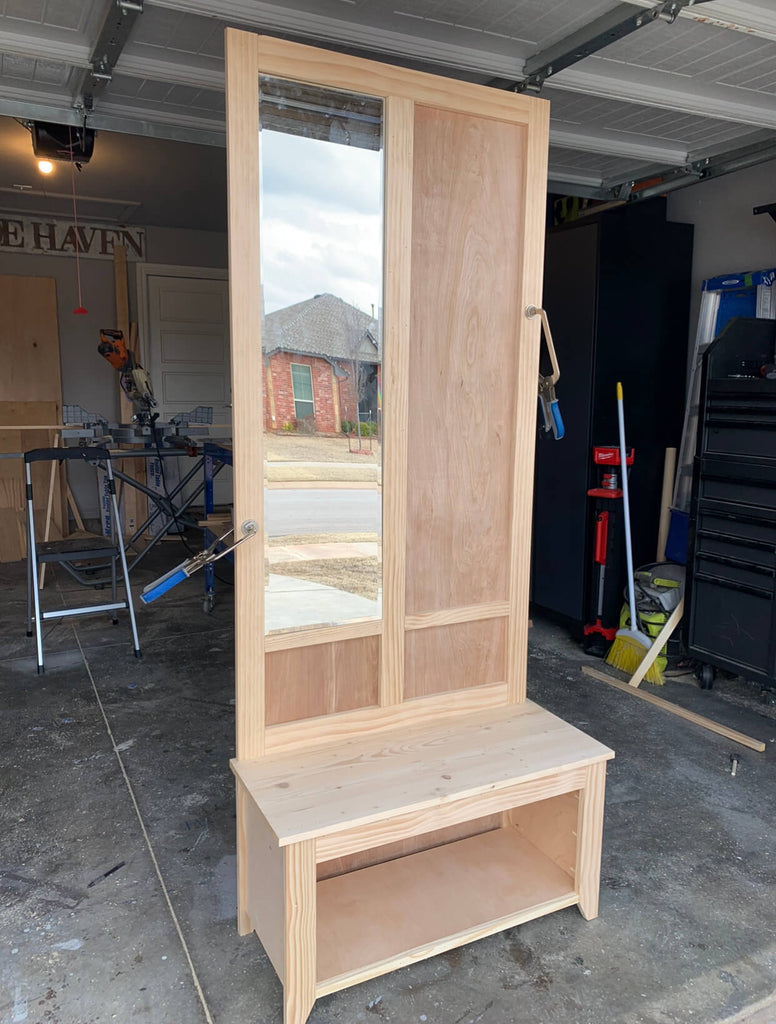
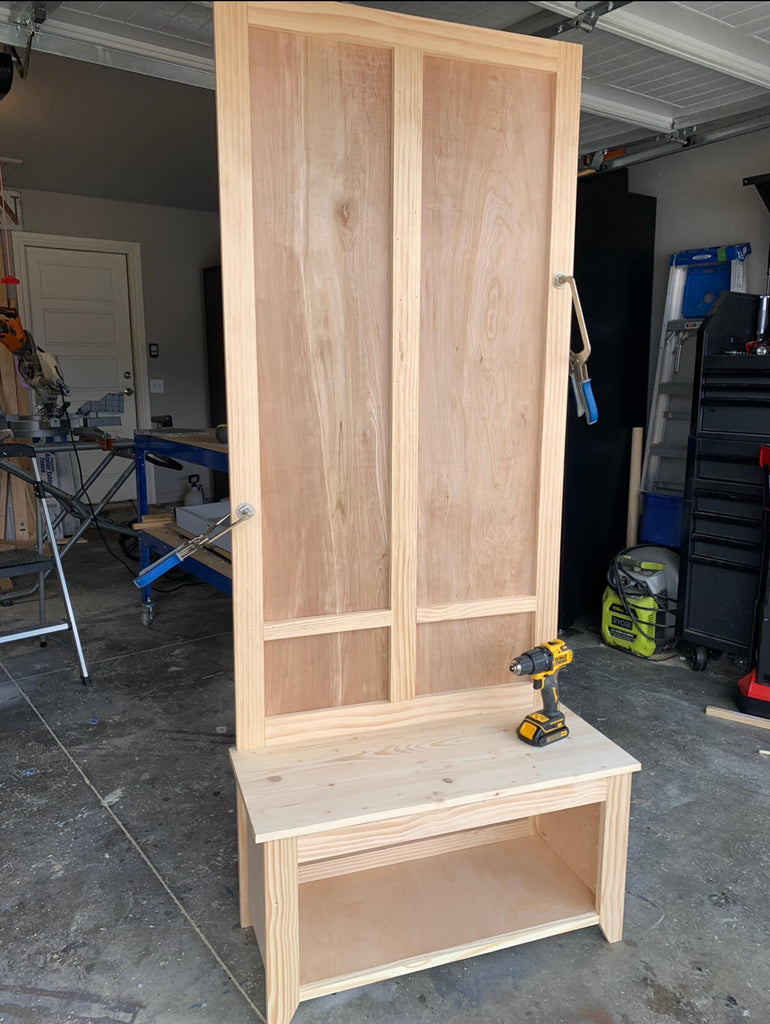 I decided to place the mirror on the hall tree to make sure it fits and man was I pleased. It came out way better than I expected.
Step 7: Prep and Paint
With the hall tree fully assembled, I began prepping the build for paint. I used wood filler first to fill all of the nail holes and gaps on the project. Once the wood filler was dry, I sanded down the spots were I applied the Dap to smooth out the rough surfaces, then I gave the whole hall tree bench a good sanding.
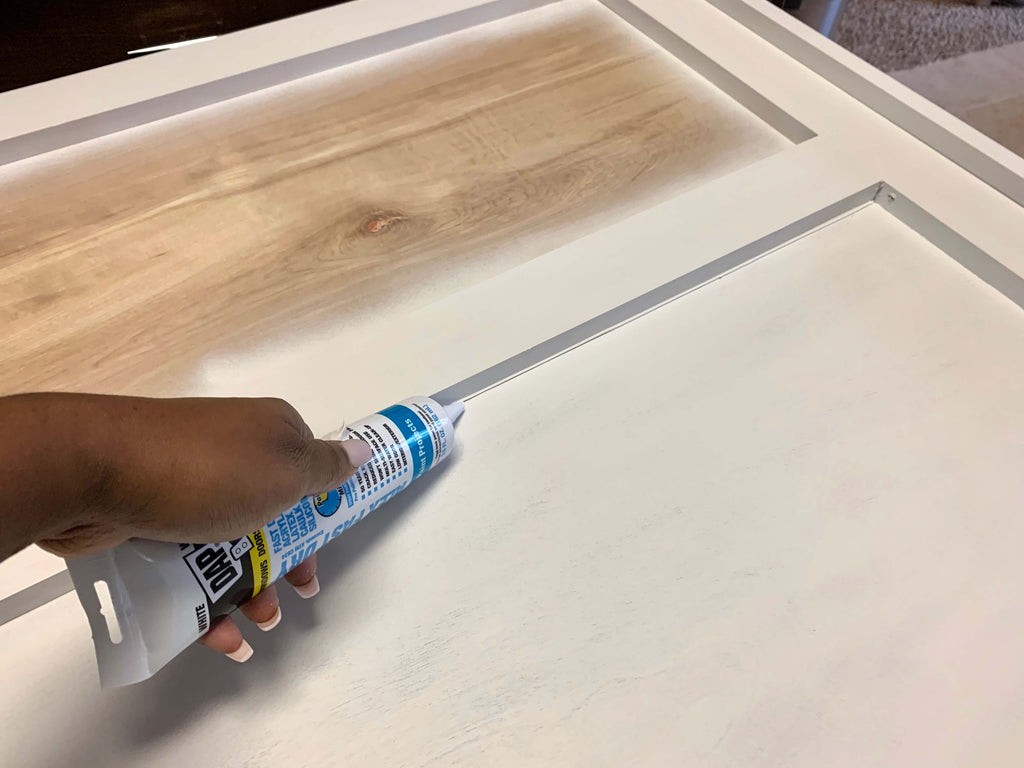 I painted the hall tree with one good coat of Behr paint and then used some caulk to fill the inner corners of the trim. Once the caulk was dry, I went back and gave the hall tree another good coat.
Step 8: Add Coat Hooks and Mirror
After the paint dried on the hall tree bench, I decided to add the coat hooks.
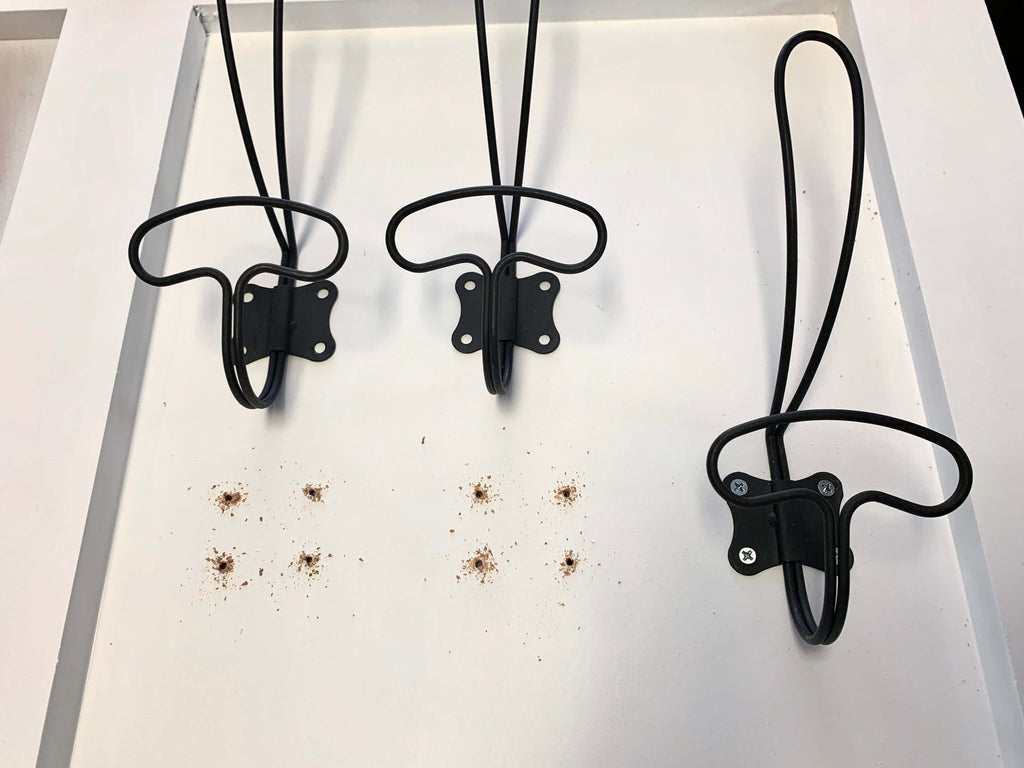
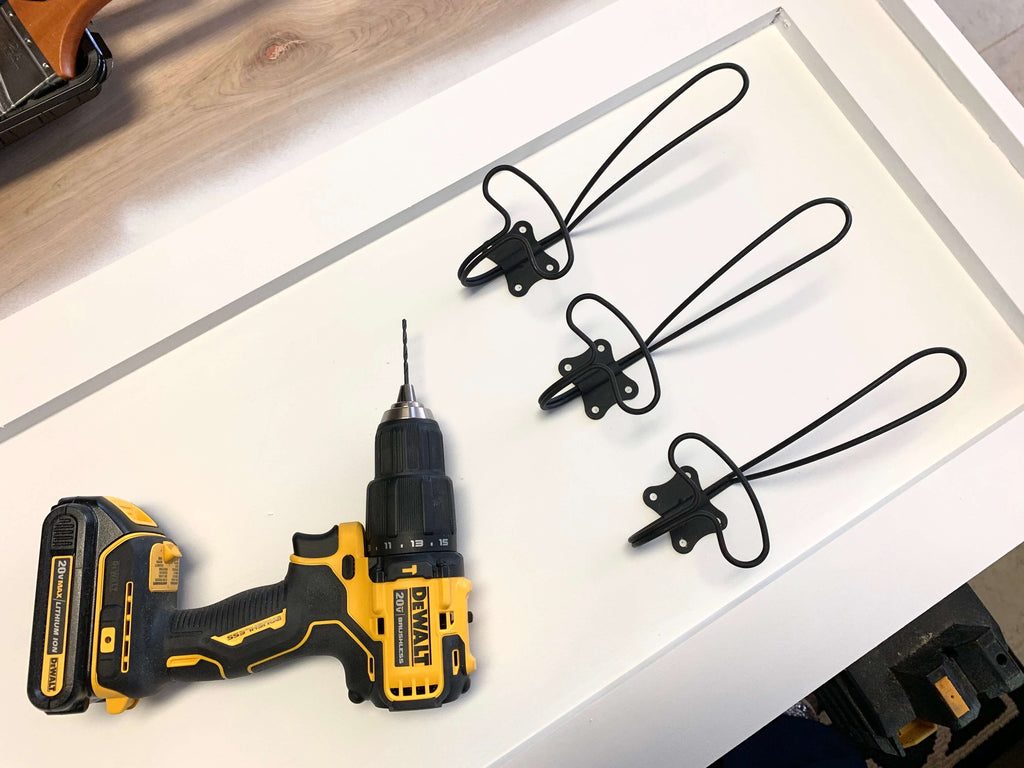 I first marked where I wanted the coat hooks to be and then drilled pilot holes into the backing. Once the holes were drilled, I used a screwdriver to screw in the coat hooks. I absolutely love these hooks, they are one of my favorite designs.
 Once the hooks were added, it was time to add the mirror. This was a pretty easy process. I applied some mirror adhesive to the back of the mirror and clamped the mirror down into place for several hours.
 I made sure to put something soft under the clamp to make sure I didn't mess up the mirror. After letting that dry, the hall tree bench was finished!
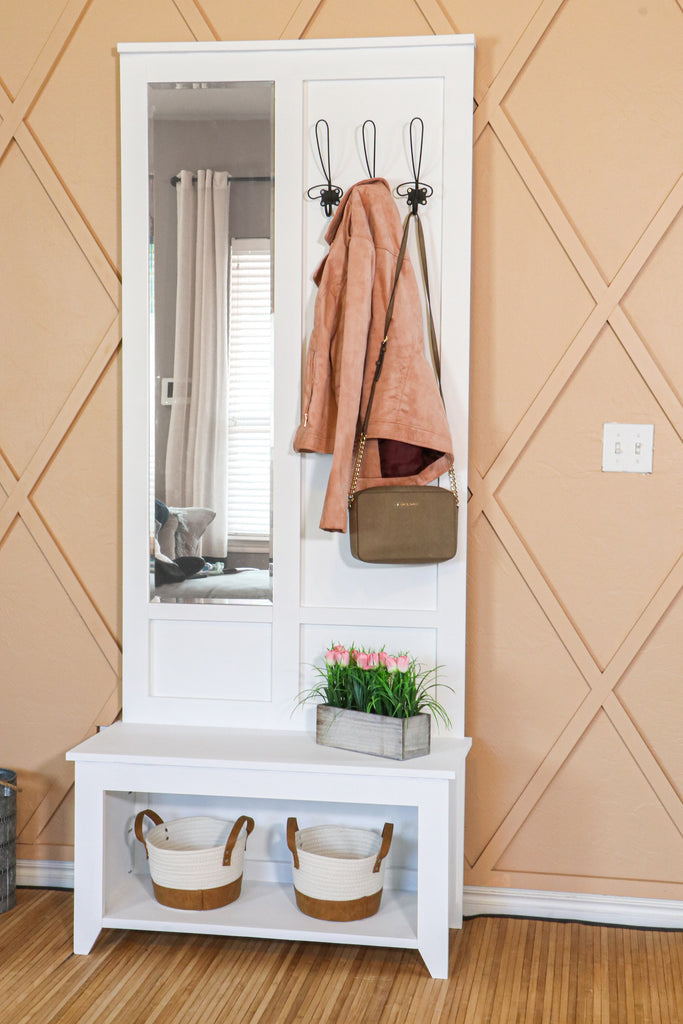
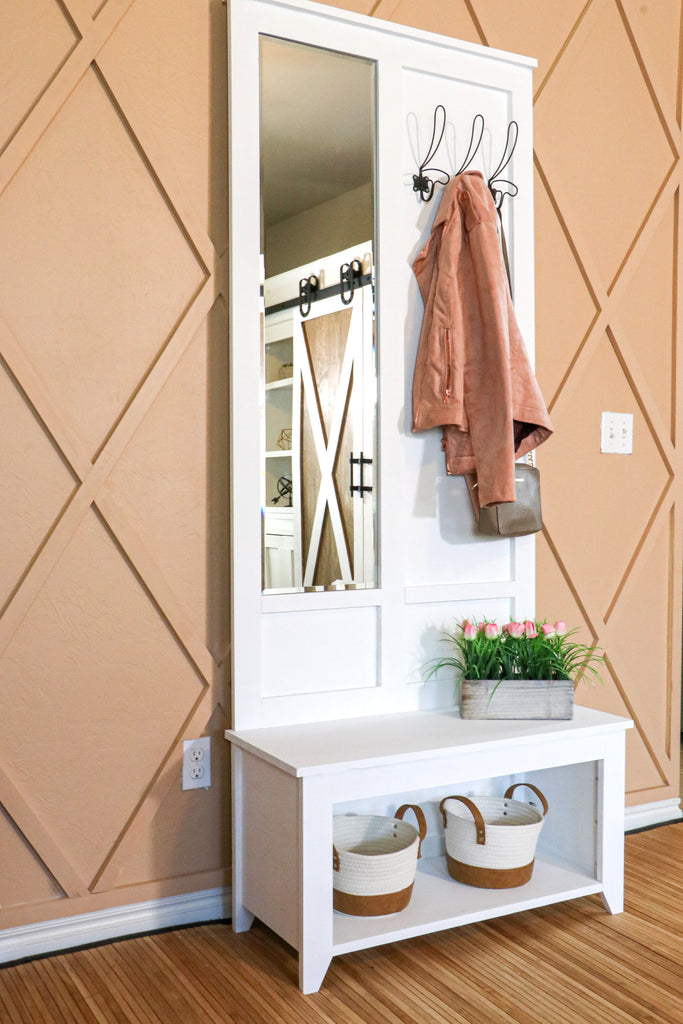
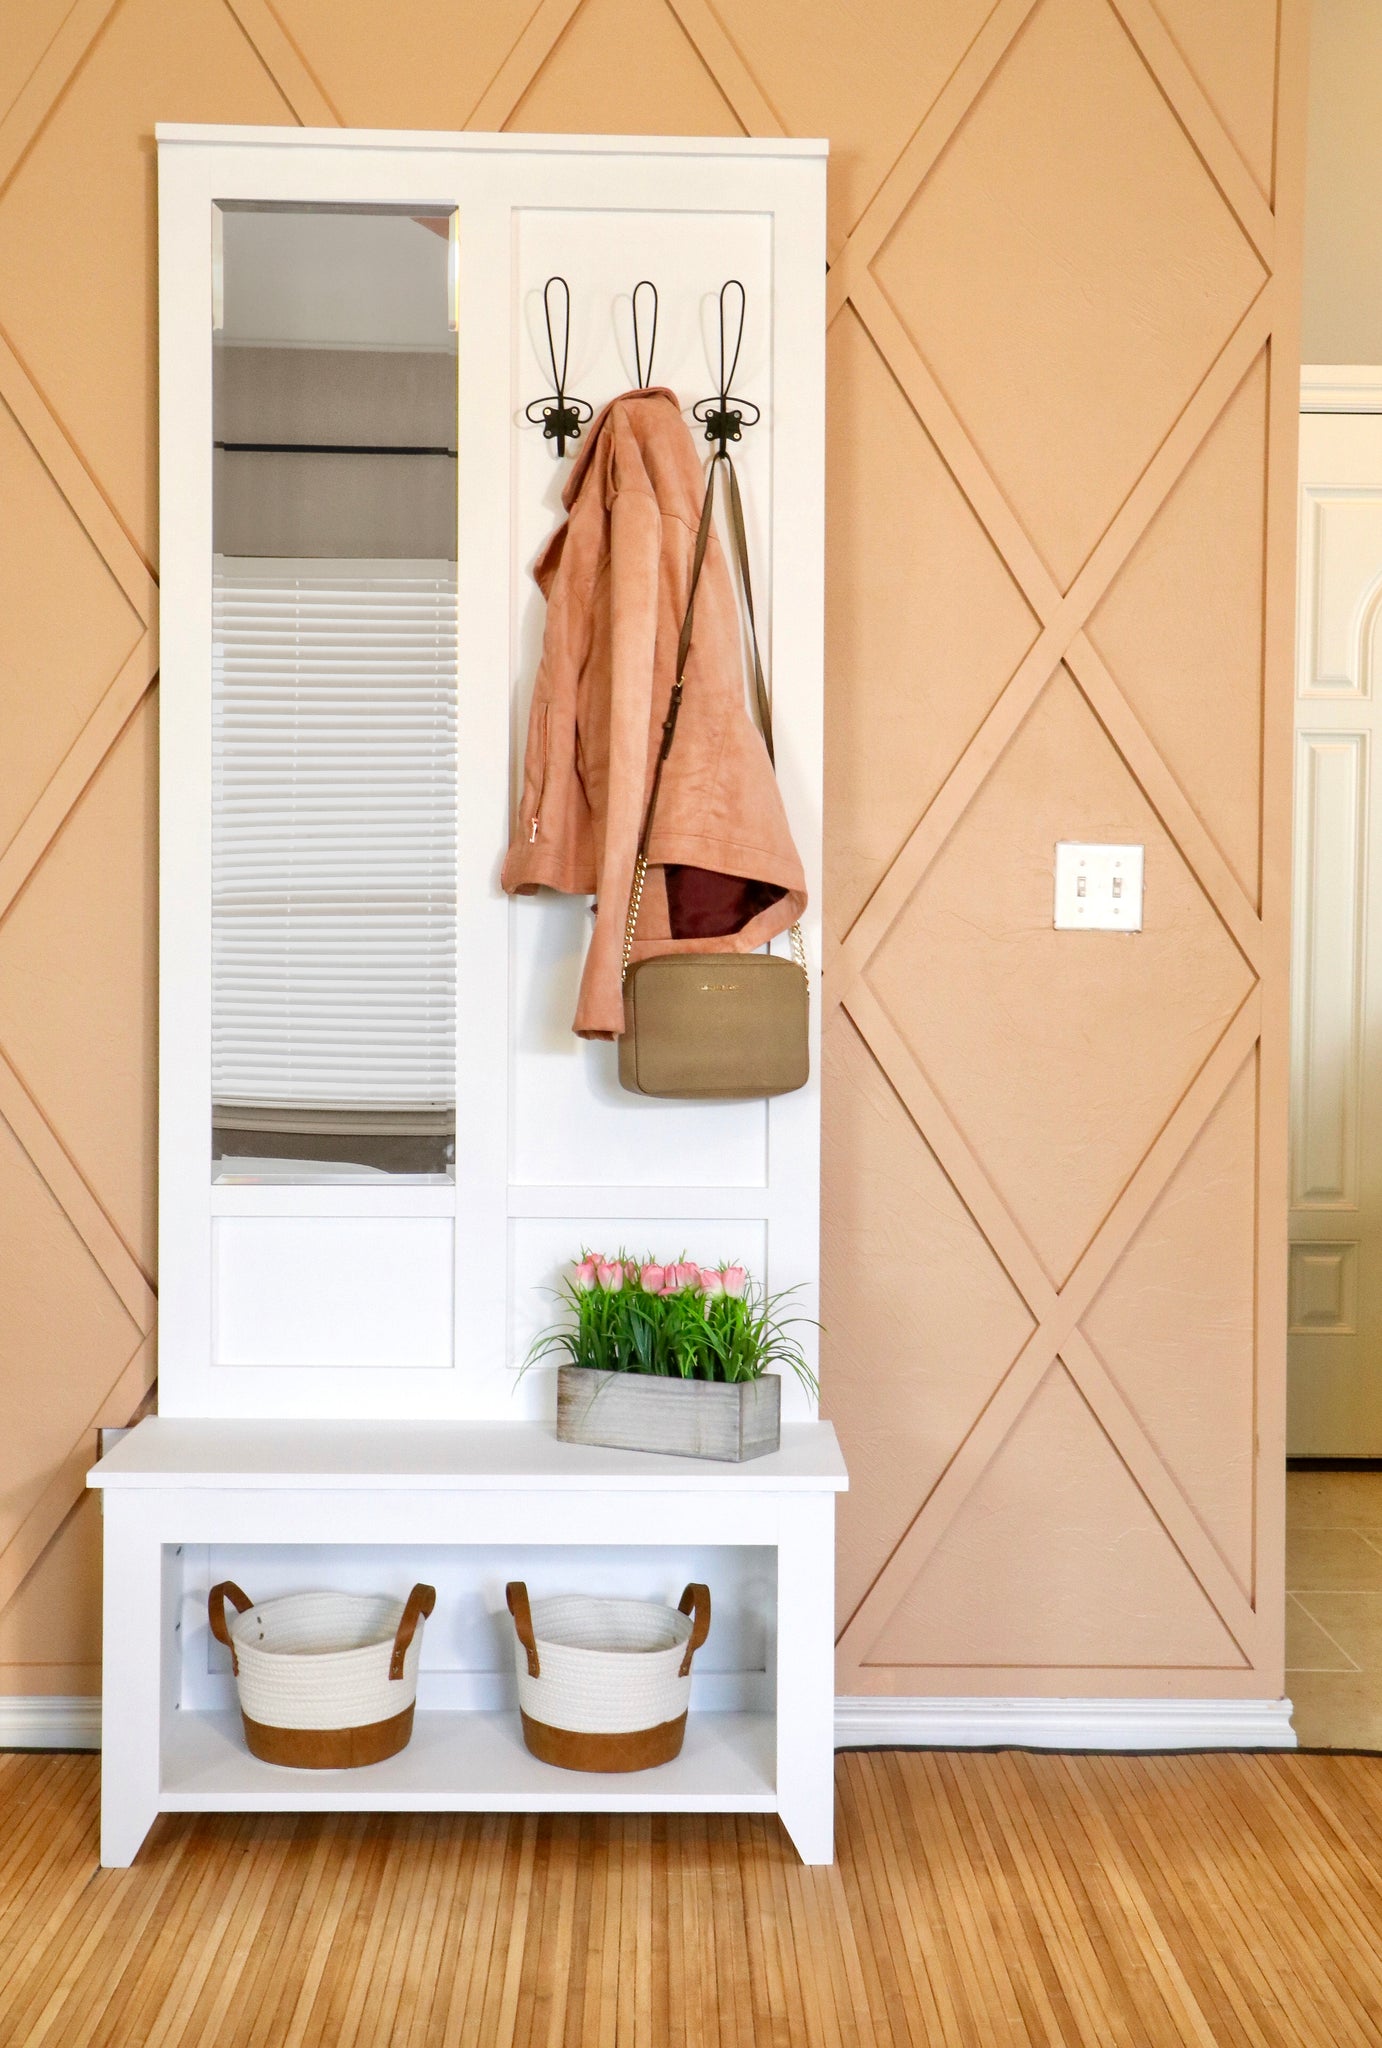
Now let's take another look at this fabulous hall tree bench, it really looks great in my little entryway. This build was the perfect combination of style, organization and functionality.
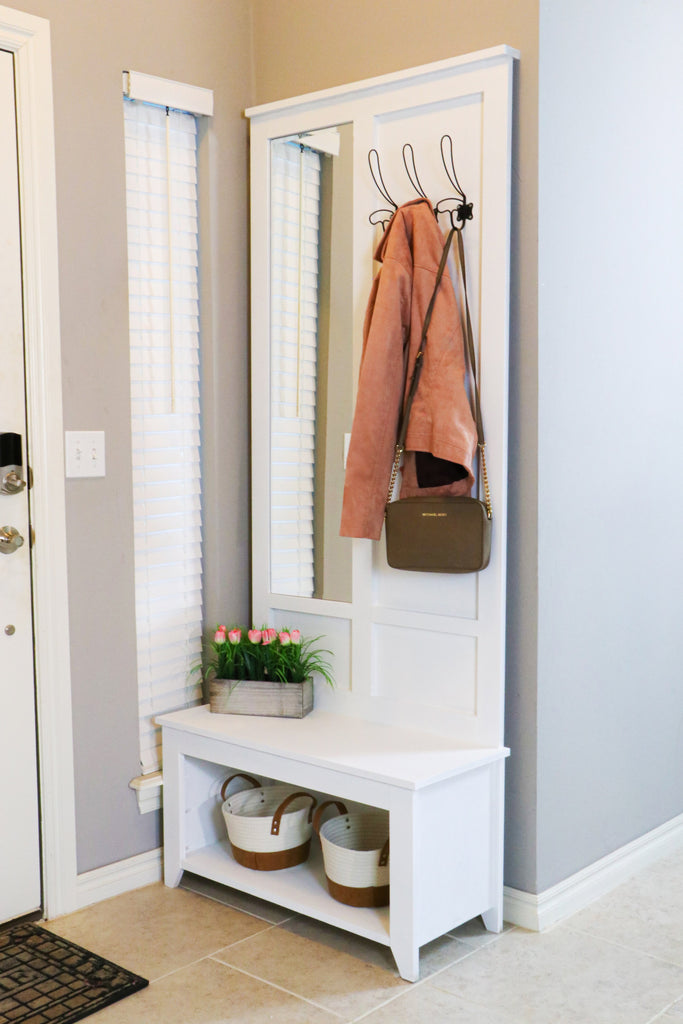 I especially love that I have a mirror right by the door for that last mirror check before leaving the house. I hope you guys enjoyed the project.
As always, thanks for reading, XOXO Ashley.