DIY Pantry Shelf
"Bringing DIY to the Pantry! Build an easy pantry shelf for $50"
Hey Guys ! Kelly here with City Girl Meets Farm Boy! Every spring, I get the itch to get organized, especially in my kitchen. My pantry is a tiny closet and I decided this year I was ready to change that. Since I am on a budget, I had to search for ideas of how to make one myself with the resources I had. I searched the internet and pinned ideas on my Pinterest page. I fell in love with a plate rack from Shanty2Chic, but I had to change it to fit the pantry setting I was looking for. I then shopped at Ikea to see if there was something there that fit my budget. I found another shelf that was too small for me but was a great set up.
I took both of these ideas and created my own shelf that would fit my needs and my area. I decided to convert an extra bedroom into a pantry/mud room and add this shelf into the space. The best part is, it was built with all 2x4s, which are so inexpensive.
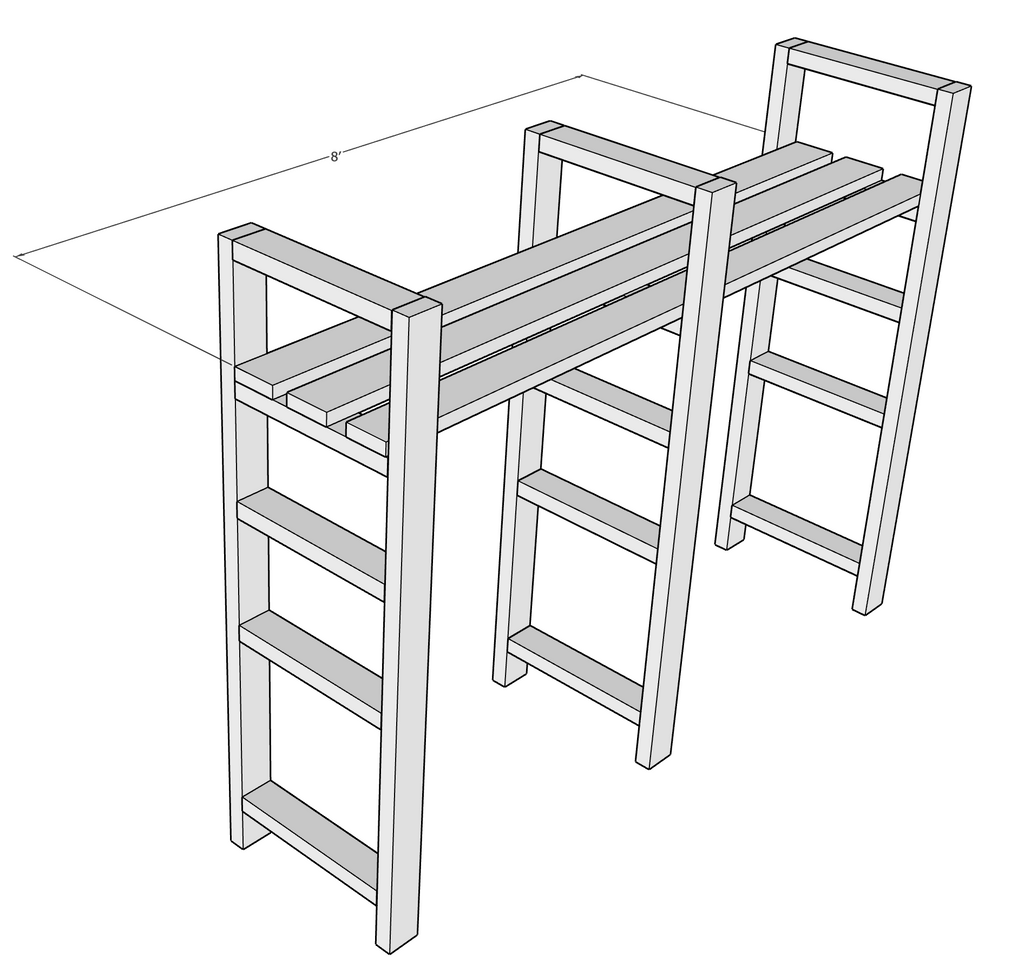
Dimensions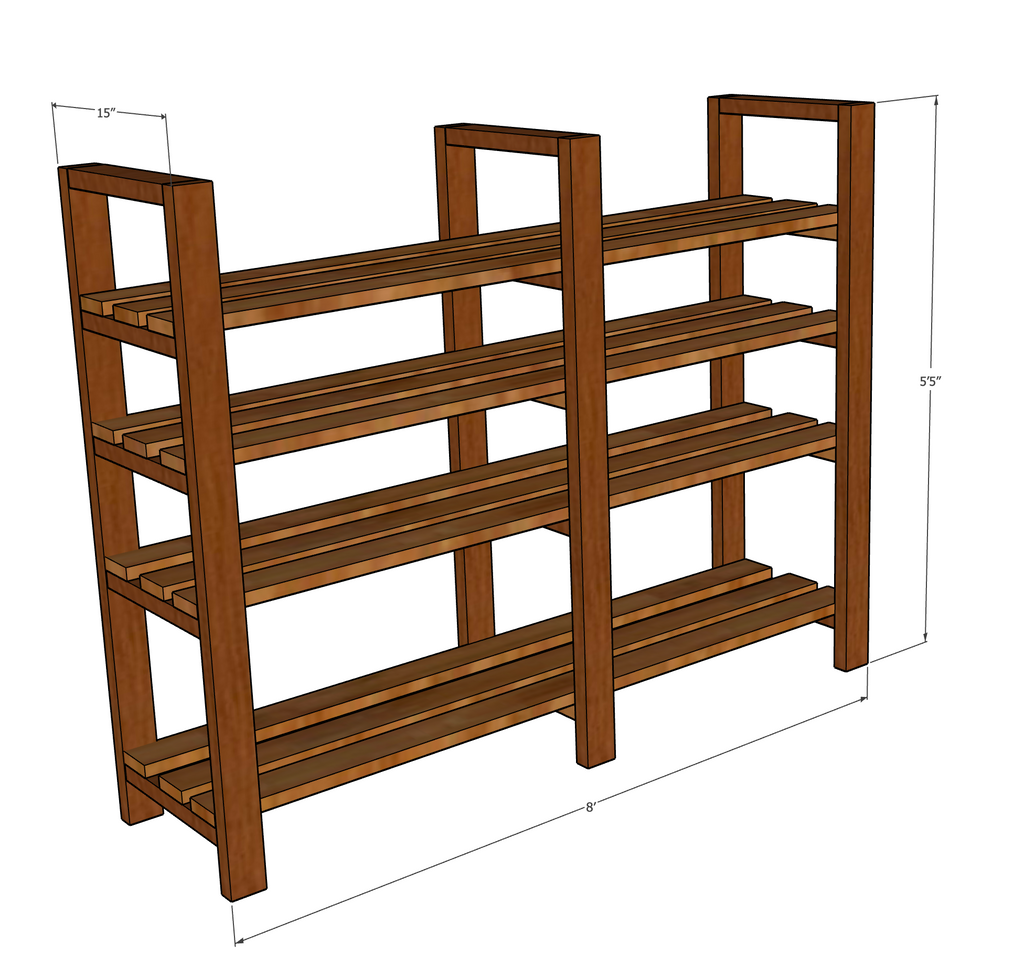
Supplies Needed
- 22 - 2x4s @ 8 feet long
- Kreg 2 1/2 inch screws
- 2 1/2" Wood Screws
- 2 1/2 inch wall screws
- Real Milk Paint Company - Arabian Night and White mixed
- Varathayne Briarsmoke
- Real Milk Paint Top Wax
- Paint and stain supplies
- Sand paper (I used 100 grit)
Tools Needed
- Hand Drill
- Miter Saw
- Kreg Jig
- Level
- Measuring Tape
- Stud Finder
- Sander
Step One - Take Measurements
Use your measuring tape to measure how tall you want your shelf to be, how deep you need it, and how long you need it to be. With four shelves, you also want to consider the spacing (you can solidify later) and what you want on each shelf. My spacing was 8 feet long, 5.5 feet tall and 15 inches deep.
Step Two - Purchase Materials
Head to The Home Depot to pick up your 2 x 4's, screws, paint and stain. Ask for help if you need it! You can even have them cut the boards.
Step Three - Cutting Wood
The 2 x 4's come in 8 foot long pieces and so that made things easy. Use your miter saw to cut your wood down to size.
Here is my cut list:
* 12 boards @ 8 feet long
* 6 boards @ 5.5 feet long
* 15 boards @ 1 foot long
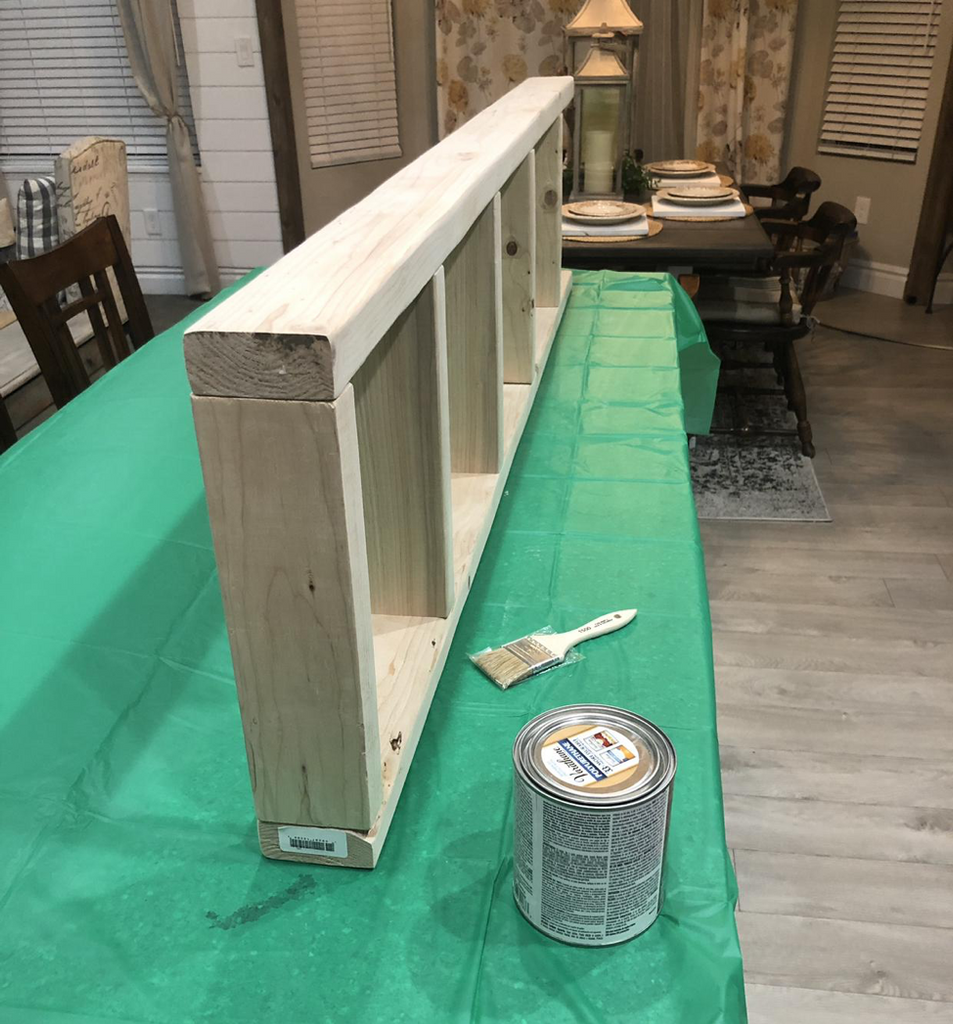
Assemble the three pantry shelf legs and then begin staining the 2x4s.
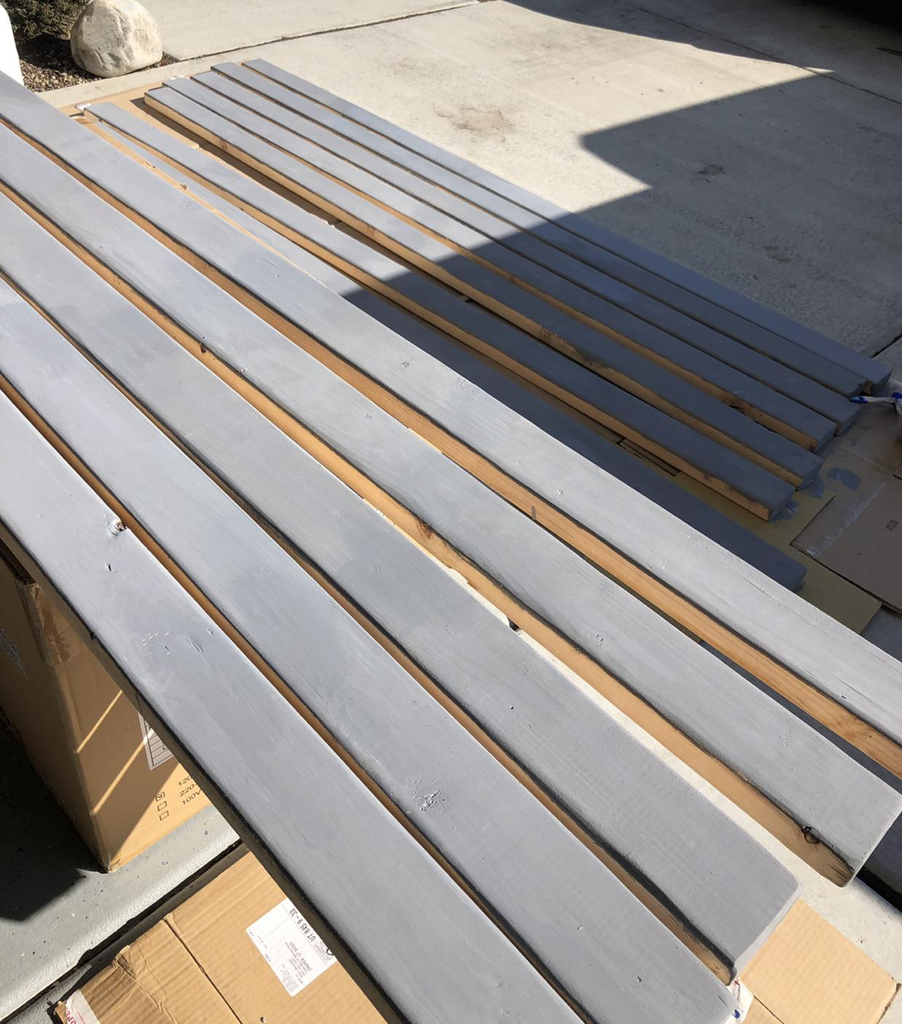
Step Four - Sand, Paint and Stain
I decided to sand, paint and stain first. You can use a hand sander and smooth out the edges. I painted my 12 boards that were 8 feet long. After the stands were made, I stained those boards. Your top coat can be added now or at the end.
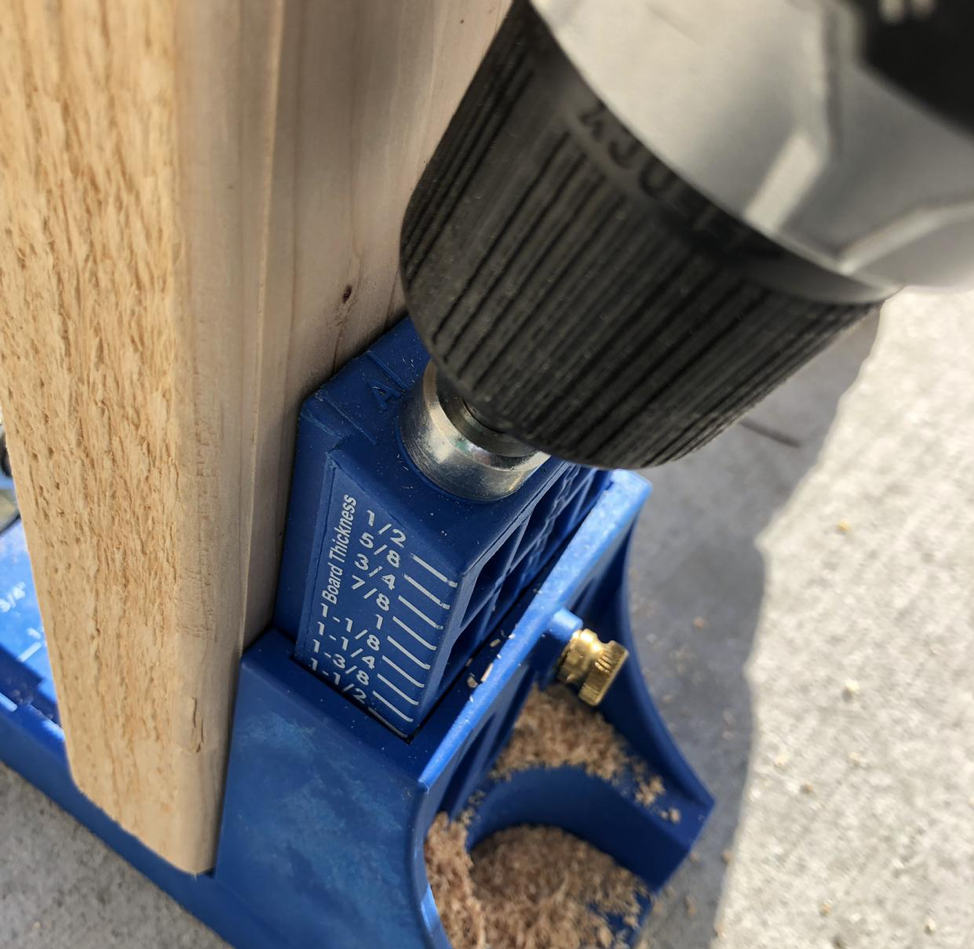
Step Five - Pocket Holes
Creating pocket holes is the key to this project. If you have never used a Kreg Jig before, then read all about that here. You use the measurements required for a 1 1/2 inch board. Even though it's a 2 x 4, the exact width is 1 1/2 inches.
Using your hand drill, create the pocket holes using a Kreg Jig K4 Pocket Hole System on a 1 1/2" setting, with 2 1/2" Pocket Hole Screws to attach along with Wood Glue.
Here is where you will add these holes:
- No holes in the 8 foot long boards
- No holes in the 5.5 foot long boards
- 2 holes, side by side and about 1 inch apart, on the ends of EACH 1 foot board. Make sure they are on the same side.
Step Six - Mount Boards
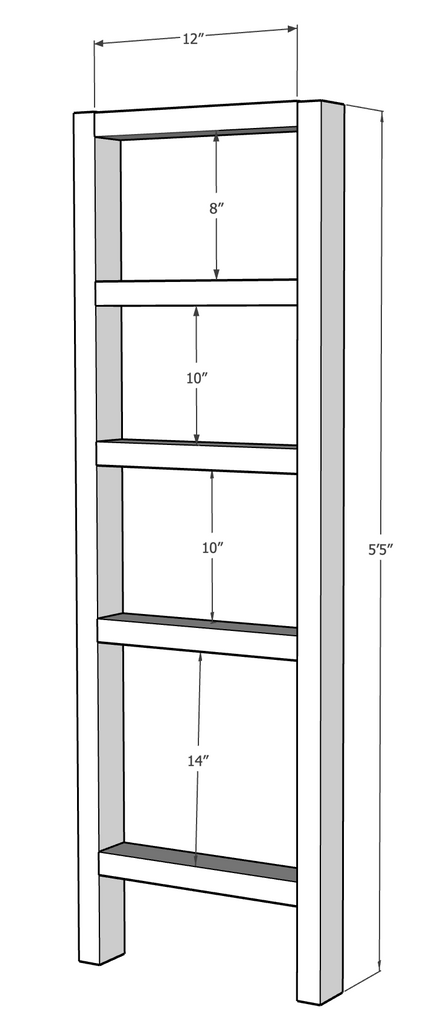
This is the fun part! You will mount 4 one foot long boards to one of the 5.5 foot boards using your hand drill. The spacing is up to you. But you have to make sure each shelf is the same! Here is my spacing:
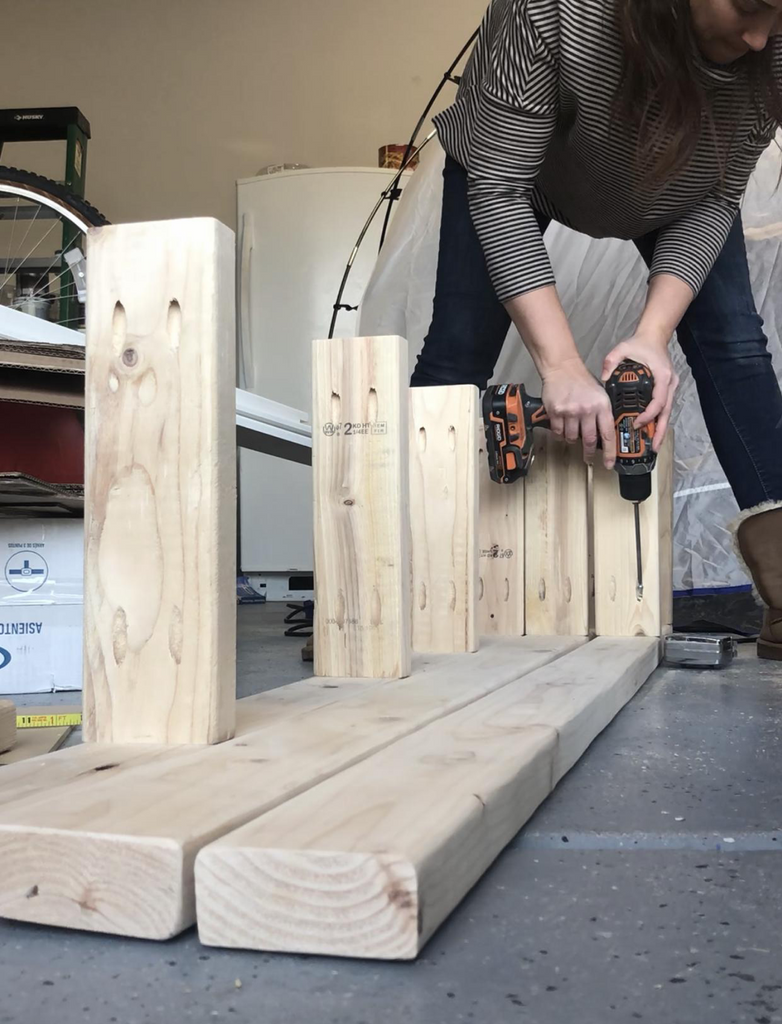
I started with my first shelf and drilled it to the top of my 5.5 board using 2 1/2" Pocket Hole Screws. I measured 8 inches and mounted one again. Measured 10 inches, mounted, 10 inches, mounted, 14 inches, mounted. Repeat 3 times.
Reference the measurements above.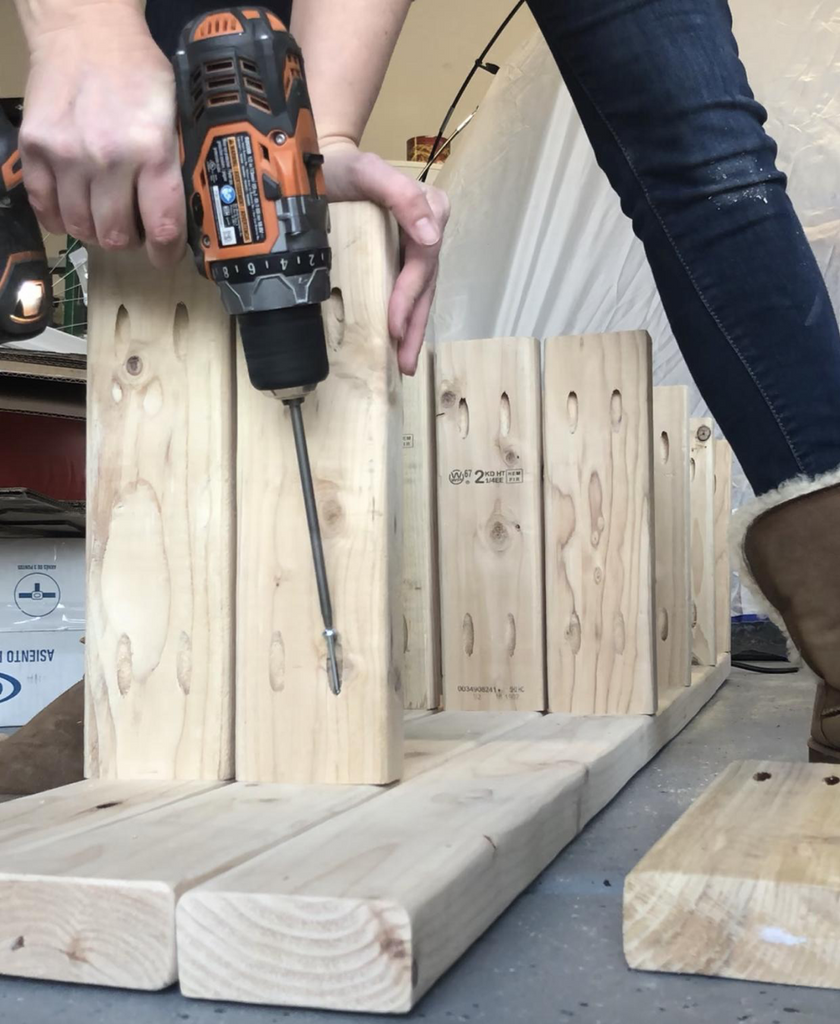
HINT: After the first stand, do not measure the distance between each shelf as you mount. Measure from the top of the board each time. This keeps your entire piece on the same page. If you mount and measure between each shelf as you mount, and you are off by a few milimeters, then all the rest of your boards will be off. The distance I choose correlated with the things I would use on my shelf.
After you mount the first set of shelves, you will add the next 8 foot board to the back and mount again. Your first shelf stand is done! Do this 2 more times.
Step Seven - Put Your Shelf Together
You are almost done! Now you will mount your stands to the wall and add your shelving.
- Find the studs in your walls using your Stud Finder. You will be drilling your stands to the wall for stability. If you cannot find the studs you will need to add anchors.
- Pre-drill the 2 1/2 inch wall screw into the top and bottom of the stand.
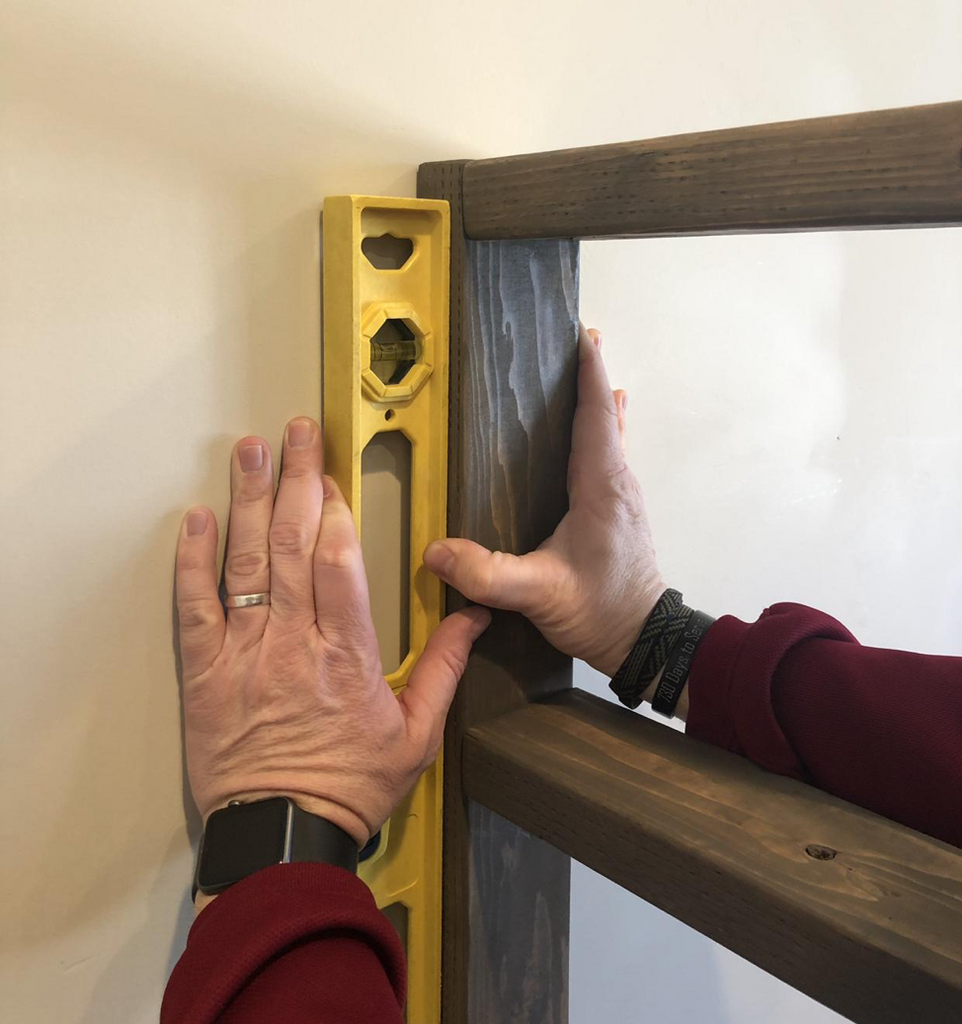
- Place your stand up against the wall and use your level to make sure it is straight.
-
Drill into the studs.

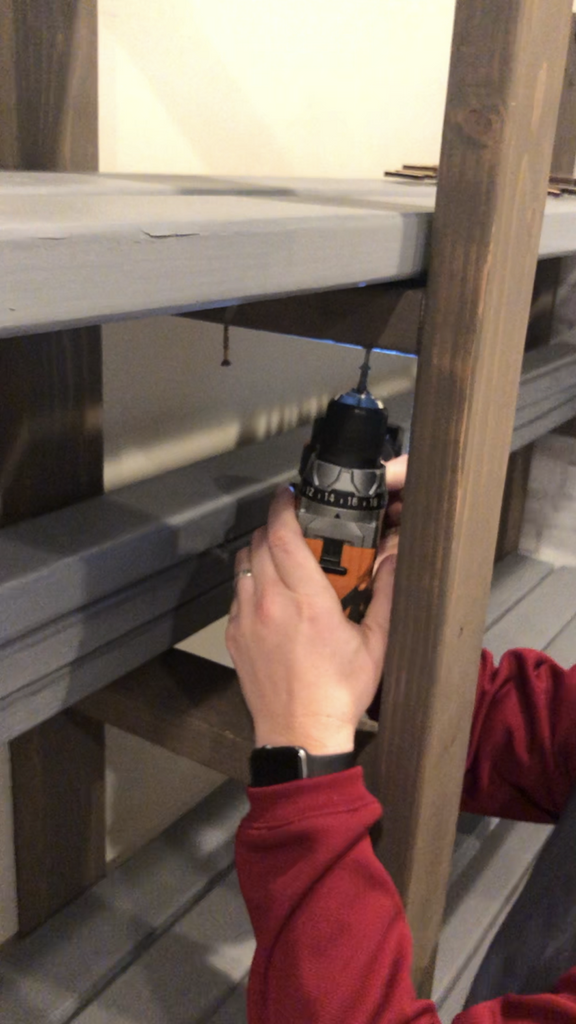
Step Eight - Add Shelves
This part is super simple. Add three 8 foot boards to each shelf and space them equally. Drill the 2 1/2" Wood Screws up through the BOTTOM of the shelf into the 8 foot board. This is so you can not see the screws.
 Your shelf is now complete! You have built a large pantry shelf for under $50!
 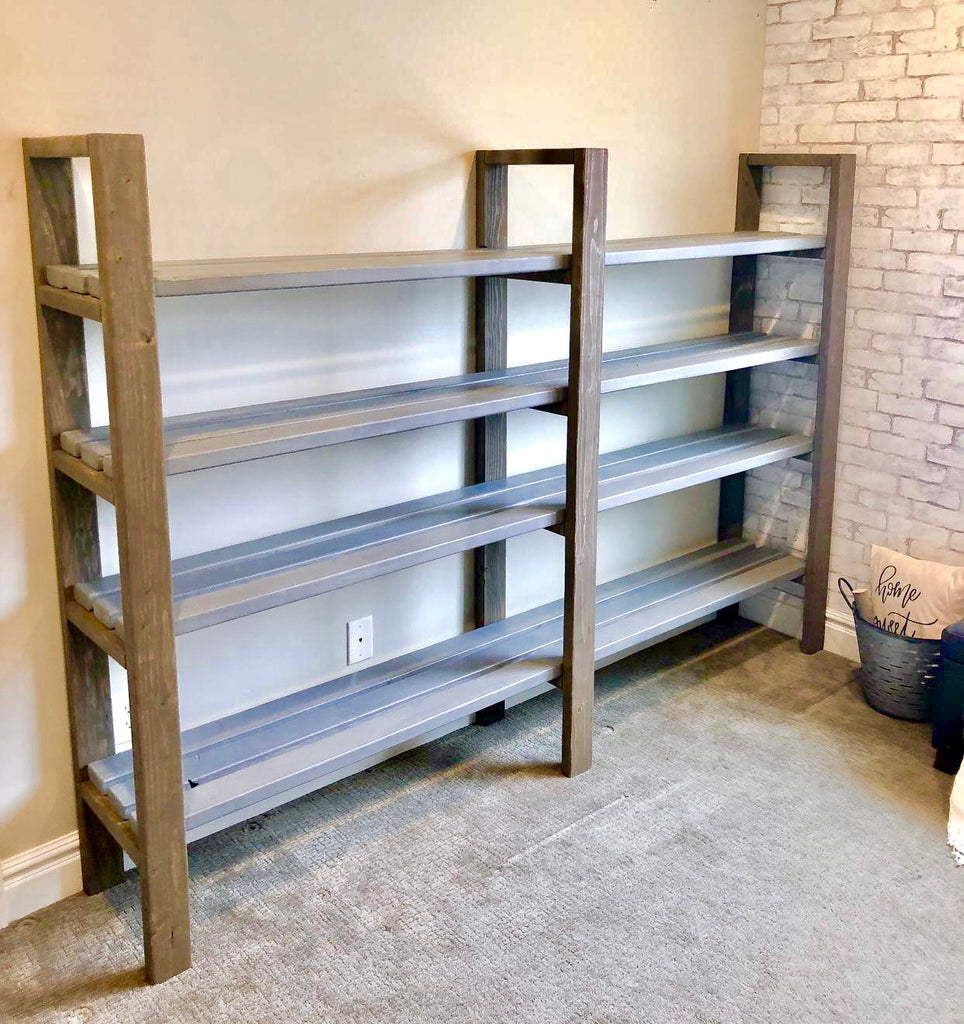 and let's take one more look of it all styled up! To see how I styled my pantry shelf, check out my post here and for more fun projects be sure to check out my blog here.