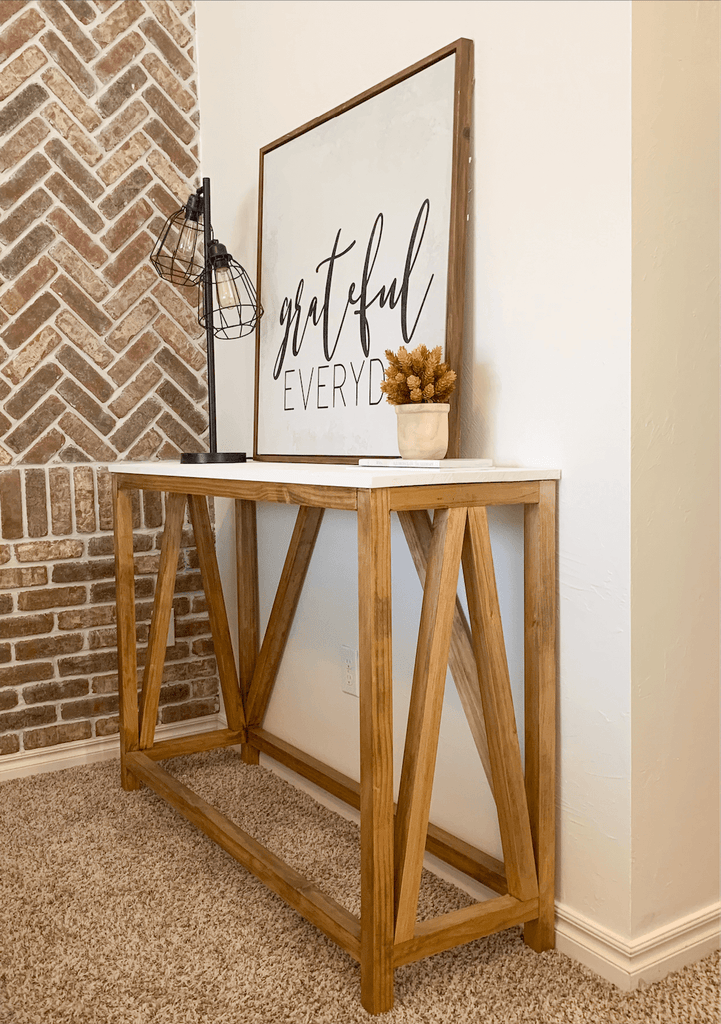
"An entryway console with a farmhouse feel."
It's fall y'all! and it has been a little while since Ive introduced a new building plan, so I am excited to be teaming up with Kreg Jig and Build Something to bring you a fun new entryway piece.
"This post is sponsored by Build Something."
Everyone loves a good ole entryway build, so I figured why not whip up a quick console for all you beginner builders out there. I was able to build this cute little console in about an hour and I just love how it turned out.
Now let's get into the details!
There are some affiliate links in this post, meaning I get a small commission if you purchase through these links, at no cost to you. Click Here to read my full disclosure.
Materiels
- 7 - 1x2x6s
- (1) Project Panel , 15.75" x 48"
- 2 1/2" Pocket Hole Screws
Main Tools Used
- Kreg Jig
- Kreg Right Angle Clamp
- Drill
- Circular Saw
Step 1: Assemble Console Sides
The first thing I did to build the entryway console was building the sides. This first step was fairly easy. I used my handy dandy Kreg Jig to create pocket holes on the console stretcher pieces to use for the joinery

To hold the wood in place while I drilled in my pocket hole screws, I used my right angle clamps. I really love using these clamps because they hold the wood together while you drive in your screws. They really come in handy while I'm building on my own, It's like having an extra set of hands.

Once I assembled the outer sides, I added in the decorative wood pieces. I cut these pieces at an angle with my miter saw and then attached them to the assembled sides by driving screws into the top and the bottom of the wood piece.

Step 2: Build the Frame
Once the sides were built, I began building the frame of the console by adding the 2x2 stretchers. I made sure to have the pocket holes facing down on the bottom to hide them and facing up on the top, so the console would look nice and clean.

Once I added the stretchers, I added the back decorative pieces and cut the project panel down to size and attached it using brad nails.

This was a really fun and simple project and it turned out great. Luckily, I am partnering up with Build Something to bring you the free plans so you can make your own.

Head on over to Build Something to check out the free plans.
And as always, thanks for reading guys, XOXO Ashley

