Events
Moving with PODS
" This was a move to remember."
Most of you all know by now about my new house, but today I wanted to chat about the process of how I got there; my move! I had the opportunity to partner with PODS and had such a great experience that I had to share all of the details! So let's get into it!
"This post is sponsored by PODS"
If this is your first time hearing about PODS, I'm happy to introduce you to them. PODS is a service that provides different sized portable containers to move or store your belongings.
Selecting My Container Size
The first thing I did was select how many containers I needed. My old house was a little over 1400 sq. ft, but I had a lot of extra items and tools. I had an idea of which container I may need, but was a little unsure. Luckily, PODS has a handy moving and storage calculator on their site that helps you determine just how much space you need.
Once I filled out the calculator, it suggested both a 16-foot container and a 7-foot container, and that was just enough room for all of my belongings.
Loading the PODS Containers
It was really cool to see how the PODS containers are delivered. They have this cool machine that places them right in your driveway. The one thing I love most is that you don't have to worry about hauling your things, you just load your containers up and PODS handles the rest.
 I also loved that I could load the container as I go. I would load a little bit at a time without feeling rushed. If you've moved before, you know it can be a pain, so getting to take my time was invaluable!
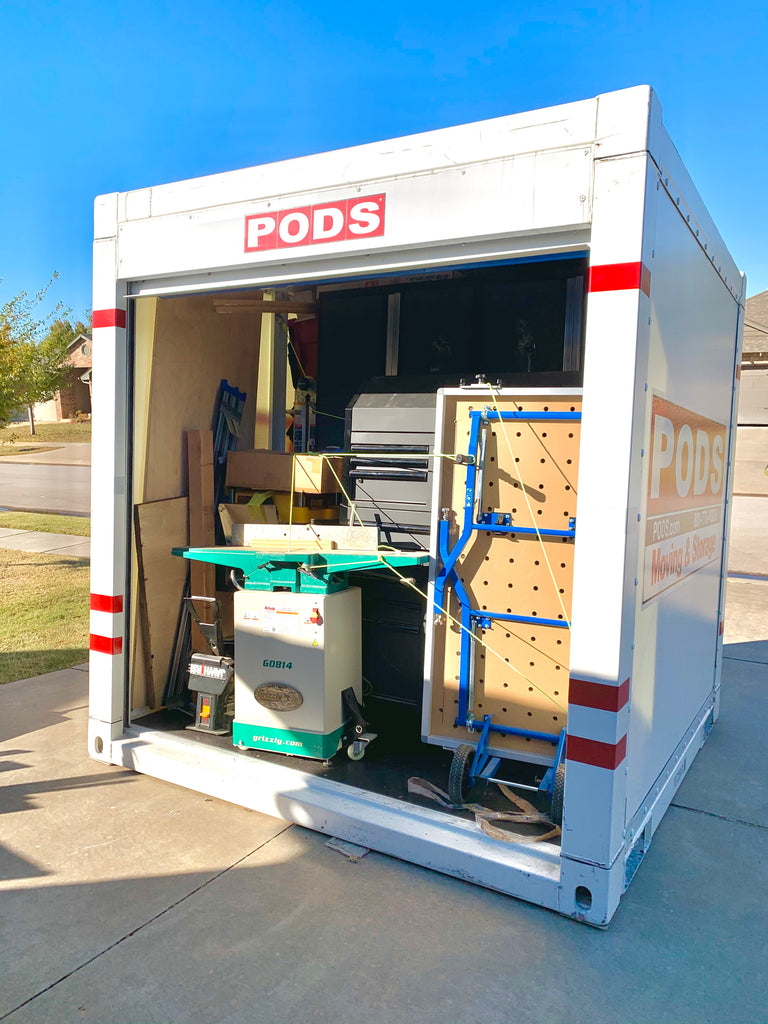
At first, I was unsure if all of my belongings would fit, but the moving and storage calculator was spot on because it all fit perfectly! The containers have these hooks all throughout the container so that really helped with being able to tie things down.
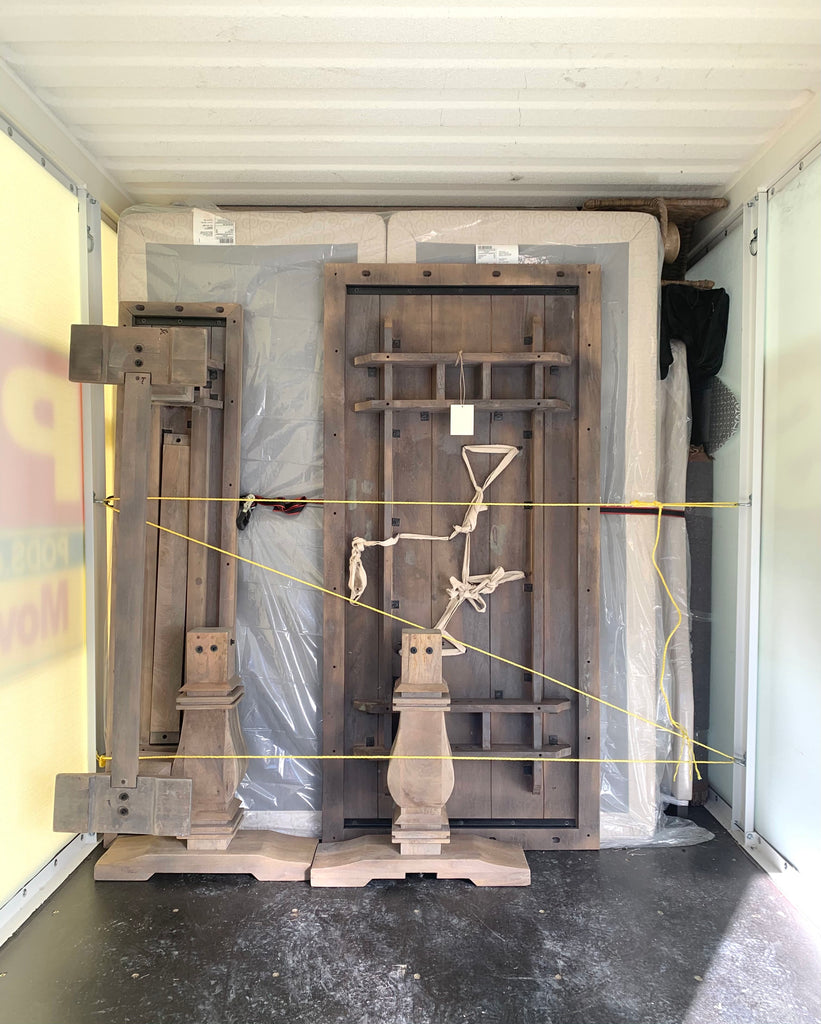
LOADING TIPS
- Try your best to load all the way to the top from back to front to prevent shifting while the container is being moved.
- Use rope to tie down your items every so often to eliminate movement.
- Take your time with your loading, it doesn't have to feel like a chore and PODS makes that easy.
- Don't place super heavy items by the door, just in case of any movement.
The In Between
Once PODS picked up my containers, they took it off to their PODS Storage Center while I was in between homes. This was such a relief to not have to worry about my belongings while I was staying in a hotel. Things with my house were up in the air and the dates that were set for me to move in ended up changing. Originally, I had planned for my containers to be delivered one week, but the plan got pushed out two whole weeks.
I was able to let PODS know about the change and they gladly changed the date for me. That is one of the perks with working with PODS, they are super flexible and willing to work with you on your moving dates. So don't stress!! They've got you covered.
Unloading the PODS Containers
When I first received my PODS container, some of my belongings had shifted and I couldn't get the door open, so I reached out to my local PODS location and they were able to send someone out within 3 hours and get the door open for me. I was really impressed with the customer service. Normally when you have an issue, it takes a while to get it fixed, but they were on top of things. This really made me feel good about partnering with them!

One of my main concerns with getting my PODS container back was seeing if all of my belongings were in the same condition as I had left them, and they were! This had a lot to do with how I loaded the PODS container. I made sure to fill all of the spaces, and that helped tremendously with keeping all of my things secure during transit.

Once I unloaded everything, PODS came back to pick up the PODS containers and my move was finished! I had such a pleasant experience with PODS and they helped my move go that much more smoothly! Now I'm off to enjoy my new crib!
Making It Premiere Party
"It's a Celebration! Making It Season 2, here we come?"
With the big news of being casted for a national television show, I thought what better to celebrate than to throw a party with some of my closest family and friends, so I'm going to walk you through everything you need to know to throw a successful premiere party.
Pick a Theme
The first thing I did before starting to put the party together was picking a theme. This was probably the hardest step in the process because there were so many options out there. I was all over the place, but I finally decided on a Kate Spade theme, but I also wanted to keep it fun so I decorated the tables with different color placemats to bring another fun element to the party.
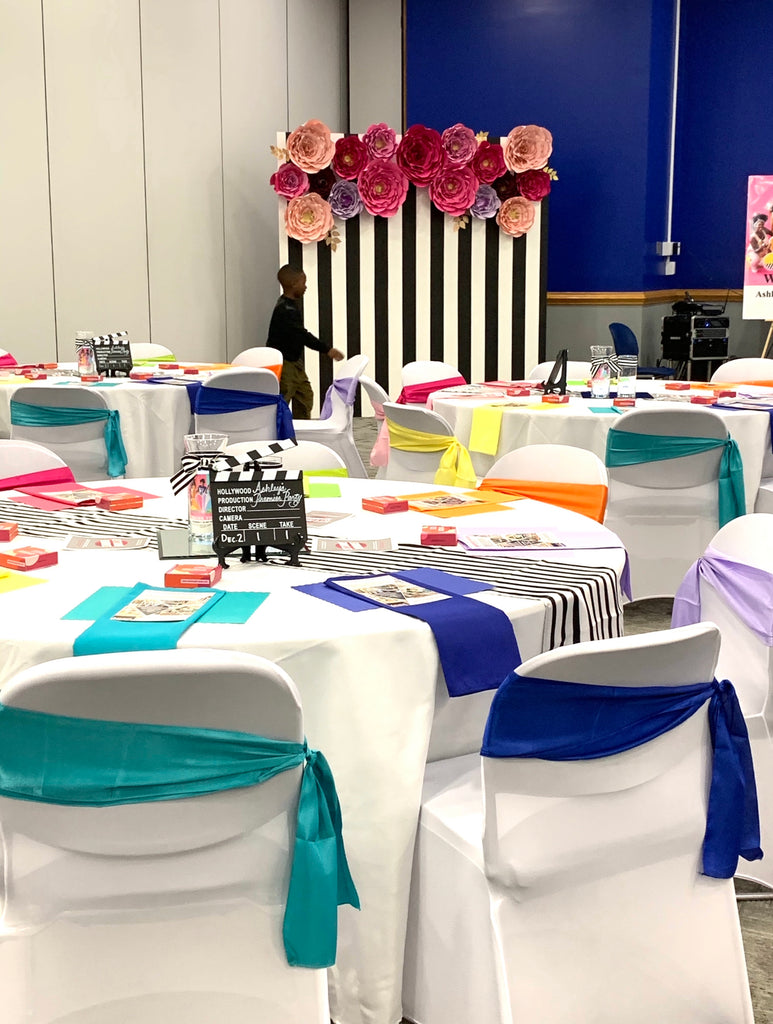
Create a Photo Backdrop
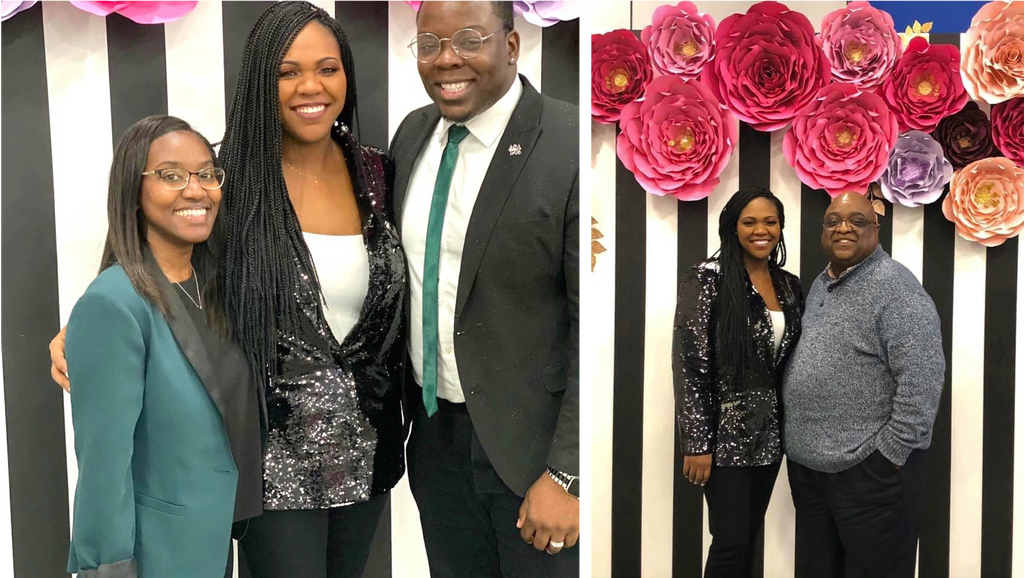
What's a party without memories to looks back on. To throw any successful party these days, I don't think you can not have either a photo booth or backdrop somewhere. I decided to create a Kate Spade inspired photo backdrop.
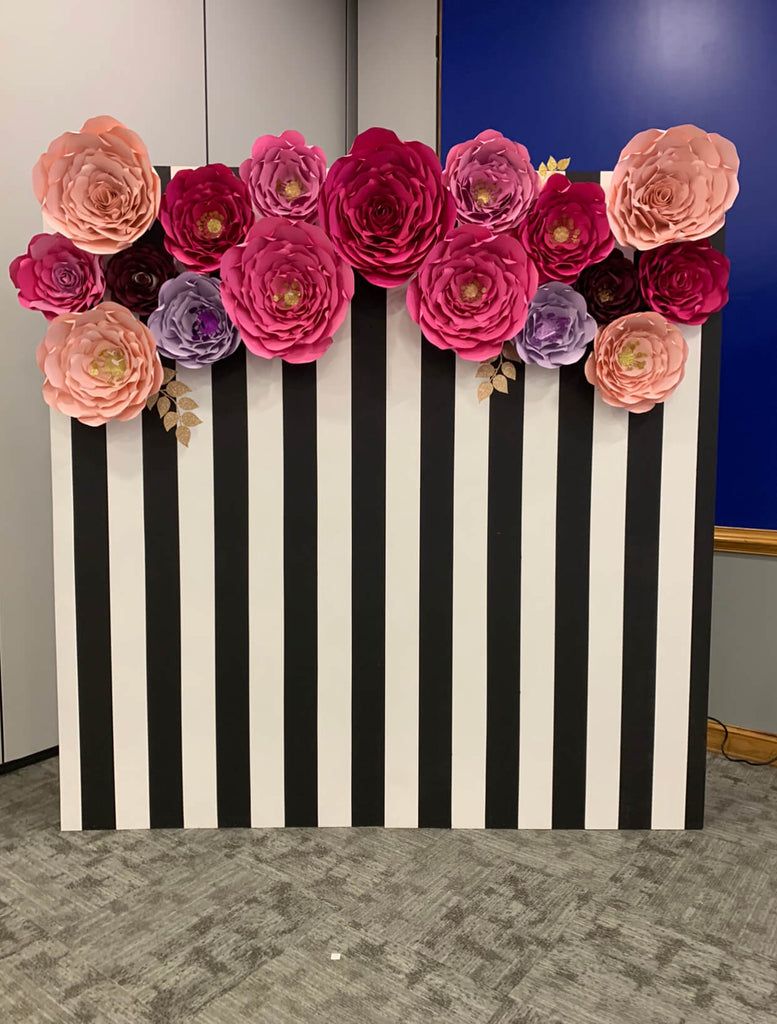
I made the paper flowers out of cardstock and then created the black and white backdrop using a couple of boards of MDF.
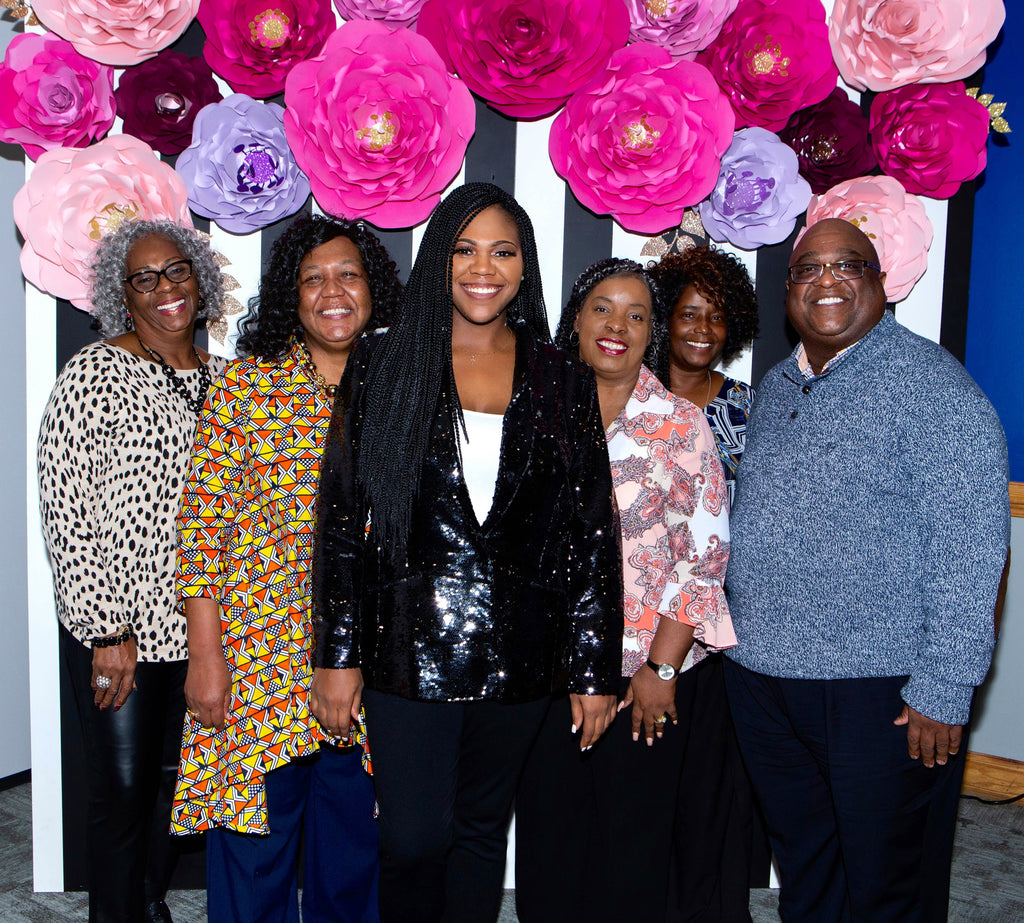
Want to create something similar? Check out the post here!
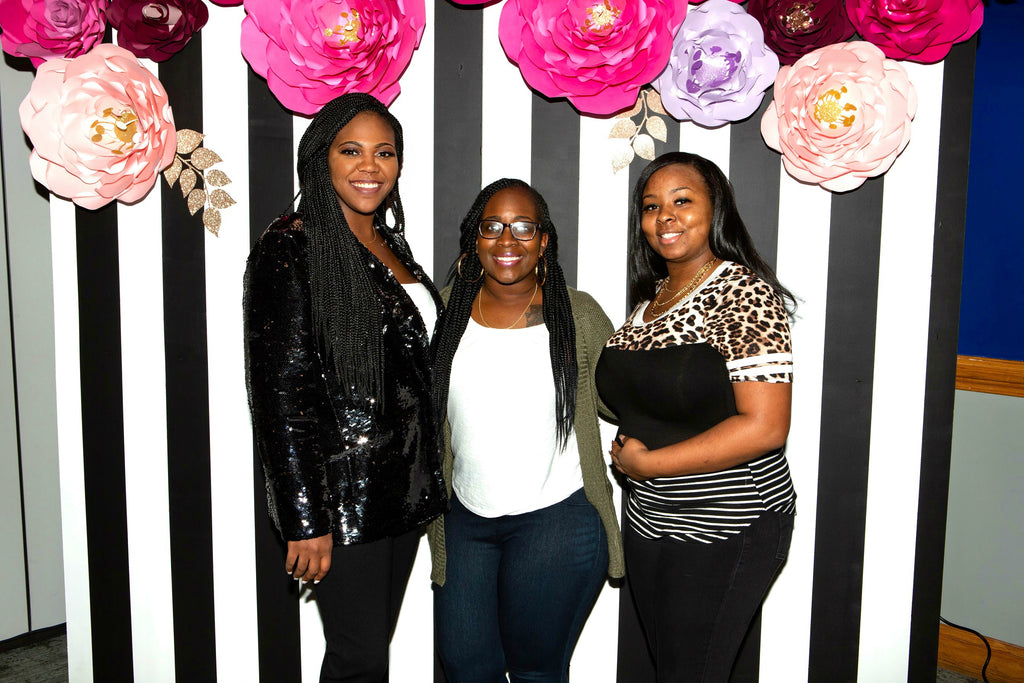
If there is one thing people love, its taking a picture to commemorate the moment.
Bring Fun to the Party
I really wanted my guests to be able to enjoy the party, so I decided to host a giveaway. I reached out to some of my sponsors to send over some fun goodies to giveaway and they didn't disappoint. Check out some of fun prizes from the party.
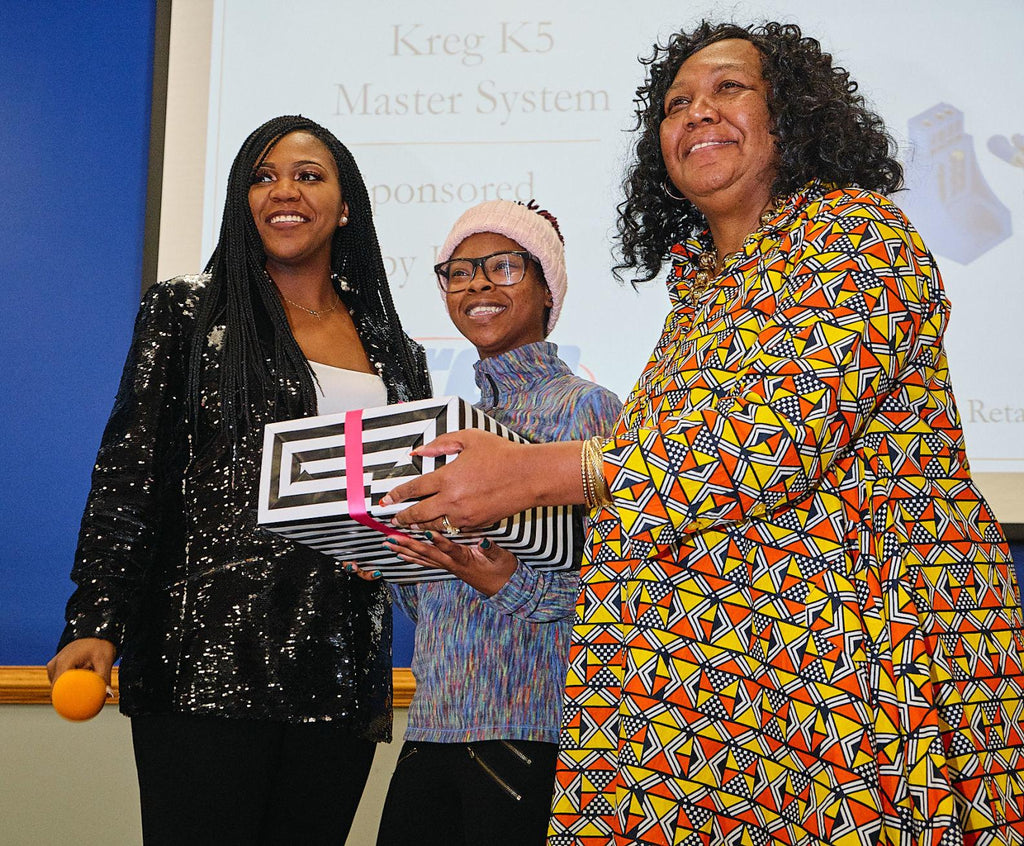
My home local newspaper came out to take part in the fun; check out this shot from the paper (photo taken by Chris Day).
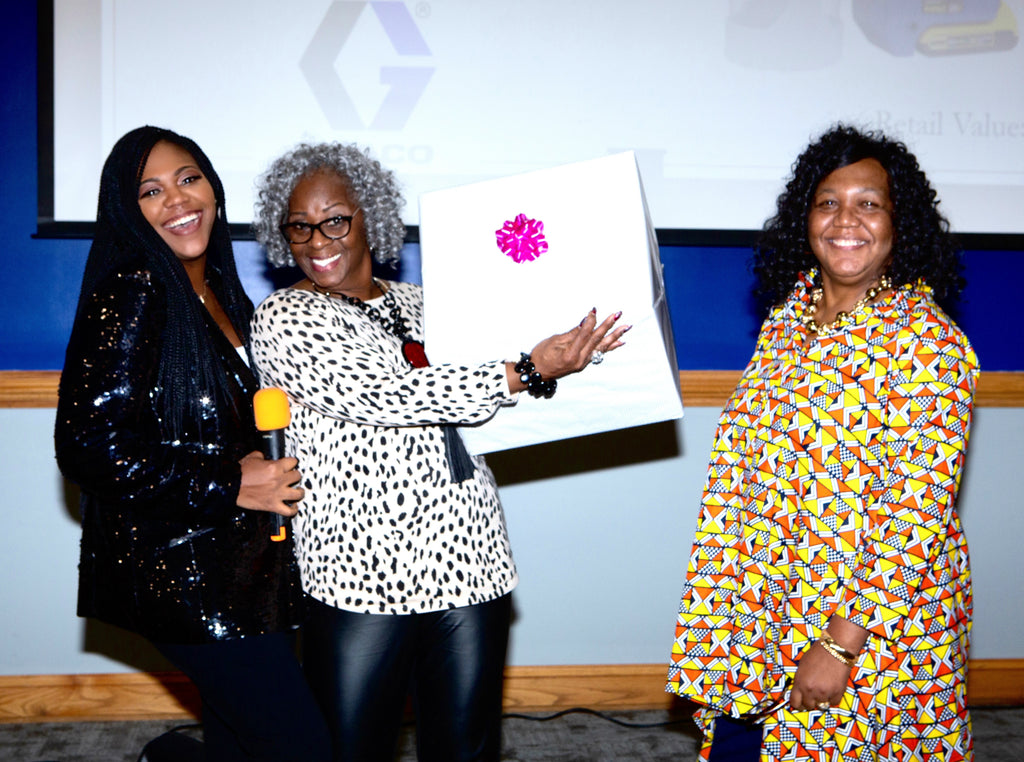
My guests were definitely happy with their prize winnings.
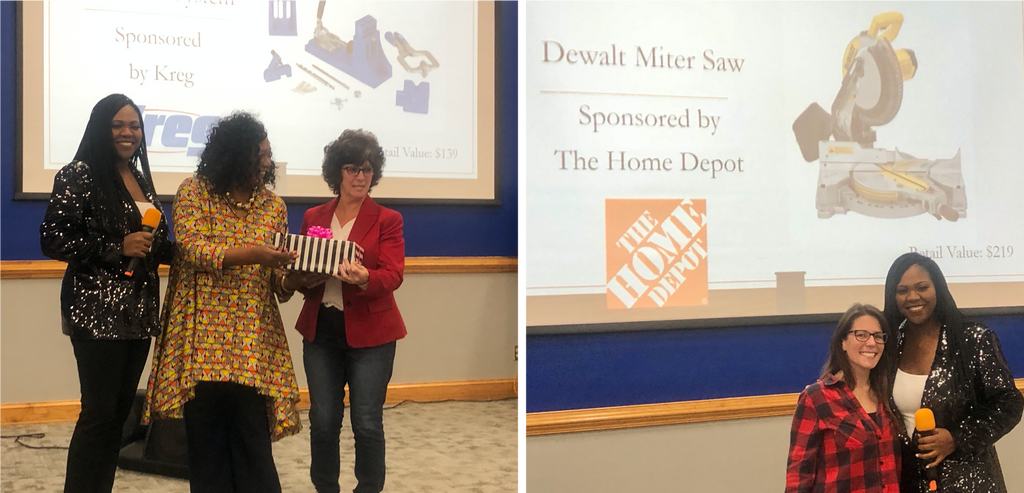
Some of them really won big. I think it's safe to say that the giveaway was a hit! Check out some more of the prize winners.

Make sure you go show these sponsors some love. I have had the pleasure to work with them throughout my business and they are really great partners.
Official Announcement | Making It Photoshoot | Episode 1 Recap | Episode 2 Recap | Episode 3 Recap | Casting Tips
Making It Season 2 - Episode 2 Recap
"Ordinary Home to Extraordinary Home"
Episode 1 was a fun kickoff to the crafty competition Making It, but now we are diving deep into what happened in Episode 2.
Faster Craft
For this faster craft, we were challenged to design a wall based around the idea that everyone has a blank wall in their home. I was super excited abut this challenge because there is so much you can do with a blank wall.
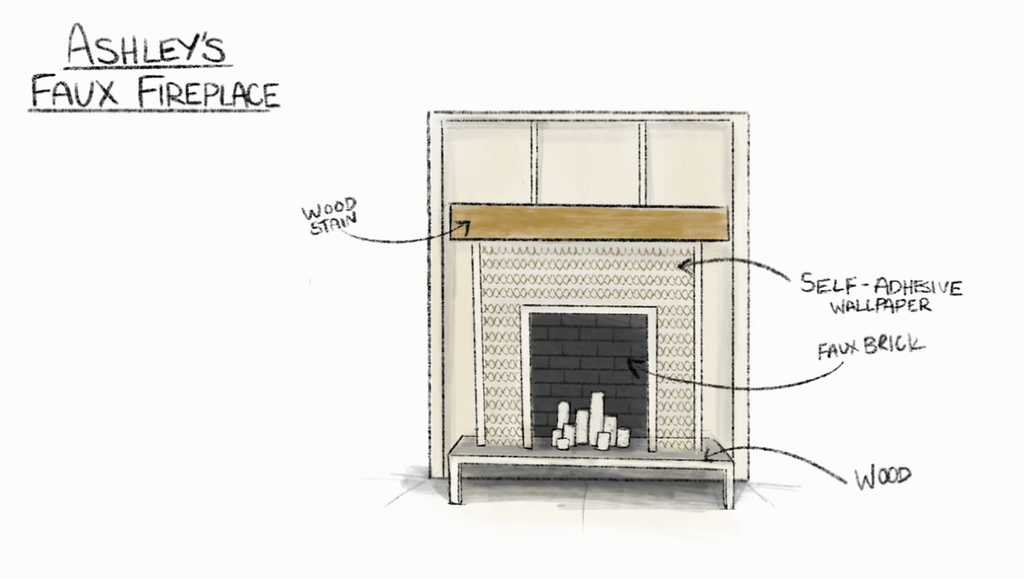
The inspiration for this fireplace was an original faux fireplace that I built a few years back. Luckily, the first time I had a lot more time to build it out. We had less than 3 hours for this faster craft.

With a little help on the mantle from Jimmy DiResta, I was able to knock this baby out just in time. Shout out to Rebecca for the little plant, my mantle was super empty without it.
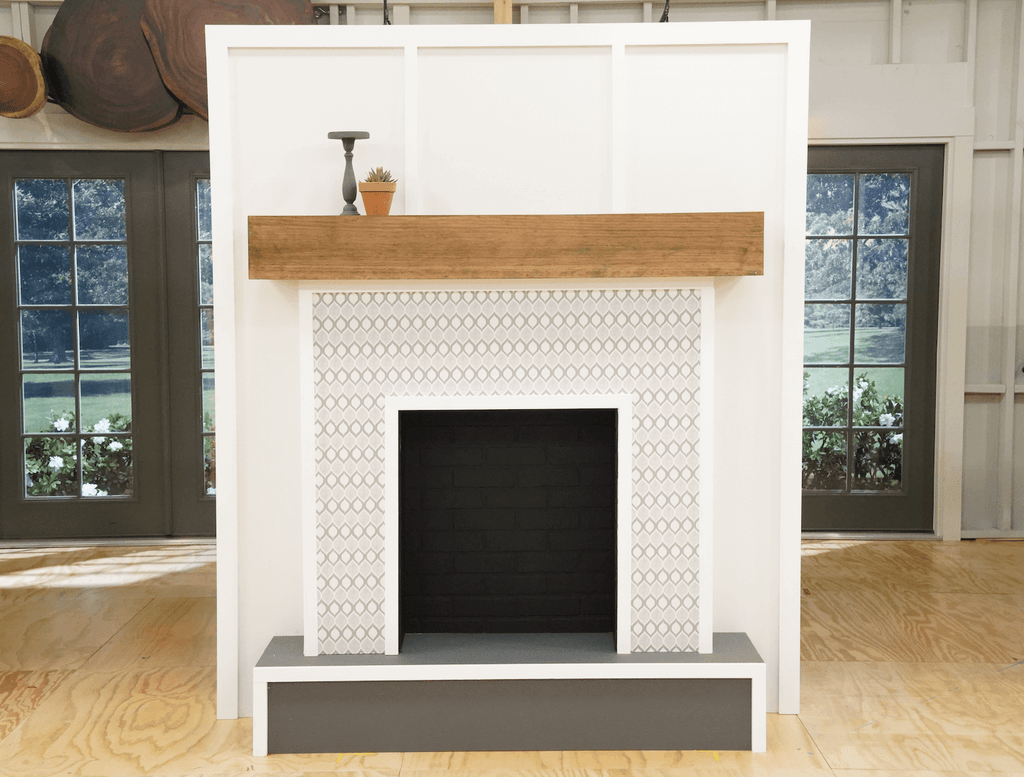
The pictures don't do it justice, so check out the wall transformation faster craft below.
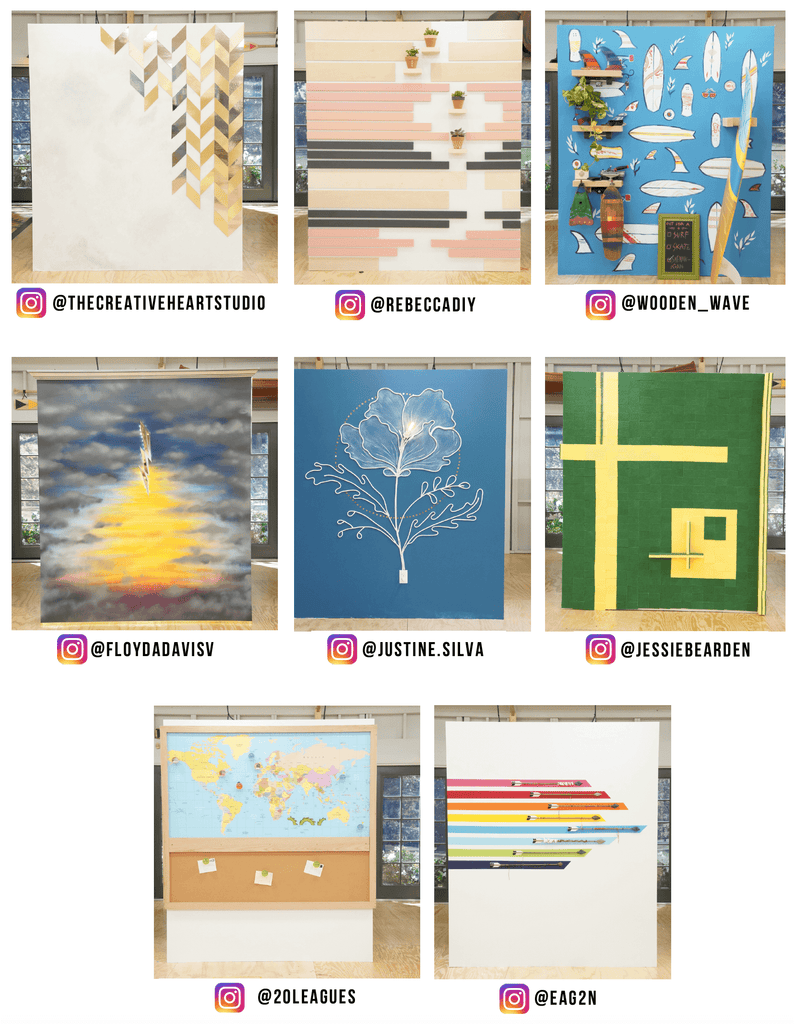
Everyone else did a great job on their walls. I really loved Rebecca's take on her wall. I would definitely love something like that in a craft room and Justine's wall was super creative. Great job ladies.
Master Craft
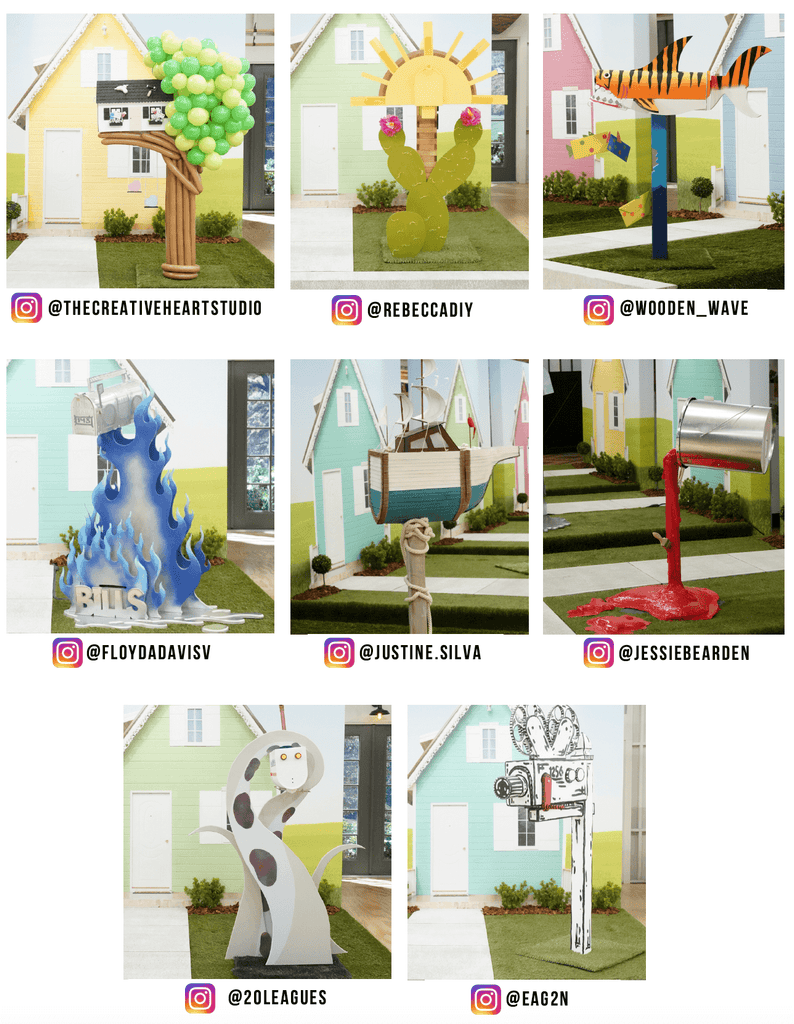
For the Master Craft, we had to makeover a plain white mailbox but the real challenge was keeping our aprons clean.
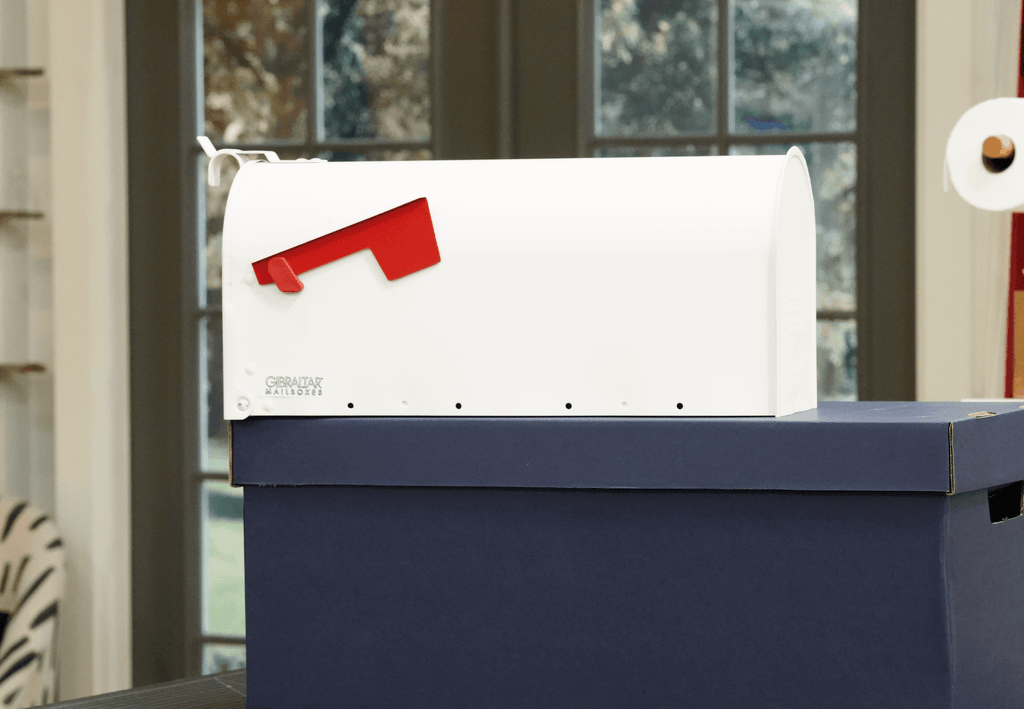
We all started off with a blank canvas and had to make something great out of it. I decided to go with an older style truck because me and my dad use to work on cars together as a kid. The pink on the car signified me always being a daddy's girl.
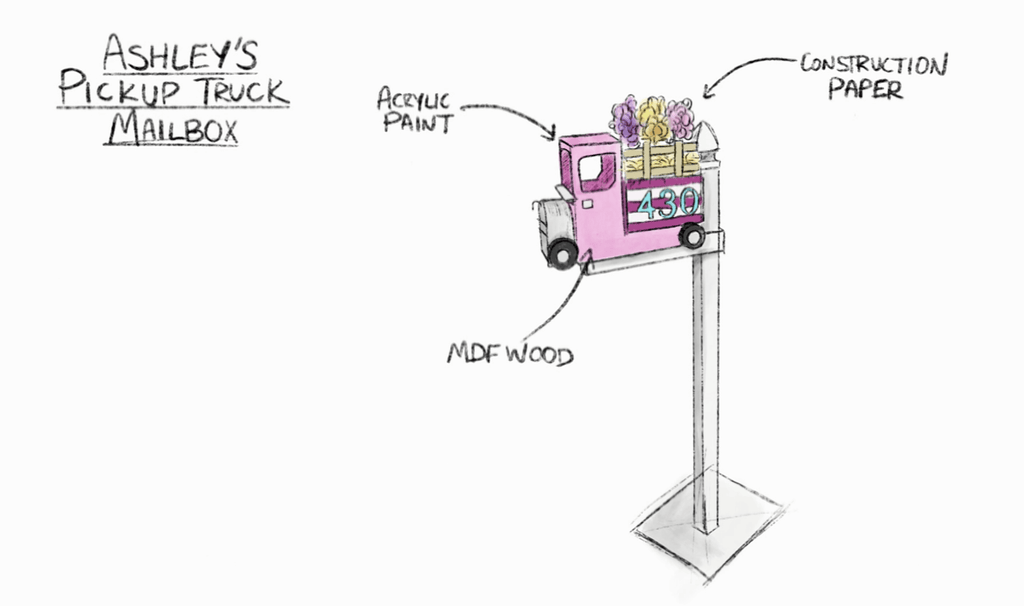
Making always means a lot more when it has meaning behind it so this faster craft was a special one, and it was a lot of fun to make.
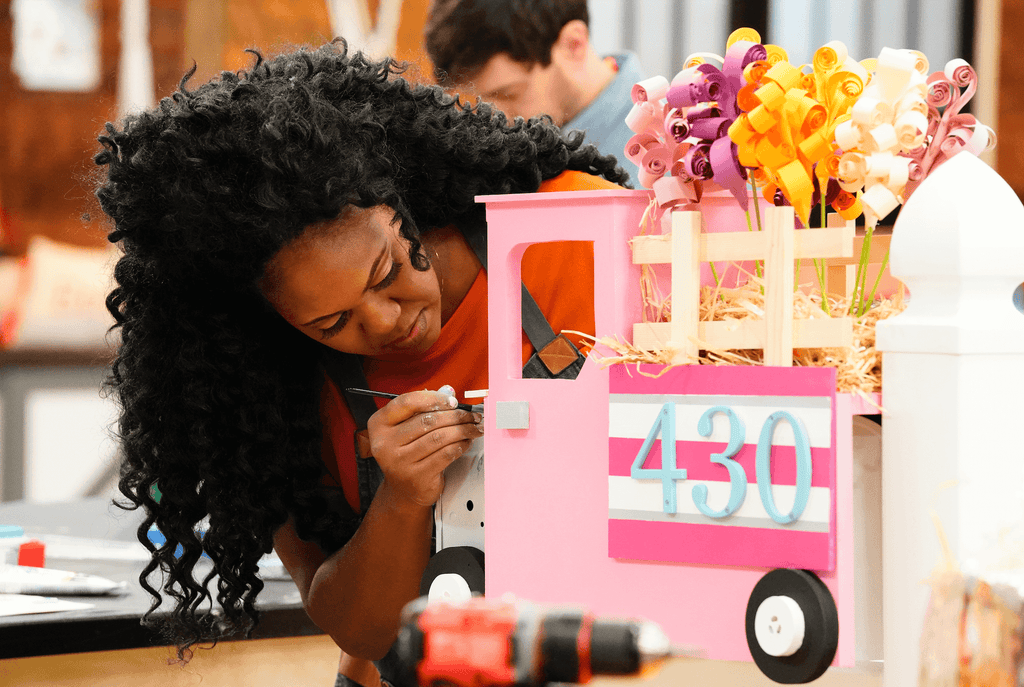
Now you have to remember that these challenges are timed, so I think i get a pass for my headlights being crooked; if you haven't seen episode 2 yet, you'll want to see my artist explanation for why they are like that. I think I talked my way out of it, HA!
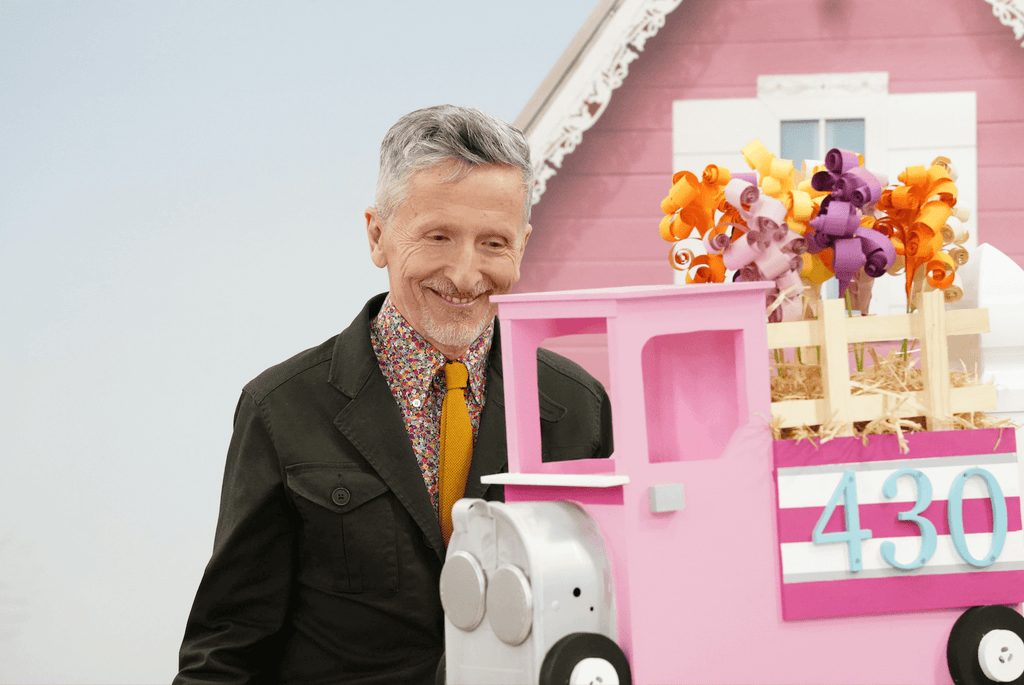
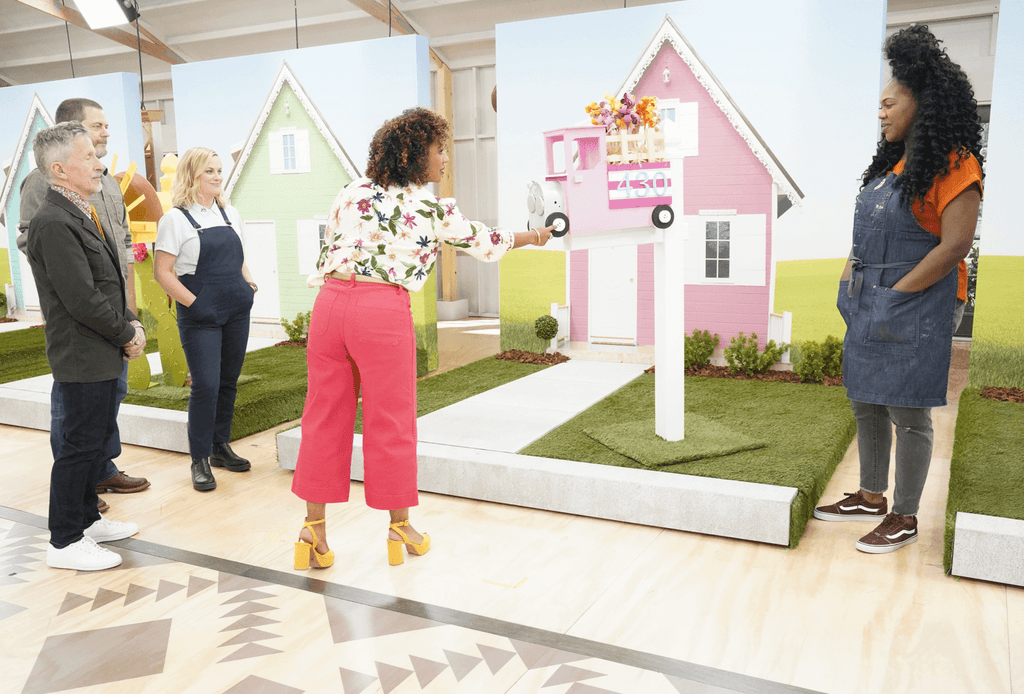
Either way, I was happy with how my mailbox turned out, and my fellow makers didn't disappoint either. Check out their work below.
Judging
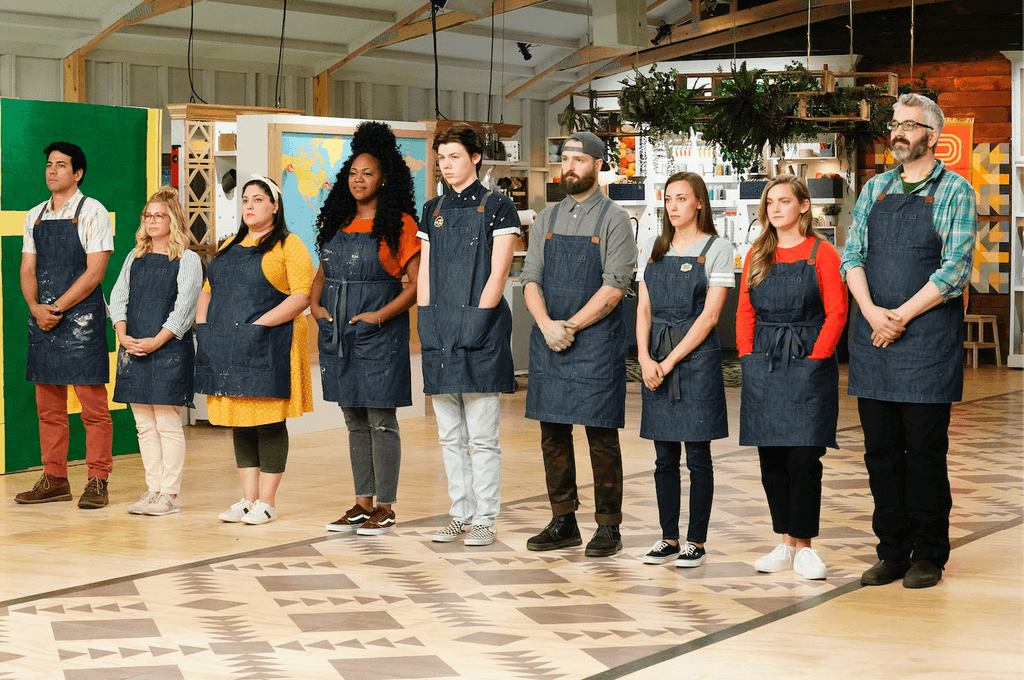
Back to judging, our favorite time of the year. Yes, that was sarcasm. But I have exciting news for Episode 2 if you haven't tuned in yet.
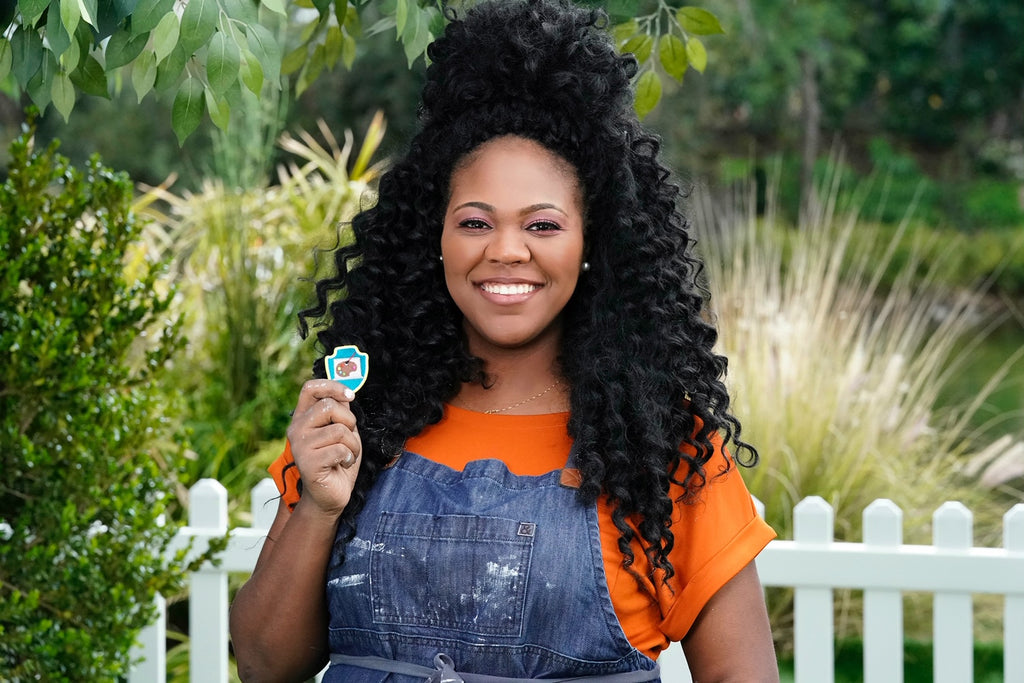
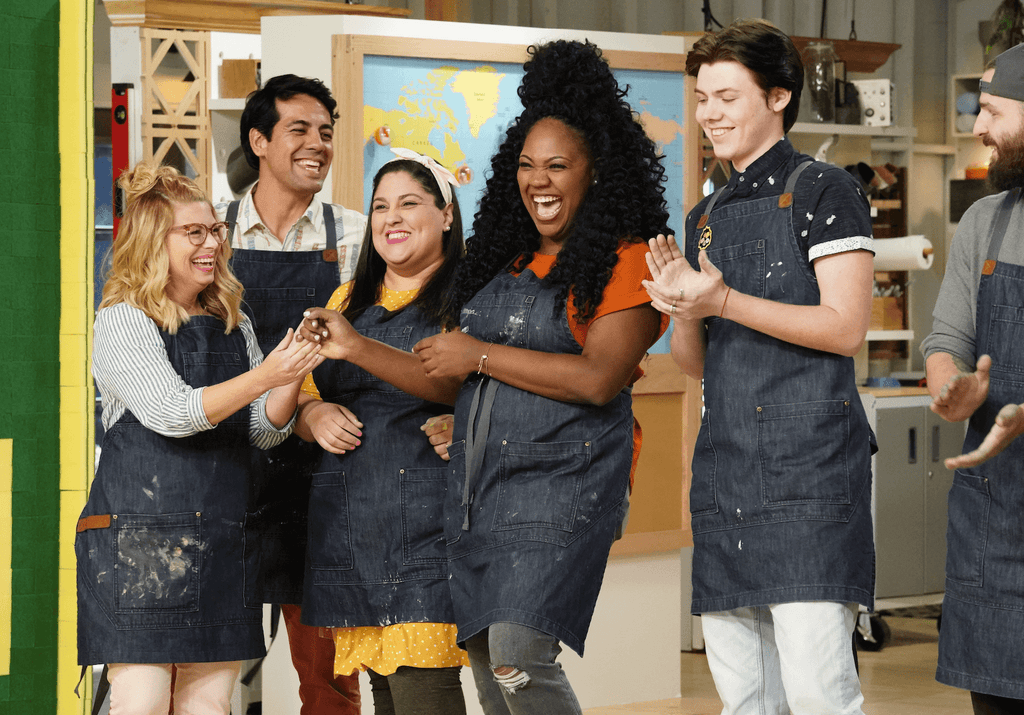
I won a patch! That's right; the judges loved my fireplace wall and I was able to win my first patch of the competition. It was super exciting to win a patch and it felt even better having my fellow makers cheer me on.
I'm not going to lie, at first I wasn't sure I could pull off such a big build within the time given, but I got it done and it paid off.
My girl Lilly was able to win her first patch for the master craft and boy did she deserve it. She is a beast with those balloons.
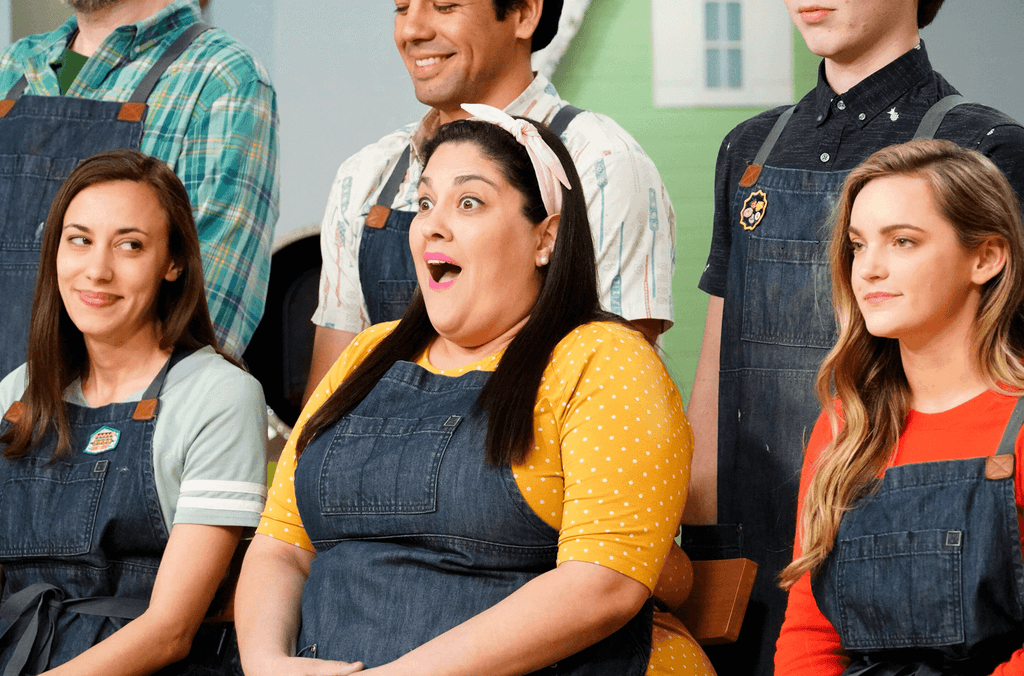 Unfortunately, we had to say goodbye to our friend Jamie! We were sad to see him go but glad to have gained a friend for life. Please go check him out here and follow along on all the great things he's doing.
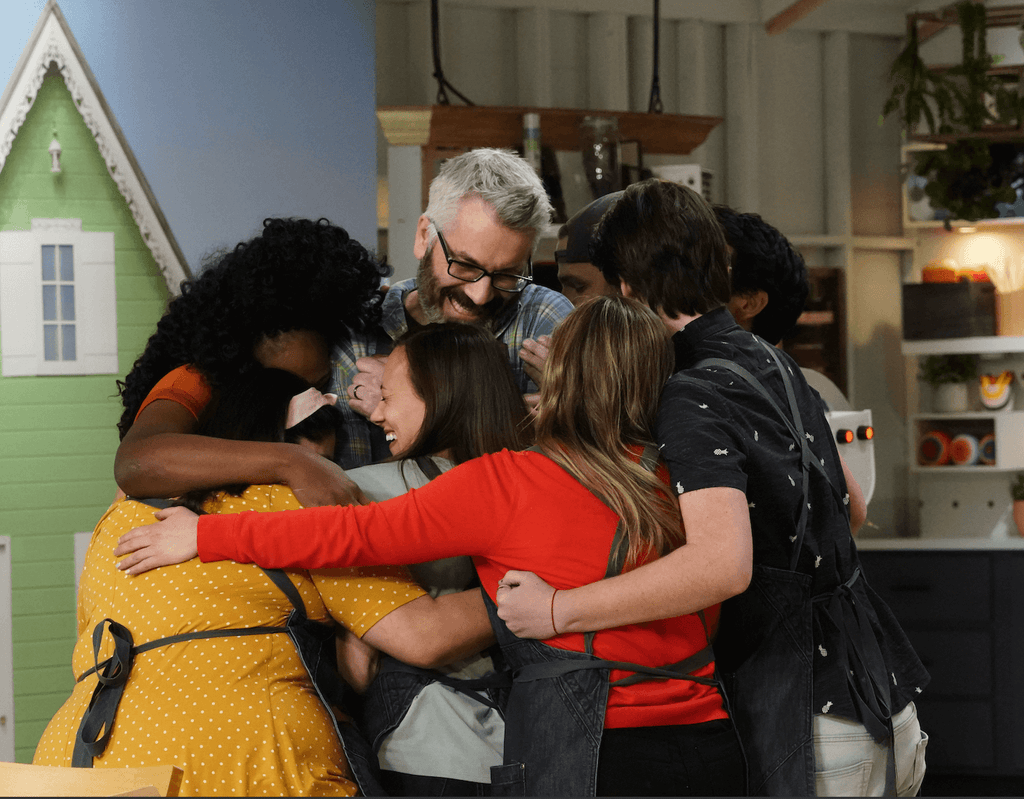
Welp that about wraps it up for Episode 2, Thanks for reading guys, XOXO Ashley
Official Announcement | Making It Photoshoot | Premiere Party | Episode 1 Recap | Episode 3 Recap | Casting Tips
Making It Season 2 - Episode 1 Recap
What Are You Made Of?
If you've been tuning in this season to NBC's crafting show Making It, then you probably already have a good idea of what's been going down. But I figured I would give a little recap of what's been going down in the episodes.
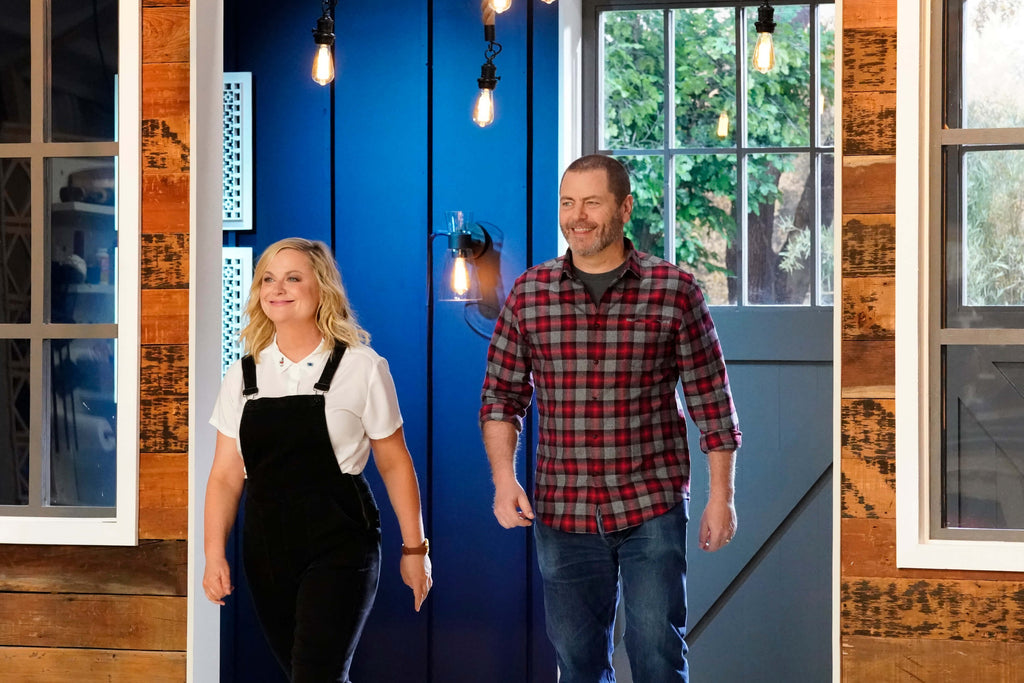
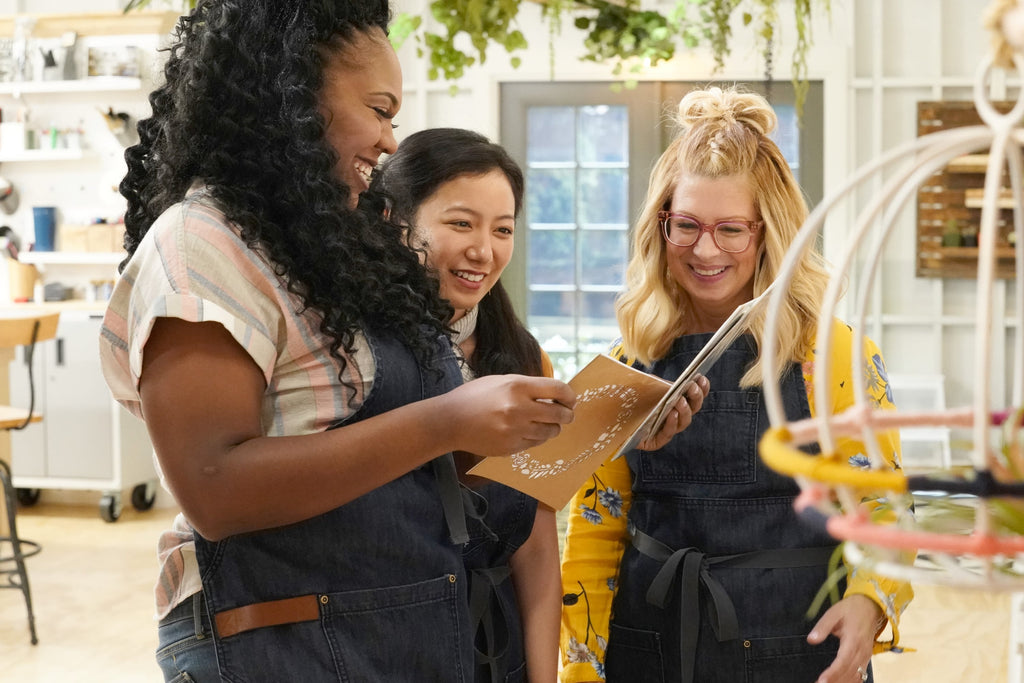
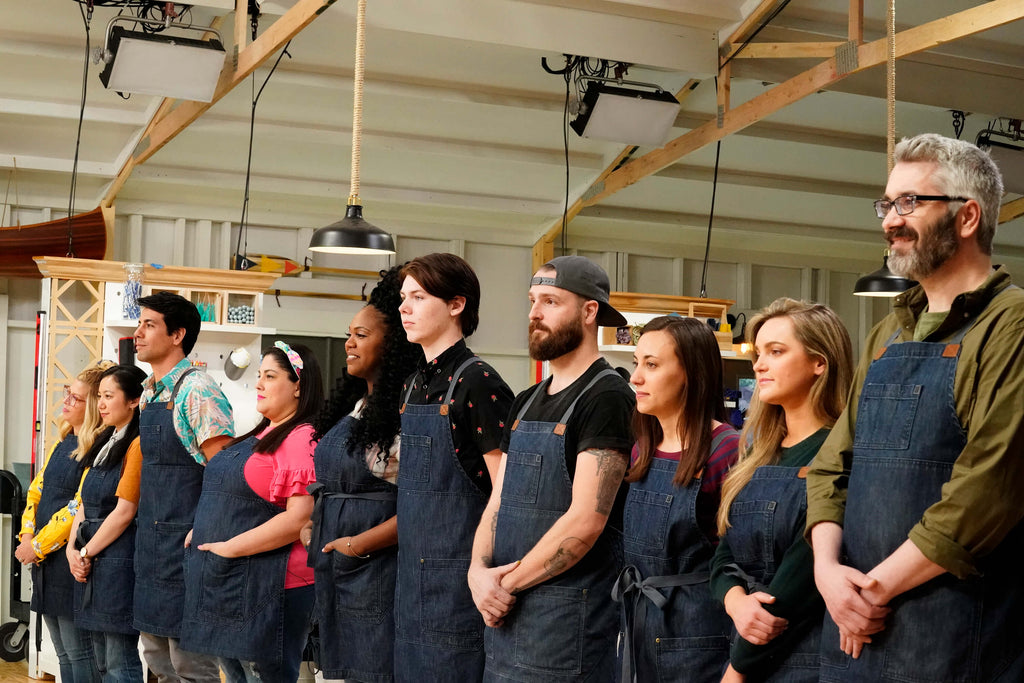
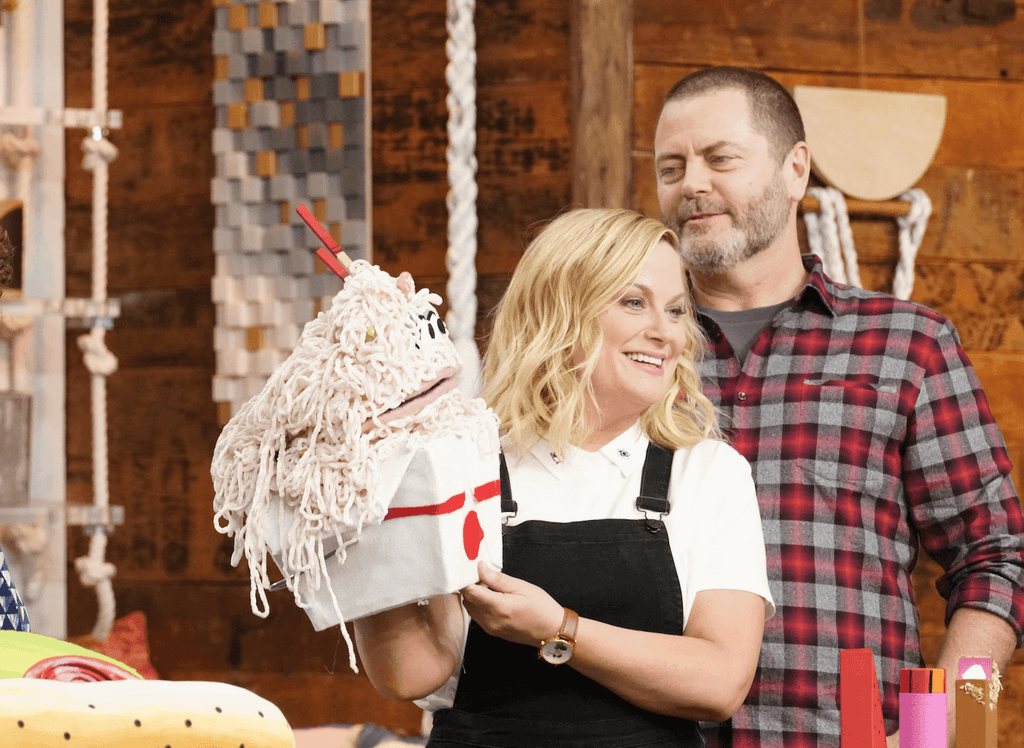
The first episode was probably by far the most exciting one, because it was the beginning to this crazy journey. It was also the first time we got to tour the barn and meet Nick and Amy.
Faster Craft
For the faster craft challenge, we were tasked to create a 3D presentation of a food that reflects who we are.
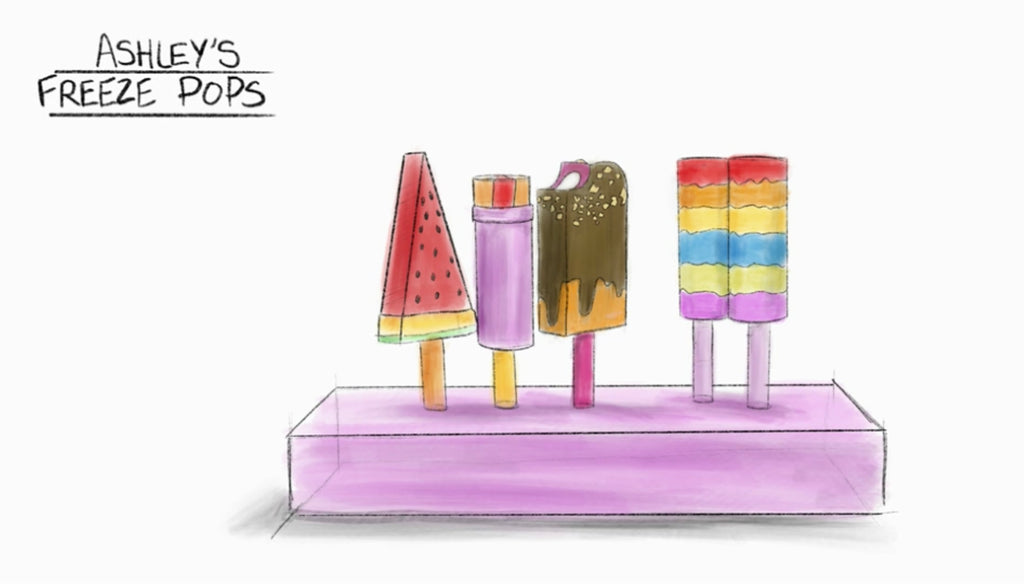
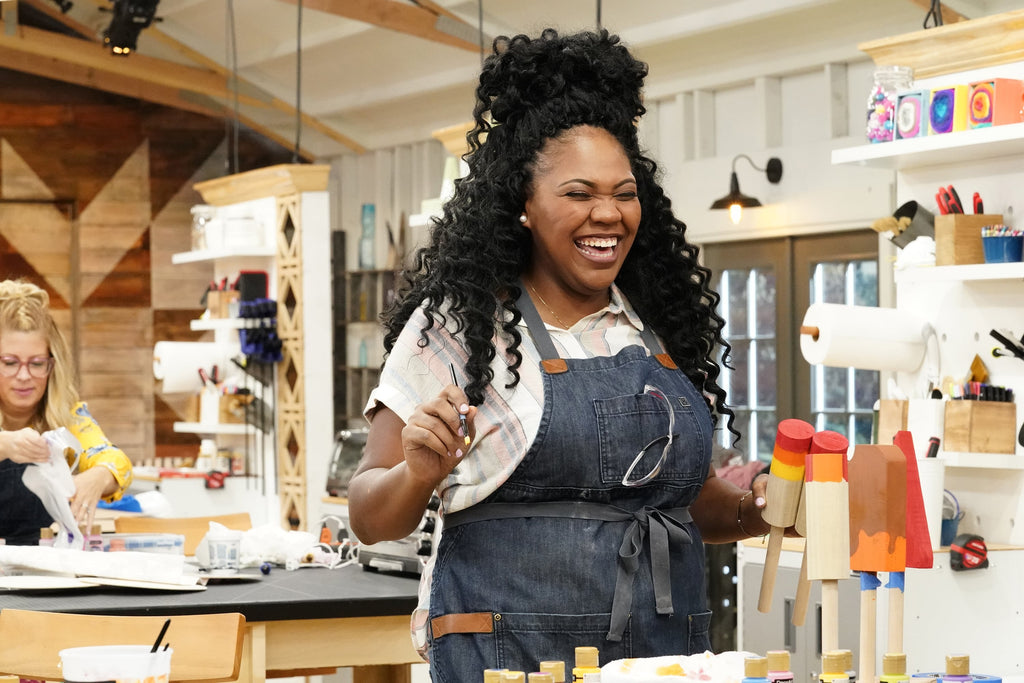
I decided to make freeze pops to show off my fun and bubbly personality. If you were tuned in, you know that time was not on my side in this challenge and the judges dinged me for my craftsmanship. Luckily, I was still able to finish on time.
One of the highlights of my time on the show was hands down getting to meet Jimmy DiResta. As a maker, he has always been someone I've looked up to, so getting to work with him was super exciting and he definitely knows his stuff. I was able to learn a lot from him; they don't call him shop master for nothing.
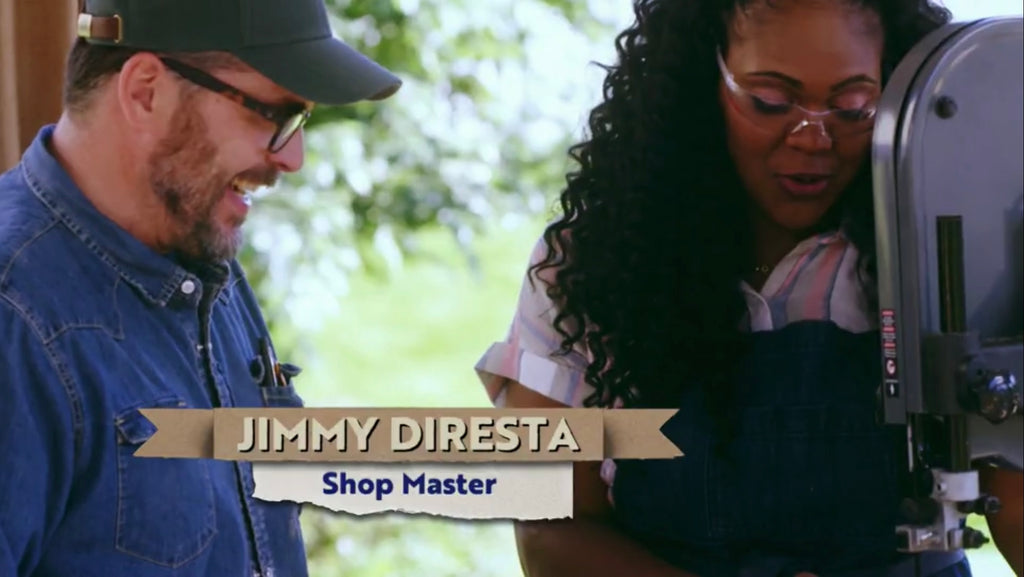 This was the first time I was able to see the incredible talents of my fellow maker and man was I blown away! Don't believe me? Take a look for yourself.
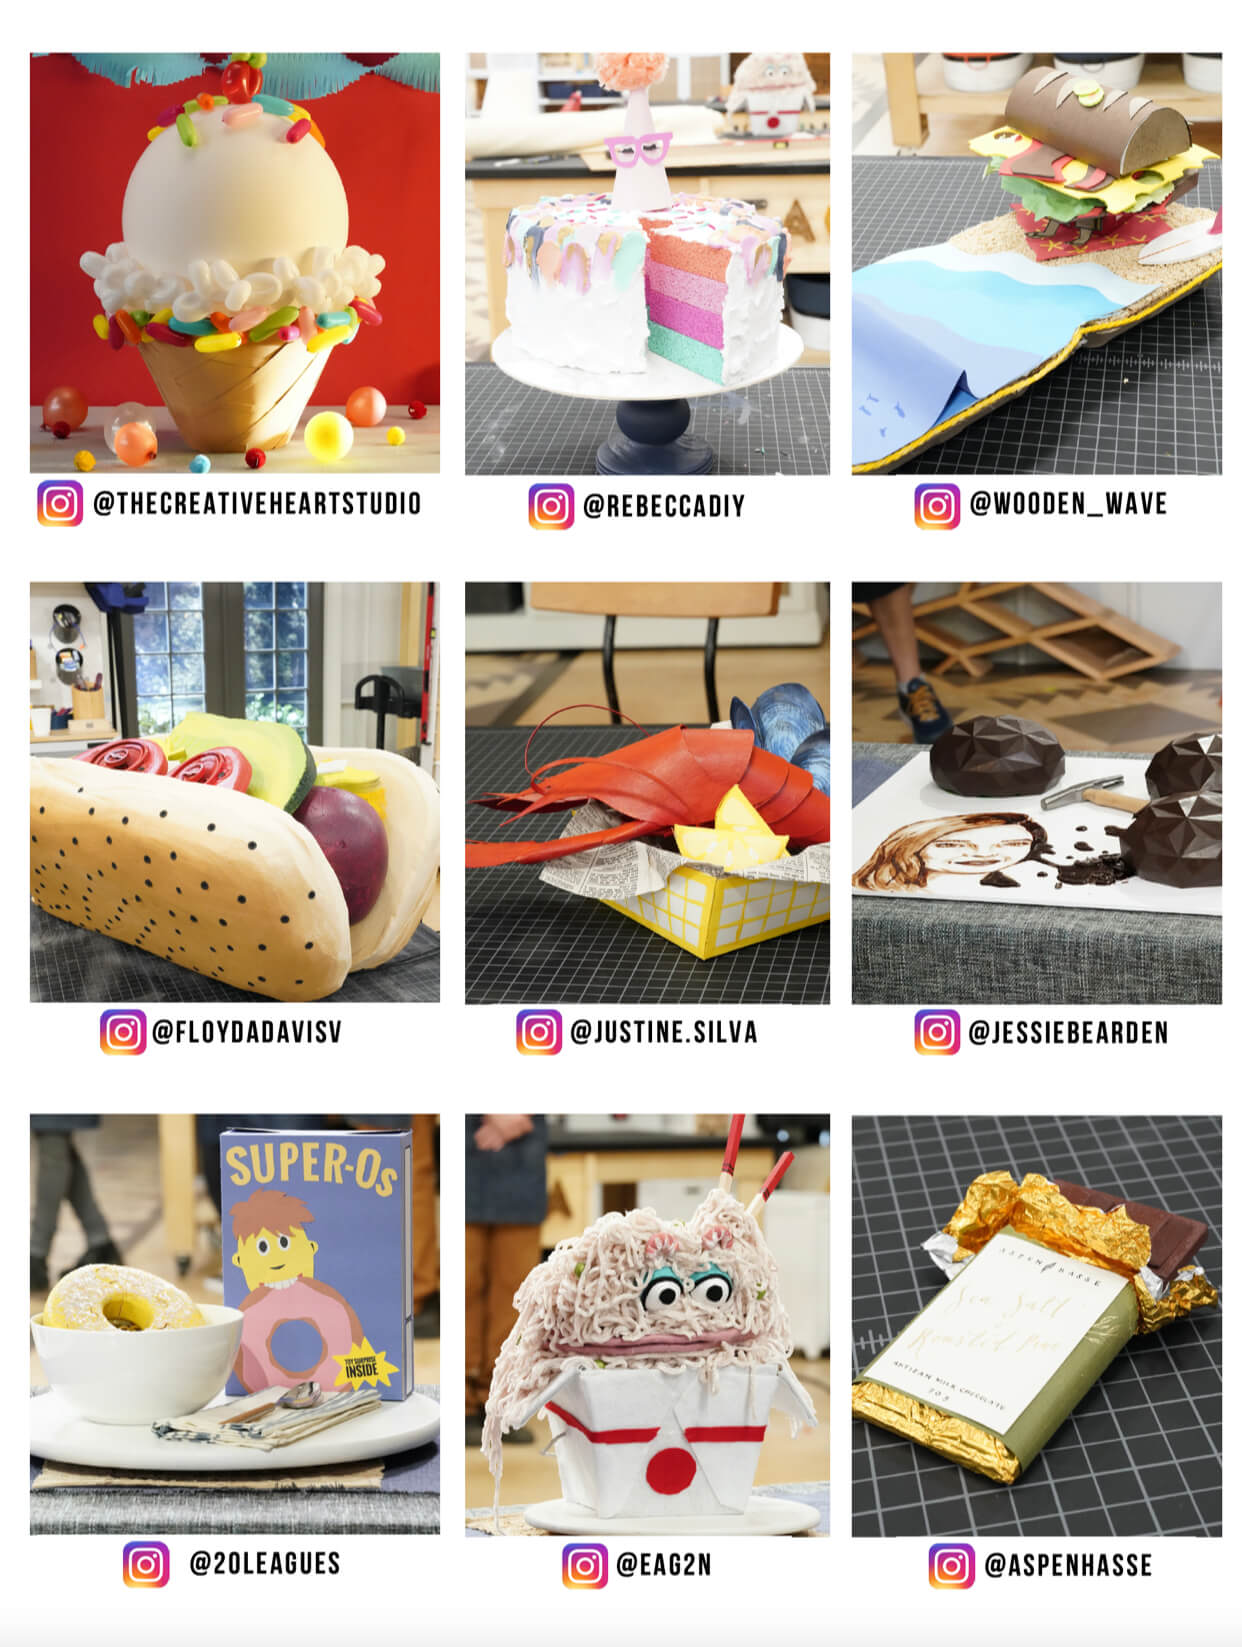
Master Craft
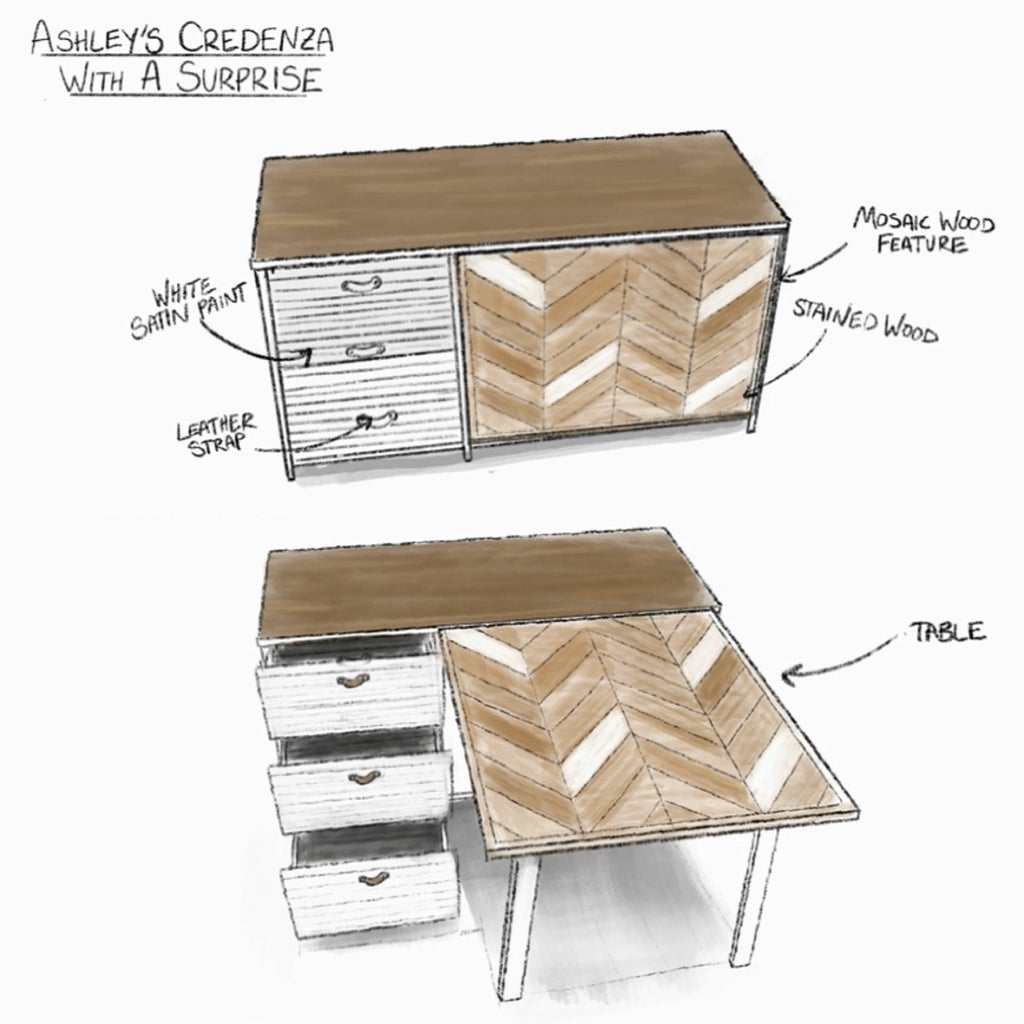
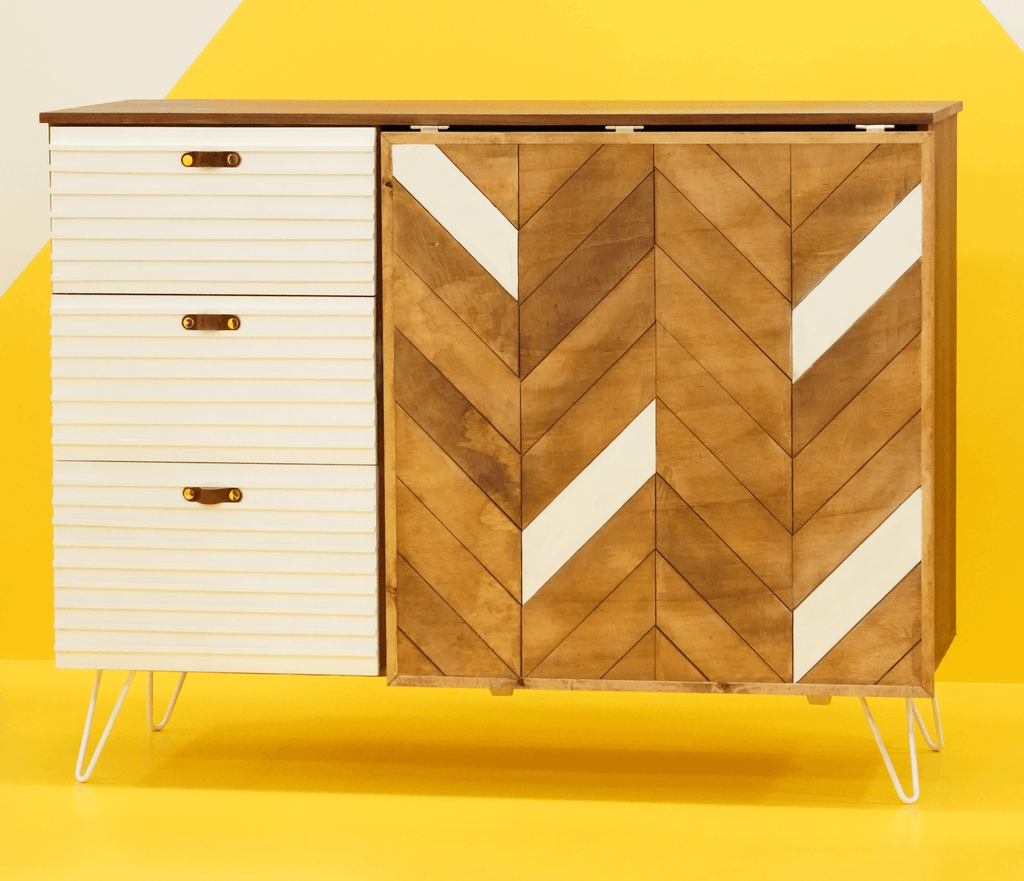
For the master craft, we were tasked to recreate a favorite craft from our youth. Because I started making later in life, I kind of joined the to together. I used to do mosaics as a kid, which was the inspiration for the door design and I decided to make the door double as a table because that was the first thing I ever made.
With this being the master craft challenge, I was definitely happy with how it turned out but I was still pressed for time, so unfortunately I got dinged for a last minute mess-up. But nonetheless, I built a credenza in under 10 hours, so I would say that's a job well done.
This was the first time I used walnut plywood and I absolutely loved it. I also really loved using these fun leather straps and golden caps as drawer pulls.
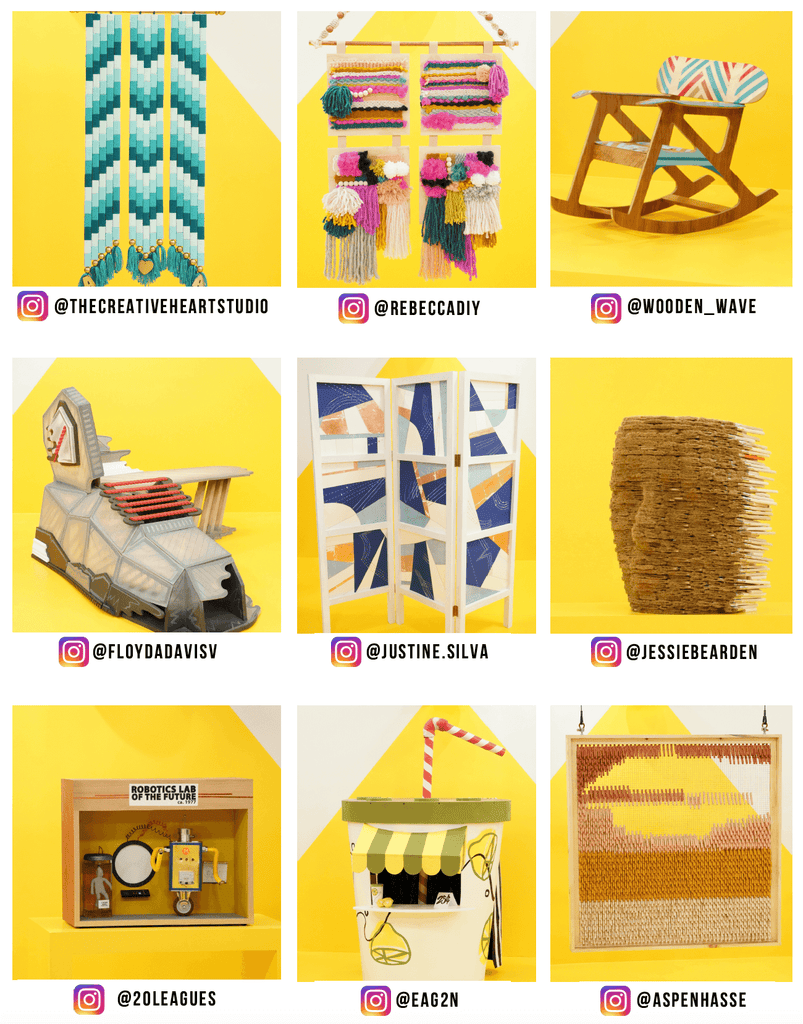
The other nine makers wowed again with some of their pieces. I was really impressed with Floyd's shoe bench! Check out their work below.
Lets check out the judging portion of the master craft below.
Judging
The judging portion was probably a little nerve wracking for all of us. It's our first challenge and our work is being critiqued by judges Dayna Johnson and Simon Doonan.
For the master craft, Justine wowed the judges with her stitched room divider. I really liked that Justine made something practical that most people would want in their homes.
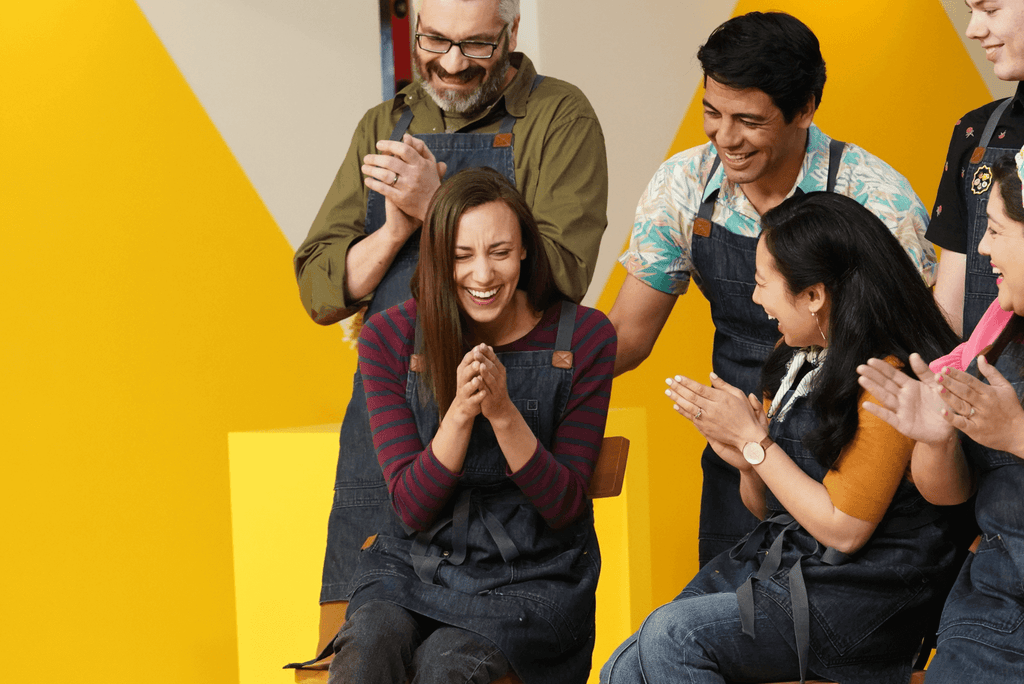 Unfortunately, each episode a maker has to go home and this by far was the roughest part for all of us. We all grew extremely close very quickly and it was always hard to see people go. We had to say goodbye to Aspen in the first episode and the first one seemed like the hardest elimination.
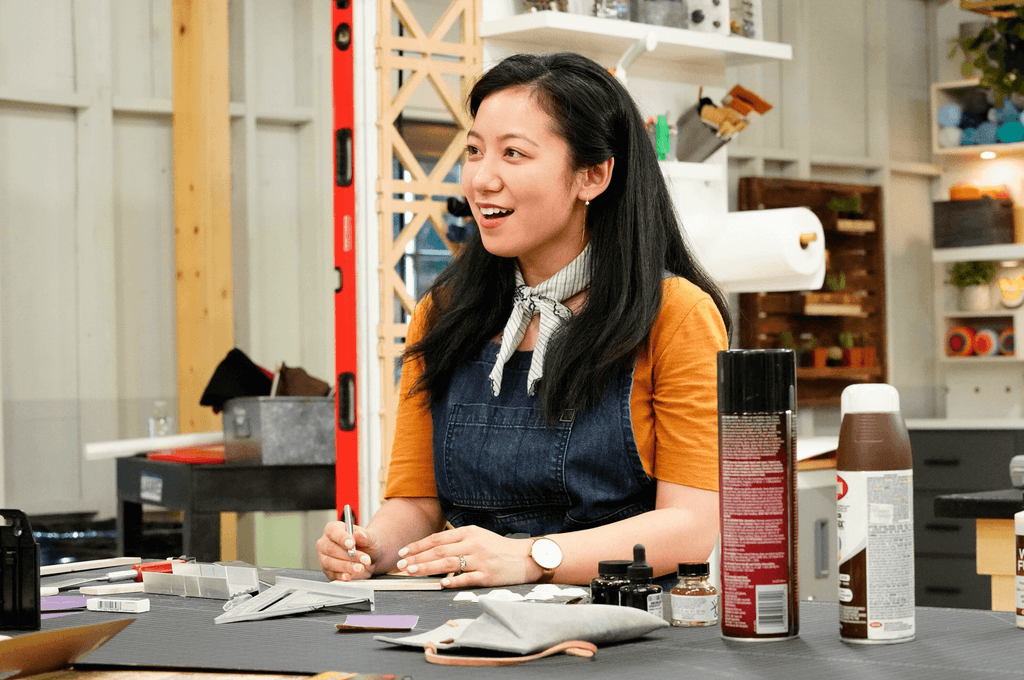
Even though Aspen left us on the first night, she is still an incredible artist and calligrapher. Be sure to follow along on her journey here on Instagram.
Welp, that wraps up the details for Episode 1, click here to see what happens next in Episode 2!.
Thanks for reading guys, XOXO Ashley.
Official Announcement | Making It Photoshoot | Premiere Party | Episode 2 Recap | Episode 3 Recap | Casting Tips
Making It- Season 2 (Official Announcement)
Making It - Season 2! Here I come
Man O Man! Do I have a surprise for you guys! I have been holding in a little secret for a while now and I finally get to share it with you guys! If you haven’t guessed by now! I will be making an appearance on NBC’s show Making It with hosts Nick Offerman and Amy Poehler.
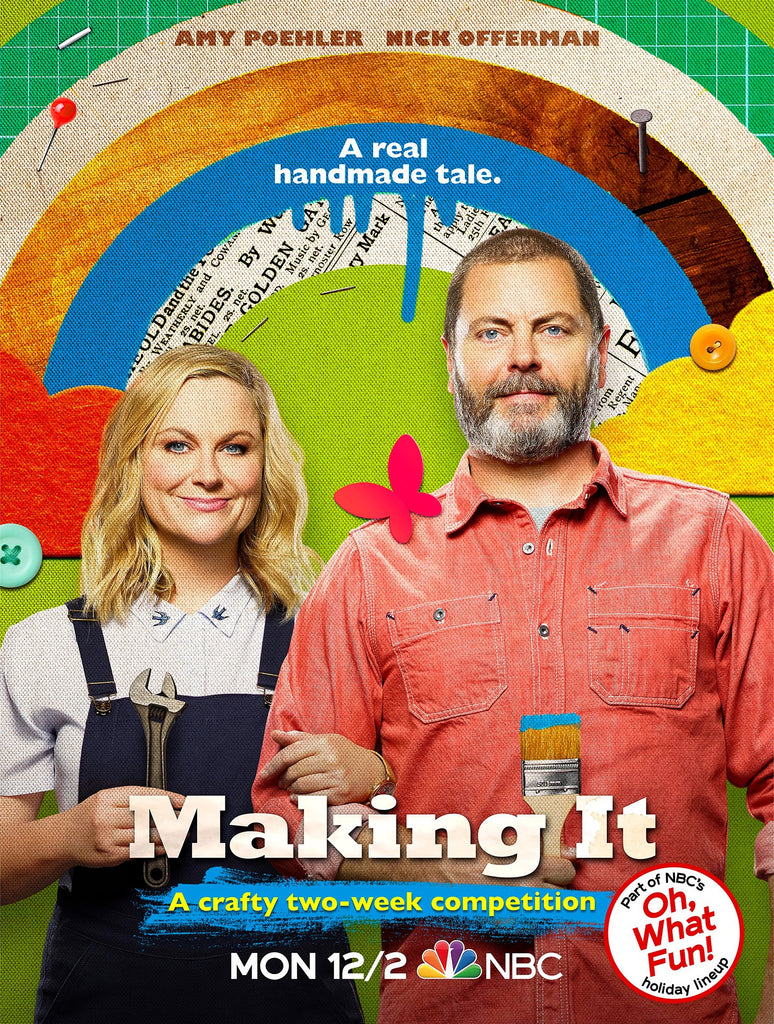
AHHHH! That's so crazy to finally say, and I have been waiting for what feels like a lifetime to tell you guys. If you haven't heard of the show, let me break it down for you.
Making It is a fun competition where talented makers across the world take on a variety of handmade projects with the hopes of impressing the hosts Nick and Amy as well as the two judges Dayna Johnson and Simon Doonan.
Each competition will consist of two timed challenges; a faster-craft, which you've probably guessed is a quick challenge, and a master craft challenge. What more could a girl ask for?
The story of how I got casted is so fun and I am really excited to be a part of Making It Season 2. I also get the opportunity to work alongside some other amazing, talented makers and I can't wait for you guys to see such amazing, talented individuals. Be sure to check it out this holiday season.
Making It - Season 2 premieres December 2, 2019 @ 10PM ET/ 9PM CT
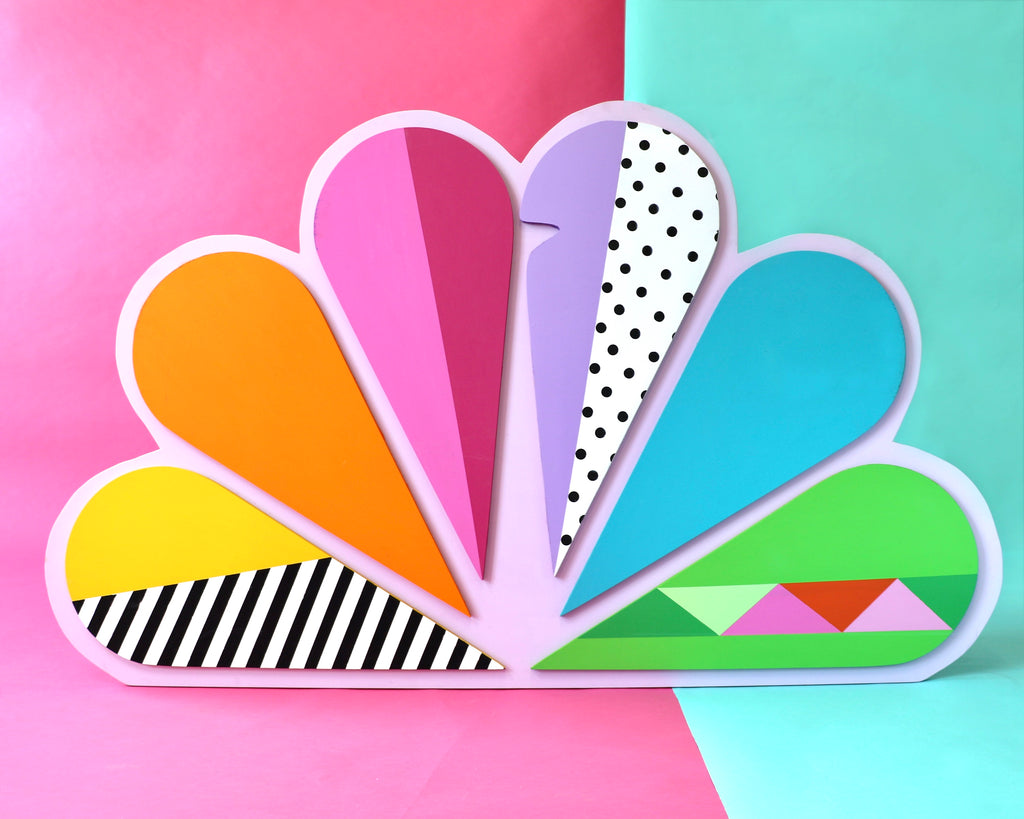
Since I'm already in the Making It mood, see how I kicked off my making it journey with a fun photoshoot to announce the show and my first craft, the peacock logo!
Making It Photoshoot | Premiere Party | Episode 1 Recap | Episode 2 Recap | Episode 3 Recap | Casting Tips
Making It Photoshoot (Behind the Scenes)
"Taking Making It to a whole notha' level with a fun photoshoot"
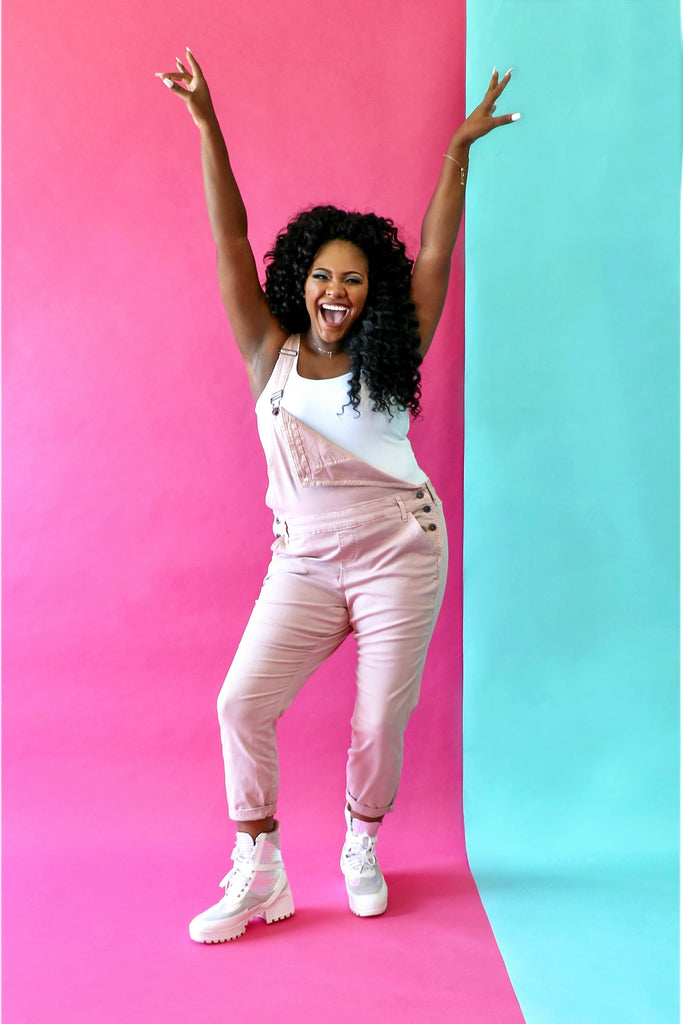
Being on Season 2 of Making It has been a super fun experience already and I knew as soon as I was casted for the show that I was going to have to do something fun to celebrate. So I decided to plan a fun photoshoot to help me remember this amazing experience.

Prepping for the Shoot
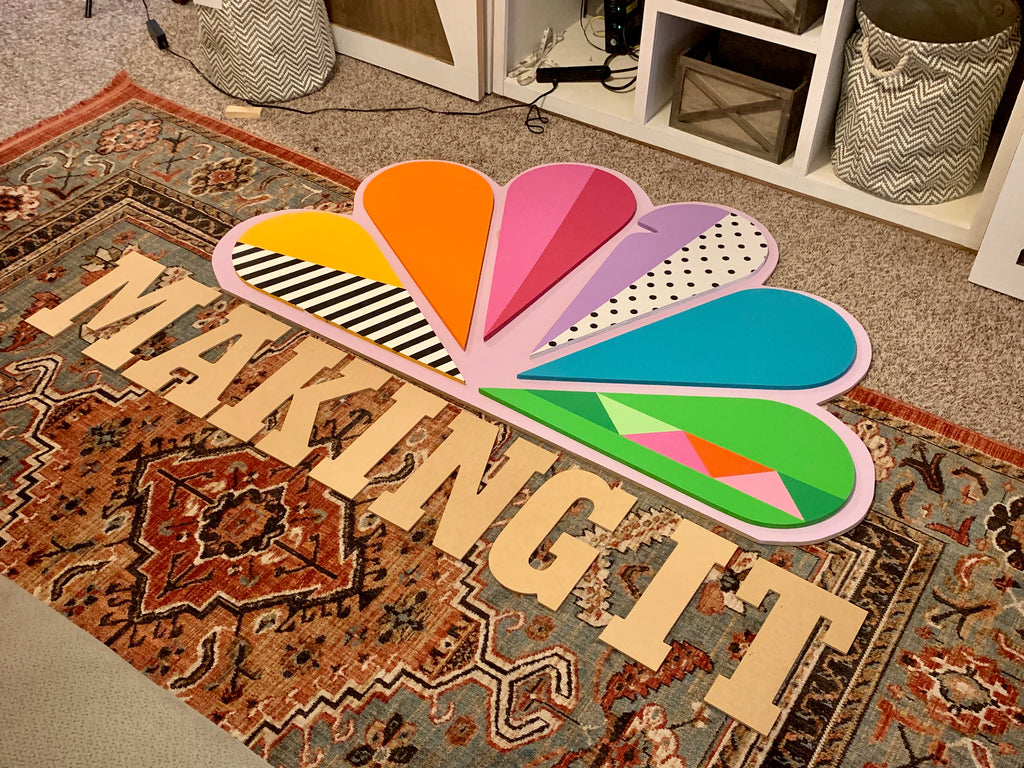
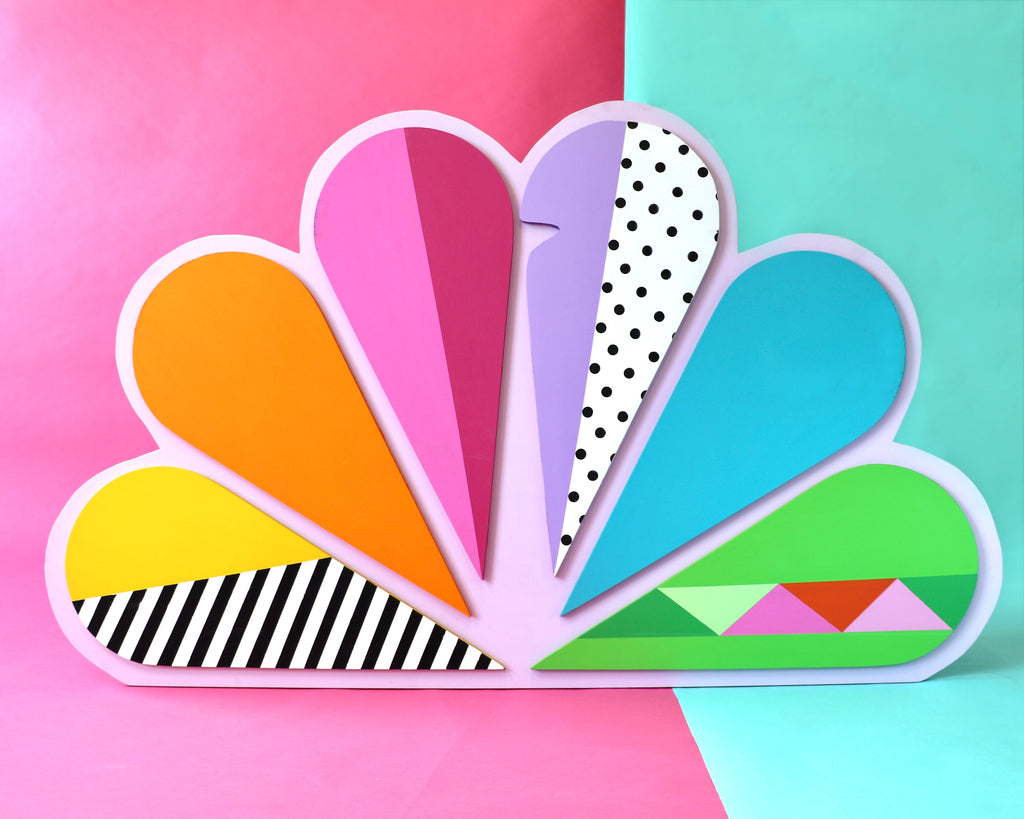
I knew I wanted to somehow incorporate the NBC logo in this shoot, so the first step in this process was creating the logo sign. Originally, The sign wasn't planned to be this big, but go big or go home right!?
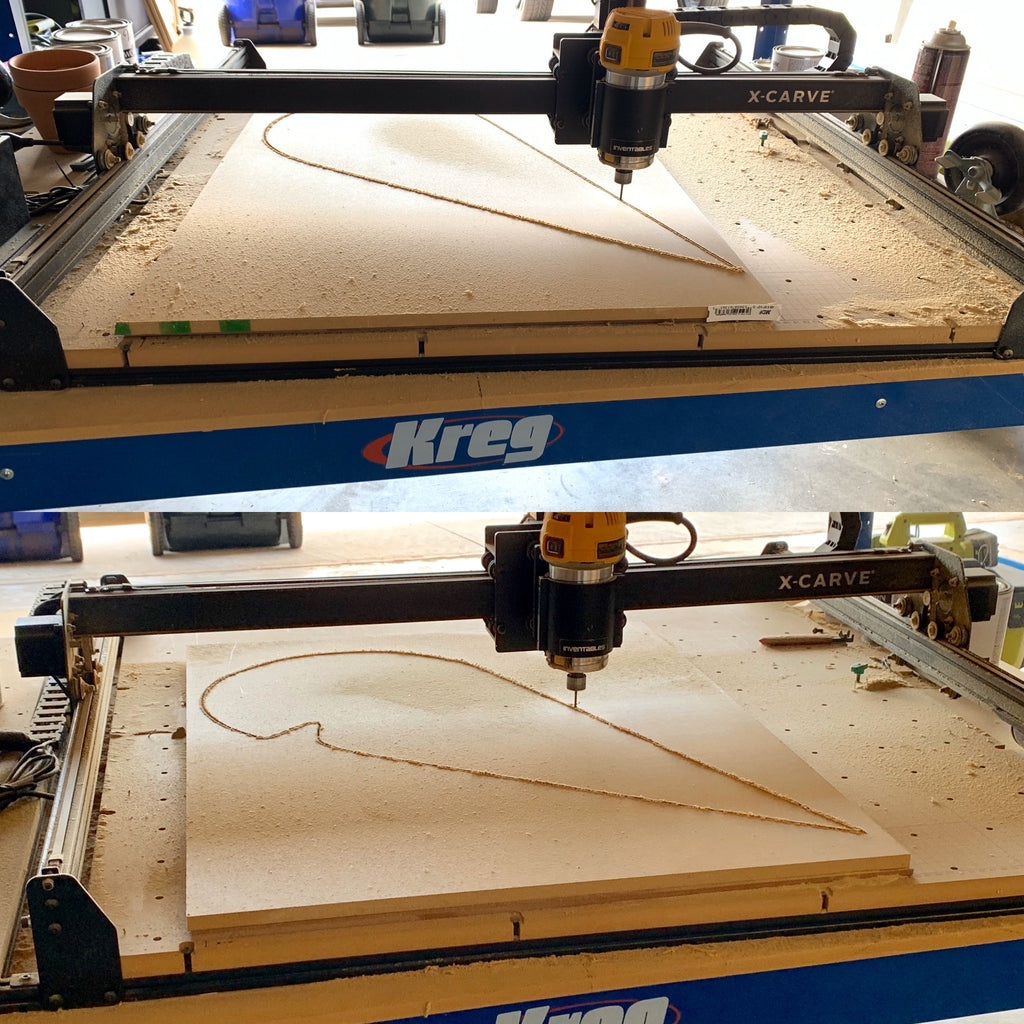
I first cut out the feathers for the logo with my Inventables XCarve, it's a CNC machine, and if you are a sign maker you know all to well how awesome these machines are! I used 3/4" MDF sign because I really wanted the craft paint to pop and the matching cuts through MDF like butta!
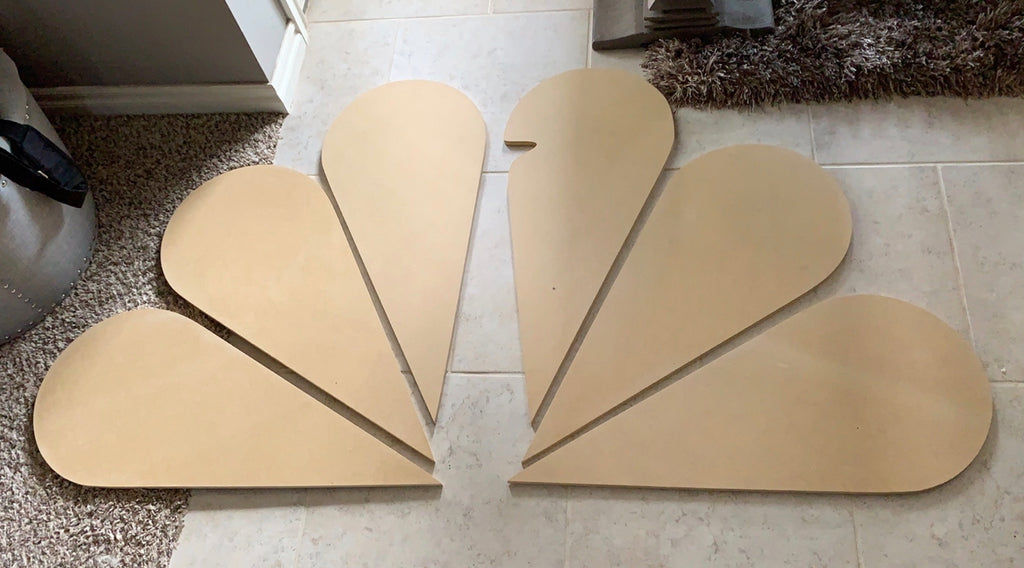
With the feather cutouts finished, all I had to worry about was cutting out the back of the logo. I used a 3/4" sheet of MDF and freehanded the back of the peacock logo and used my jigsaw to cut out the pattern and for all you colorful craft lovers don't worry, I won't leave you hanging, I have linked all of the colors I used for the logo below.
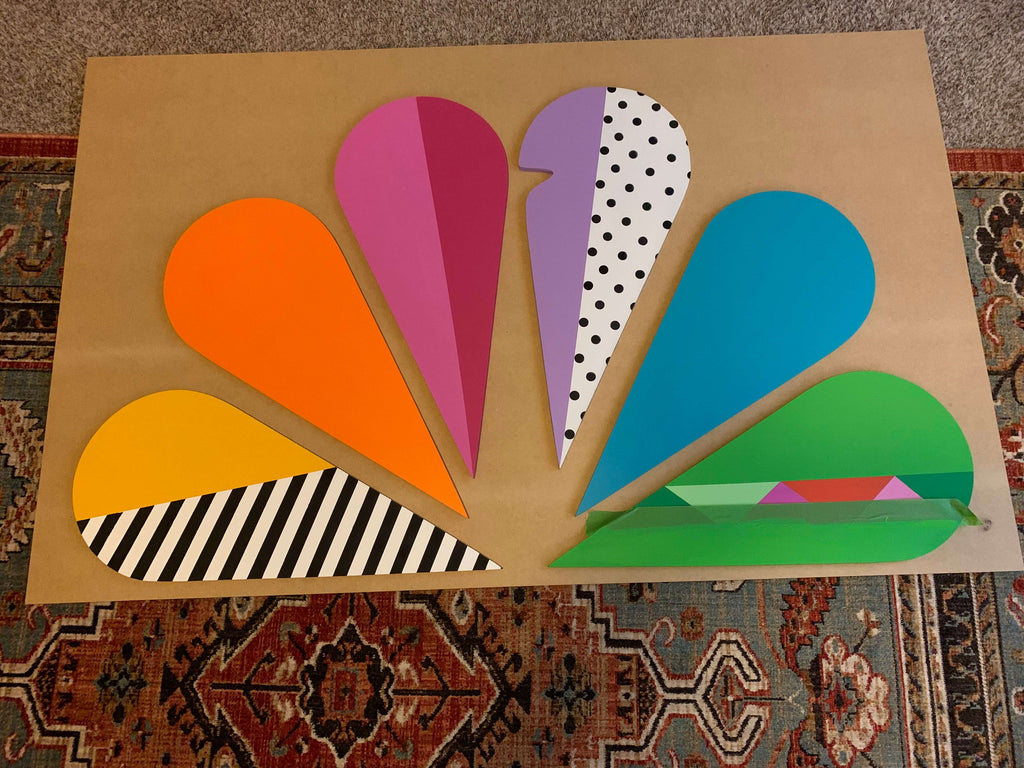
Peacock Colors (Left to Right) Apple Barrel Black//Apple Barrel White// Apple Barrel Yellow// Apple Barrel Harvest Orange/Tangelo // DecoArt Carasoul Pink// DecoArt Royal Fuchsia// Apple Barrel Wisteria // Apple Barrel Caribbean// Apple Barrel Lime Sherbert // Back of Peacock - Apple Barrel Lavender
and WAAA-LAAAAH there you have it. I attached the individual feather pieces to the MDF board using DAP RapidFuse Glue, it's some strong stuff. O yea, and the Inventables XCarve cuts out letters too.
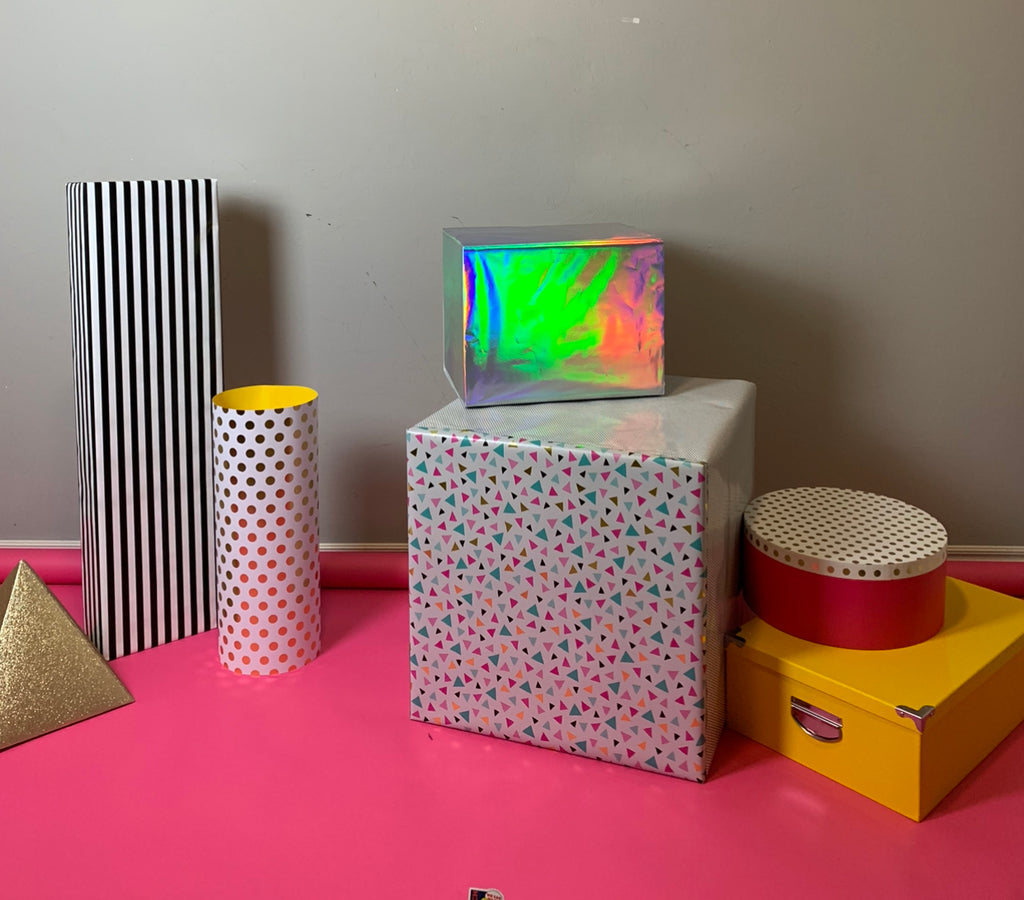
Although I knew the peacock would be the main prop, I decided to whip up some other props just for effect. So I decided to wrap some cardboard boxes with wrapping paper. Can you say Easy Peesy!
The Shoot
Here are the materiels I used to pull the shoot off.
I knew I wanted this shoot to be super fun and colorful so I decided to go with the double color backdrop. Funny story before we got these shots, I accidentally fell on the backdrop (after attempting to jump off a chair) and knocked it all down! Luckily, I had a great team behind me to save the day! Shoutout to my Team (Taylor, Kim, Regina and David)
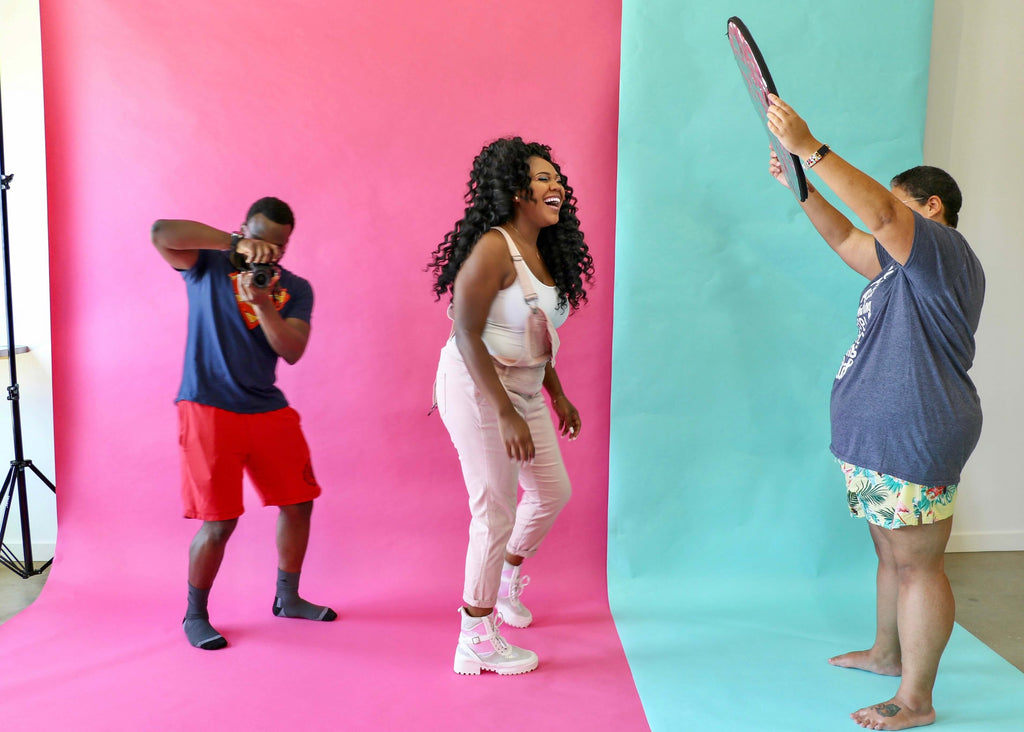
 I knew pictures wouldn’t really do the shooting process justice so you know I had to get the shoot on camera. Watch and Enjoy.
Thanks for reading guys and if you missed the official announcement be sure to check it out here!
Official Announcement | Premiere Party | Episode 1 Recap | Episode 2 Recap | Episode 3 Recap | Casting Tips
I Did It - Better Homes and Gardens Feature
Used with permission from Better Homes and Gardens® magazine. ©2014 Meredith Corporation. All rights reserved.
I DID IT! No, but really I was featured in Better Homes and Gardens Magazine.
The I DID IT feature section in Better Homes and Gardens Magazine has been one that I’ve always drooled over and said “I wish I could be featured in there” As a blogger, there are so many things that you hope to happen as a content creator and I am here to tell you that I am marking one of those things off the list.
I have been holding this in for a while, but I am excited to finally announce that I have been featured in the July 2018 issue of Better Homes and Gardens Magazine! (Does Happy Dance) I’m sure you’re wondering, how the heck did I swing that? Well todays your lucky day because I’m giving the inside scoop on how it all went down.
Where It All Began
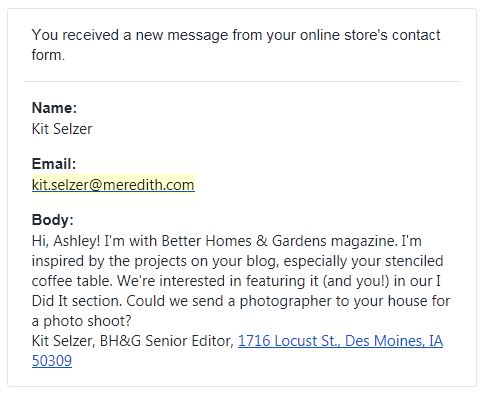
I was at work, like any other day and I was sitting in a meeting. This particular meeting had gone pretty long and was wrapping up so I decided to check my emails on my phone. I noticed I had a customer message from my blogs contact page so I opened it up and that was the beginning of this great adventure. Check out what it said:
Who knew that such a small email could be so exciting!! At first I wasn’t sure what to think. I thought; is this real? (But really) and how did she even find me? Then I immediately replied back with Yes! I would love that.
After a few email exchanges, she gave me a call and explained that she loved my DIY Tile Stenciled Coffee Table project and wanted to feature it in the I Did It section of Better Homes and Gardens Magazine and although I tried to sound professional I was super giddy inside.
After the call, we exchanged emails back and forth to decide when the shoot would be and where and finally decided on a day. The anticipation of it all was killing me; I just couldn’t wait.
The Walkthrough
After about a month and a half of sending emails back and forth, the day for the shoot was finally near! The day before the shoot, Lindsey the photo stylist, came to the house to check out the space and brainstorm and gave me a rundown of what to expect for the next day shoot. We also talked through wardrobe.
At this point, I had so much excitement for the shoot. I mean I knew the shoot was going to take place but the fact that it was actually happening in real time was so fun and liberating. That night I went through my wardrobe thinking, “What in the world am I going to wear?” and the worst part was I had to bring options! You would think with as many clothes as I have in my closet I would have a lot of options, but apparently not. At least not good enough for Better Homes and Gardens Magazine.
The Shoot
The day of the shoot was super fun! I had all of this built up excitement in me and the day was finally here.
The first thing we did was decide what I was going to wear. It didn’t take long for Lindsey to pick out the bright colored shirt I brought.
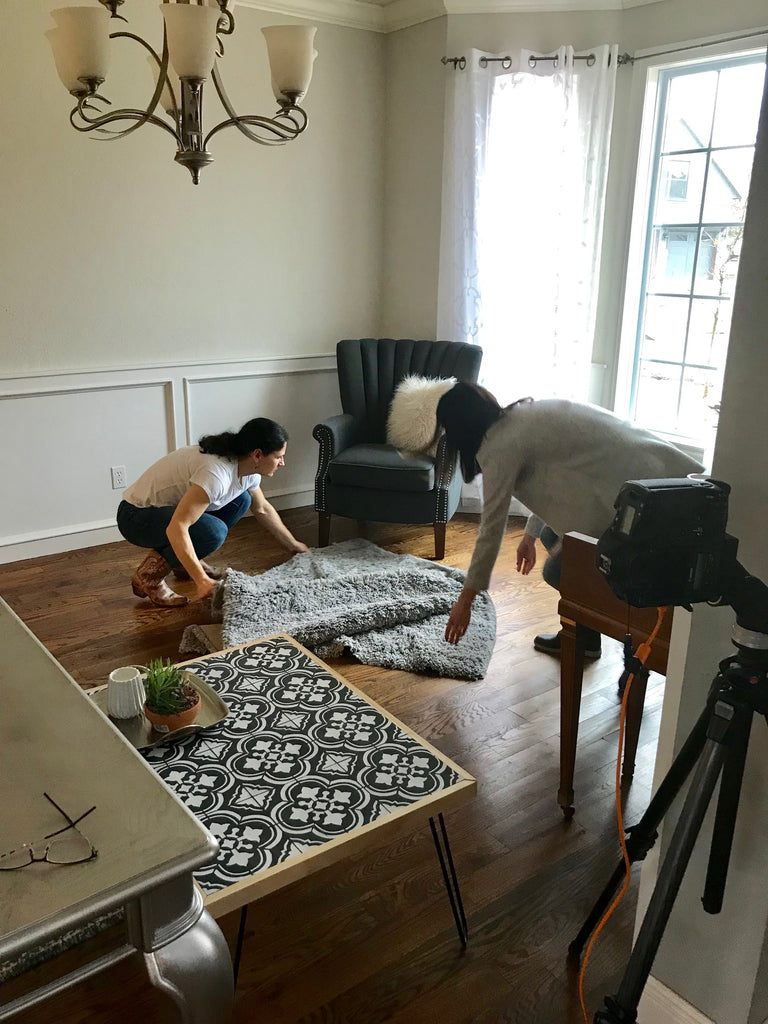
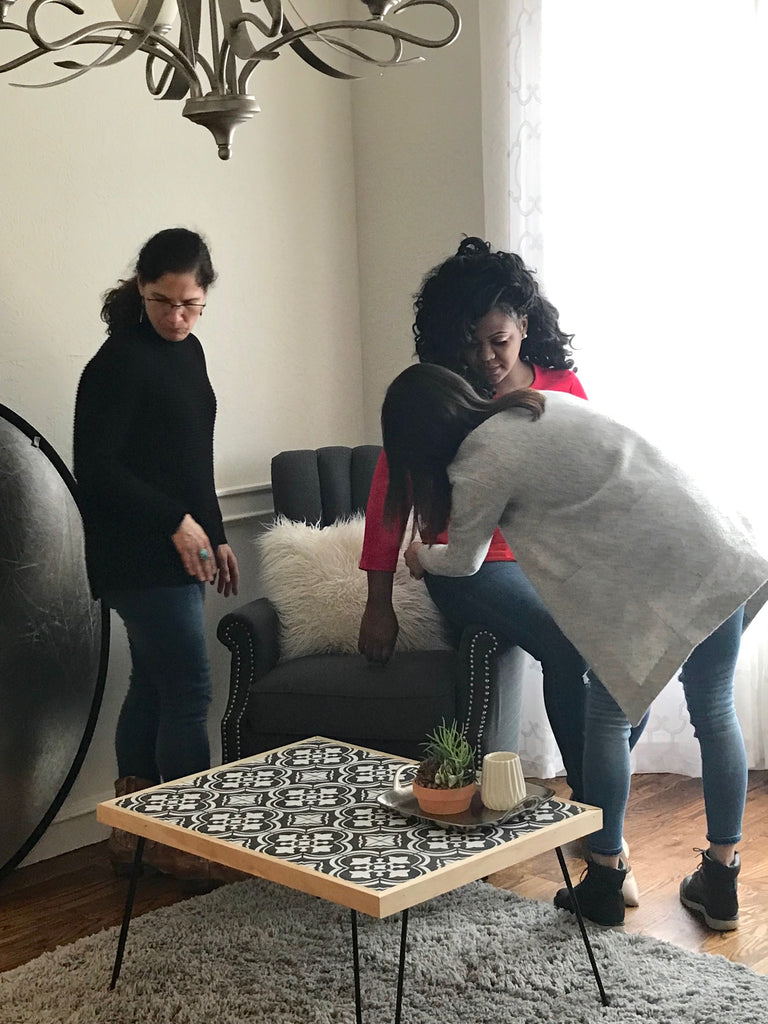
While talking through wardrobe, the photographer started doing some test shots to figure out where exactly we would shoot and what props we were going to leave in the shot. All of this was so fun to experience. The ladies were so nice and down to earth and I enjoyed spending half of the day with them.
Once we decided on what the shot would look like, it was time to take the actual photos. Now mind you, we spent around 3 hours doing test shots, reorganizing furniture and preparing for the actual shot, so I’m thinking surely the shot will take some time.
But to my surprise, after about 15 shots we were done! It’s crazy how the setup can take so long!
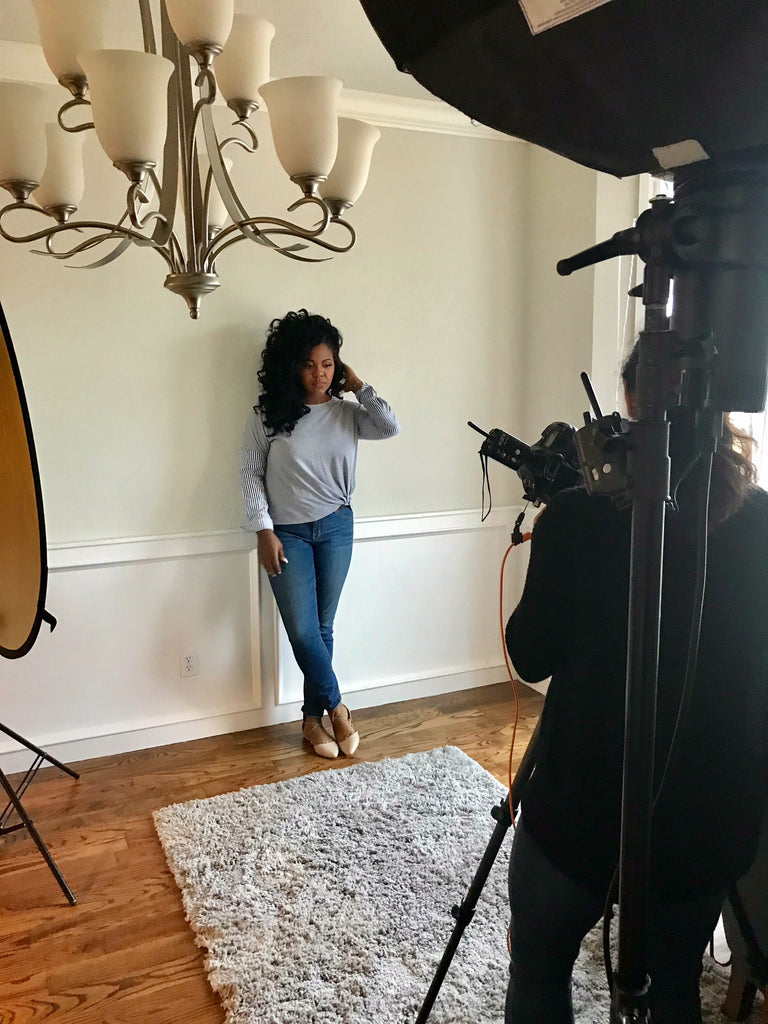
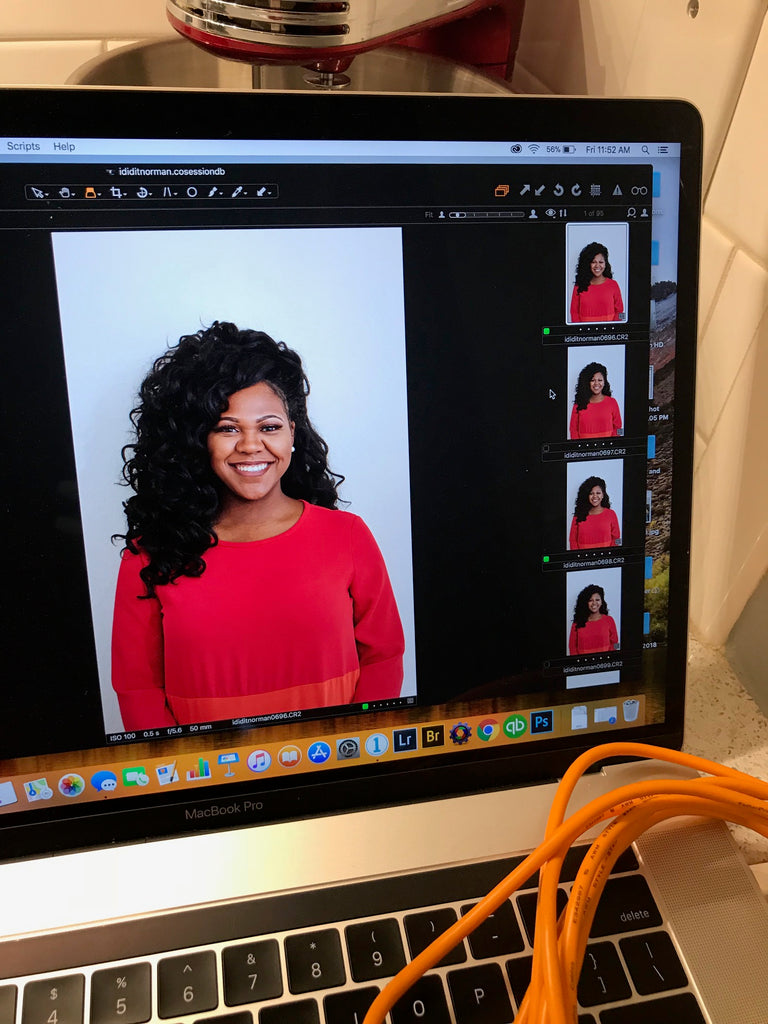
After we finished the main shot, I changed my shirt to take some headshots for the second page of the I DID It feature. This is when I really started having fun with the camera.
Even though they wanted a different color for the headshot, the pink shirt was just such a great color, we decided to take a headshot in that shirt too!
WRAPPING UP
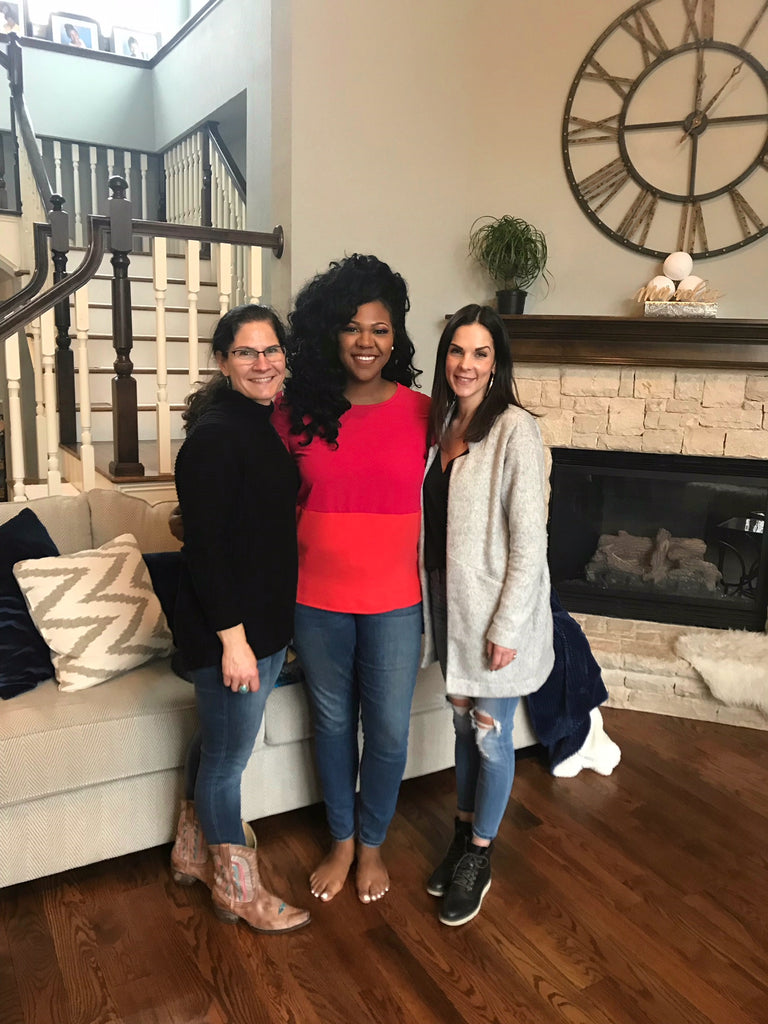
Once everything was finished with the shoot, I asked Lindsey when she thought the shoot would publish and she wasn’t sure, so I had to play the waiting game. They packed up all their equipment and we took a final photo to remember the experience. These ladies were so great to work with.
The shoot took place in February and it wasn’t until about a month after that I got an email saying the issue would publish in the Better Homes and Gardens July 2018 issue. I was super excited to know when it was going to be published but also bummed I would have to hold it in so long!
After sending emails back and forth to Kit with interview questions and wrap up questions, it was finally getting close to the day the magazine hit the stands. A few days before I was super excited and finally started telling people about the feature. I was letting people know if they want a magazine, they better go before my mom hits the stores, or else there would be none left! Ha! Love you Mom!
Let’s take a look at the final result!

Used with permission from Better Homes and Gardens® magazine. ©2014 Meredith Corporation. All rights reserved.
If you are a Home and Gardens blogger and would like to be featured too. Check out Better Homes and Gardens Website and submit your projects for the I Did It section. And O yea go get that July 2018 issue of Better Homes and Gardens Magazine and check your girl out!
Thanks for reading guys!
XOXO Ashley


