DIY Farmhouse Console Table
"Console Tables can never get old."
With all of the building I have done within my building career, I think it is safe to say that console tables are something that I have built the most. They are both, easy to build and fun to style.
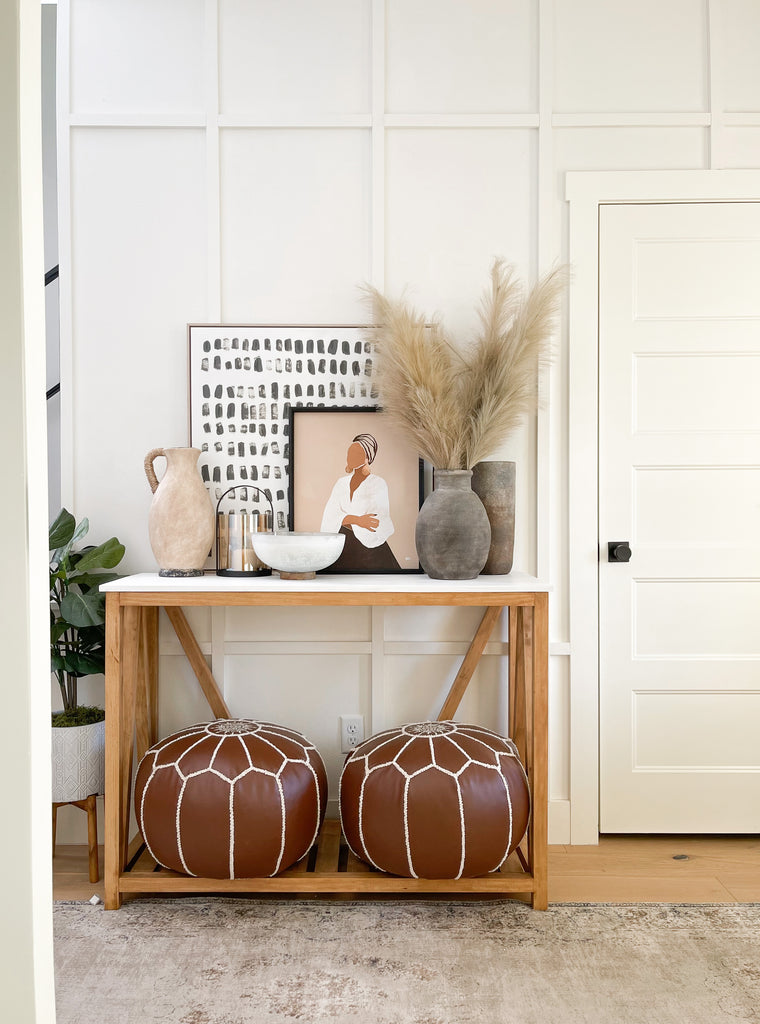
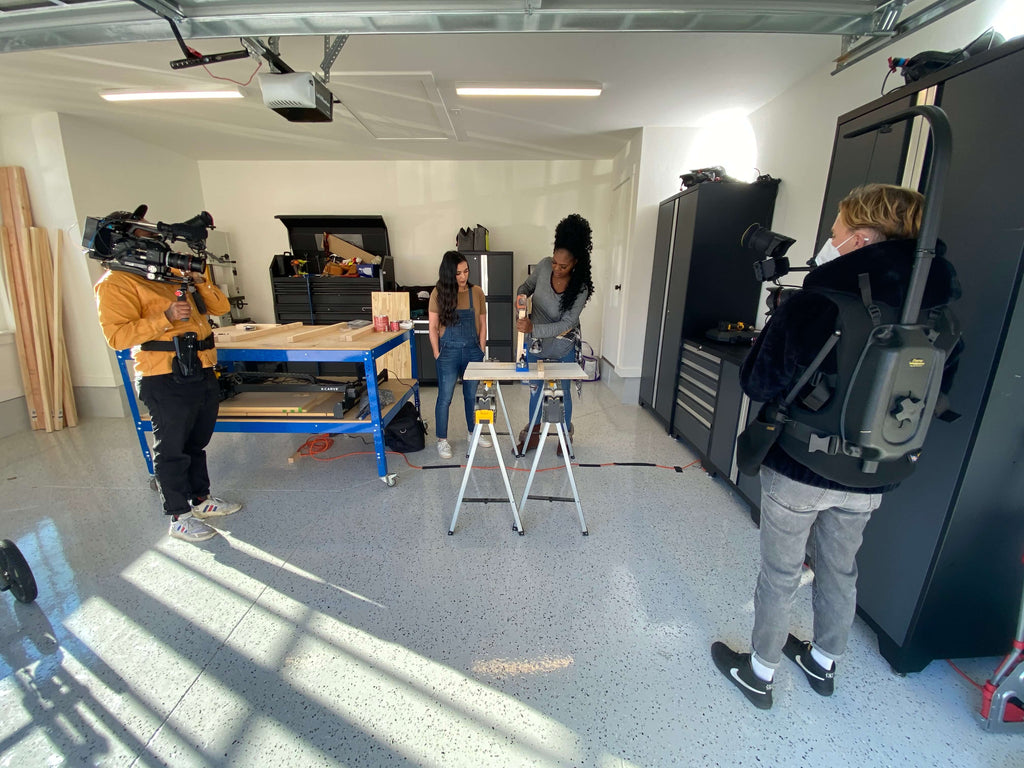
So today, I am providing you guys the plans for this fun little entryway project that I built. The even more exciting part is that this build was the first project that I built for my home! Even better, it was caught all on film.

- 3 - 12x2x6s
- 4 - 2x2x8s
- 2 - 1x3x8s
- (1) Project Panel (15.75" x 48")
- 2 1/2" Pocket Hole Screws
STEP 1: Assemble Console Sides
The first thing I did was build out the sides; and it should be to no surprise that I used my handy dandy Kreg Jig to do so. I really had fun with this particular build because I had some company with me; my girl Ashley! Yup, two Ashley's building!


STEP 2: Build the Frame
Once the two sides were built, I started building out the frame. I first attached the top two stretchers and then the bottom two.

Again, clamps can be helpful with this step, especially if you're working alone but luckily I had a few extra hands this time from my helper, Ashley.

STEP 3 : Add Bottom Slats
Once the frame was built, we started putting in the bottom slats. This part of the project really brought the console to life.

My parents were able be in town while Ashley and the crew came out, so even Poppa Fred got to join in on the building fun. Once the slats were all in, the console table was all built!
STEP 4 : Prep and Stain the DIY Console
Once the console was built, we filled all of the nail holes and cracks with wood filler and then used a pre-wood conditioner on the console. I always use this to get a nice clean finish when I'm staining.
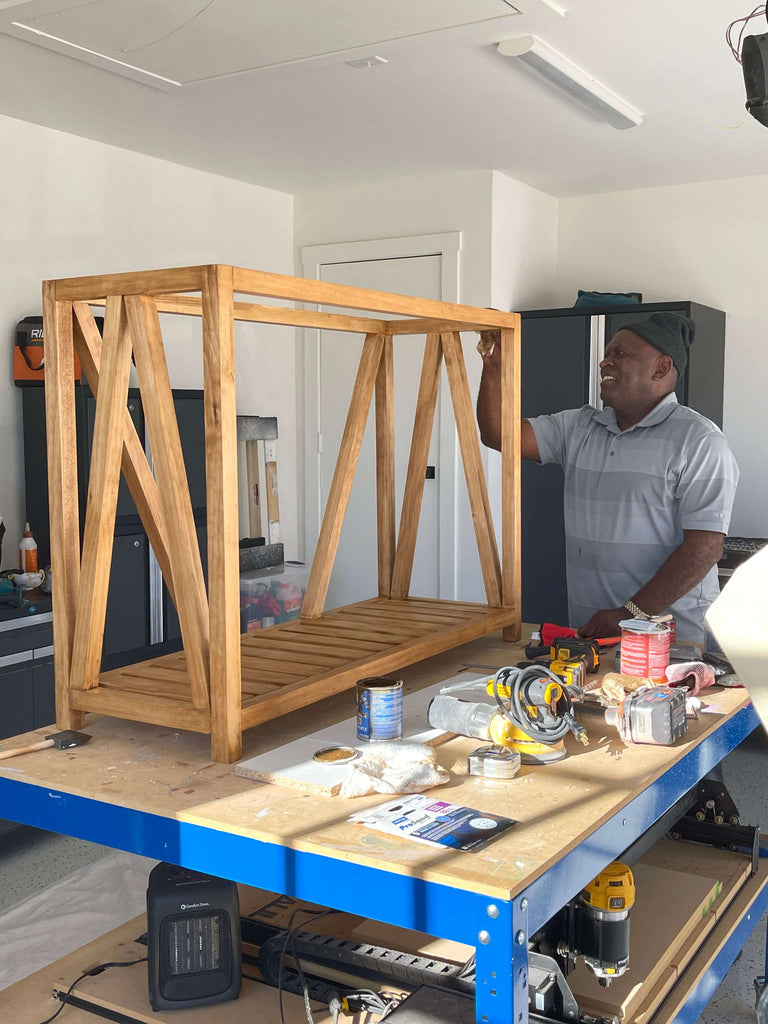 My dad helped me out here on the staining and I must say, it was pretty awesome to have some help in the shop. We used a gel stain on this build and I really loved how I turned out.
Once the stain was dry, we painted the top white and place it on top of the console and attached it using brad nails.
If you want to re-create this farmhouse console table, I surely won't leave you hanging. Check out the printable plans above.

And that's a wrap for the Farmhouse Console! I hope you guys enjoyed this post!

and as always, thanks for reading! XOXO Ashley