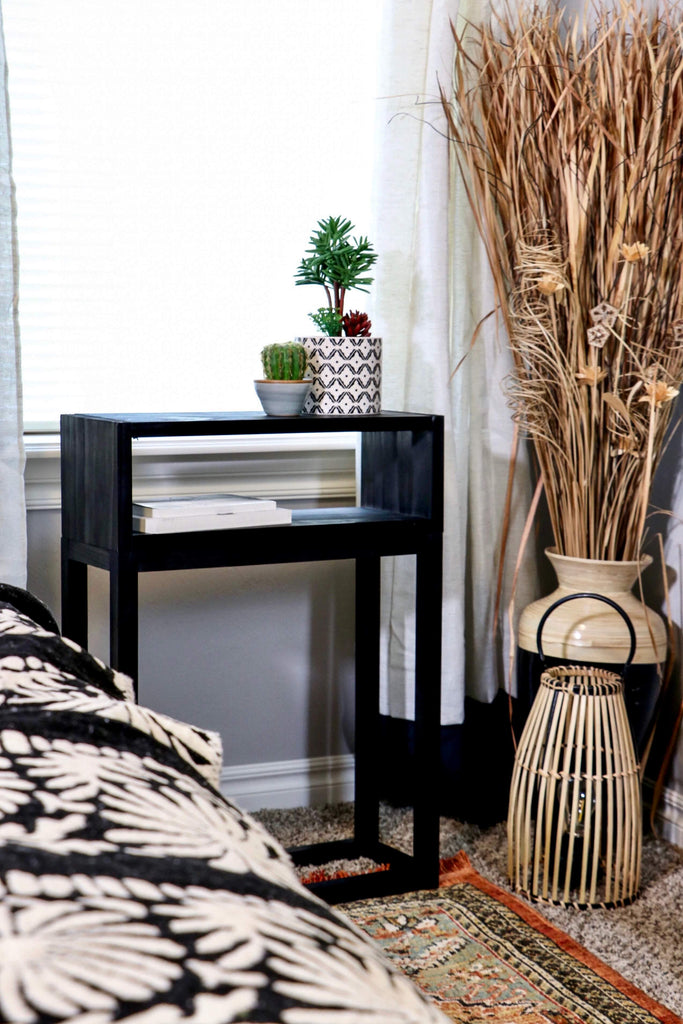
"A simplistic modern nightstand perfect for the bedroom"
The more I get into building, the more I'm discovering how much I really love the modern look, so I thought why not add some modern flare to my guest bedroom with this DIY Modern Nightstand.
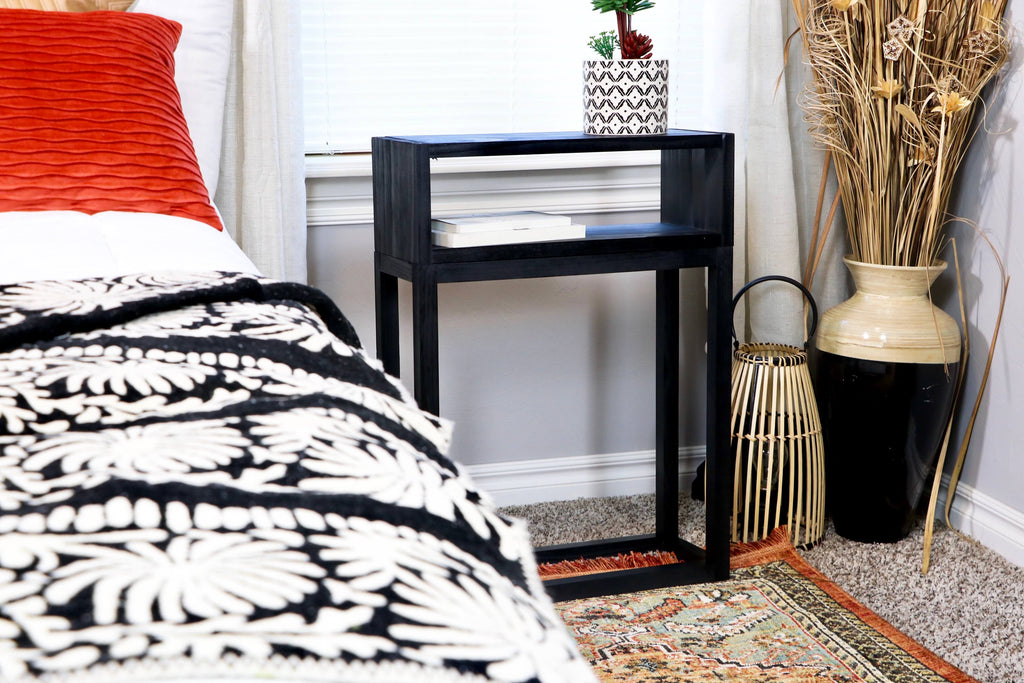 The best part about this build is that it only cost me around $25; now that sounds like a win win. With a few dowels and a pine board, I was able to whip up this nightstand in under an hour. If you're a beginner DIYer, this is the perfect project for you!
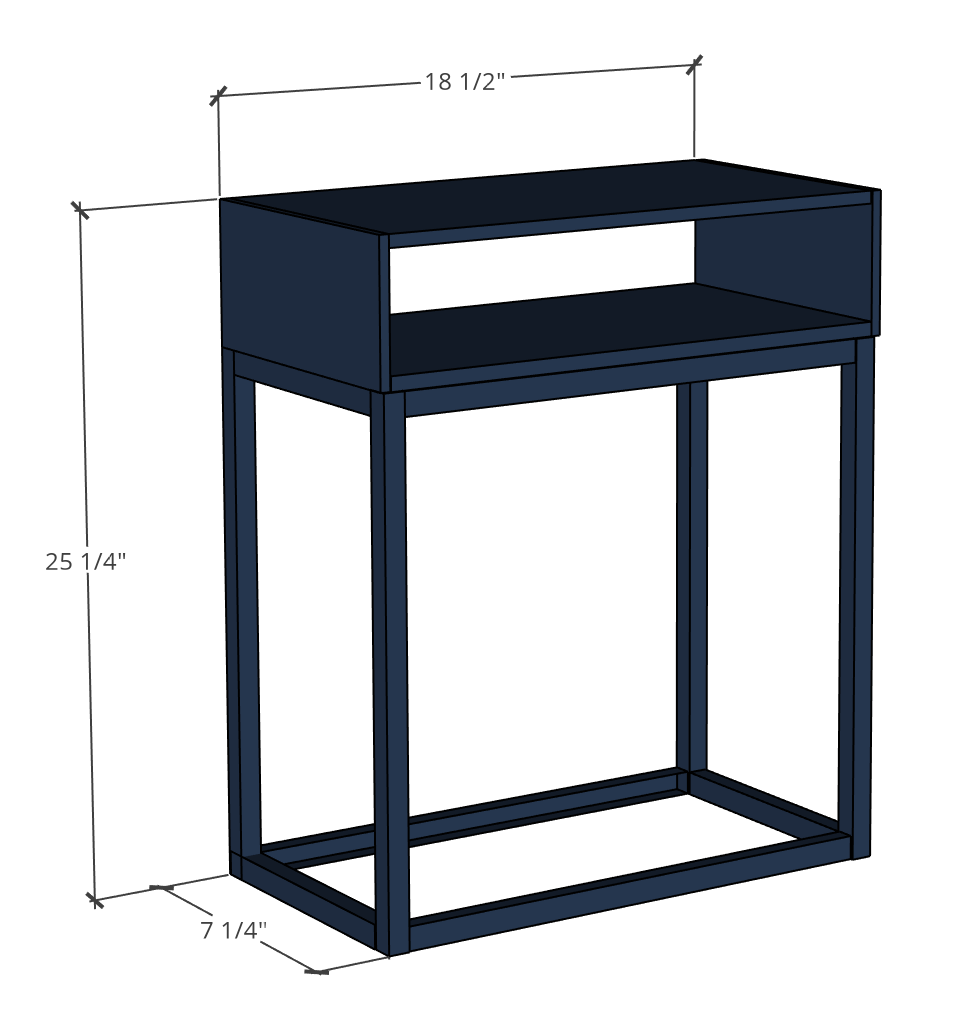
- 1 - 1x8x6
- 5 - 1" dowels
- 1 1/4" pocket hole screws
- Wood Glue
- 1 1/4" Brad Nails
Tools Used
Now let's get into it!
Step 1: Cut Wood to Size
Cut your wood down to size. Here is the cut list you'll need to build the modern nightstand.
- 4 - 1" dowels @ 19"
- 4 - 1" dowels @ 16 1/2"
- 4 - 1" dowels @ 5 1/4"
- 2 - 1x8s @ 17"
- 2 - 1x8s @ 6 1/4"
Step 2: Assemble the Modern Nightstand Top
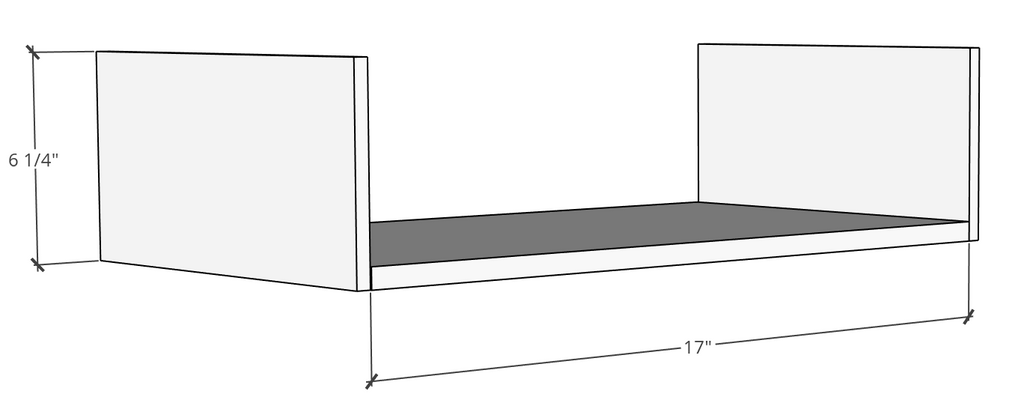
First attach the bottom (17") 1x8 board to the (6 1/4") board using a Kreg Jig K4 Pocket Hole System on a 3/4” setting, with 1 1/4" Pocket Hole Screws to attach along with wood glue.
Then attach the top (17") board. The pocket holes should be facing down when the nightstand top is sitting right side up.
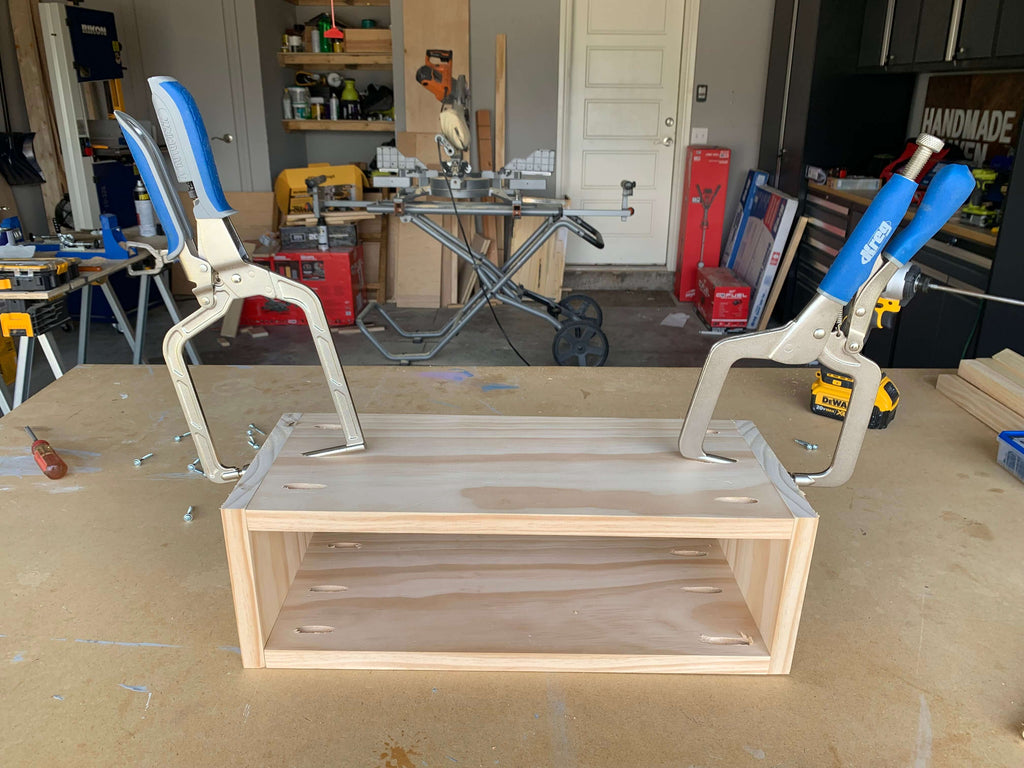 I used my Kreg Right Angle Clamps to help me keep the boards secure while I screwed in the pocket hole screws.
Step 3: Assemble Modern Nightstand Base
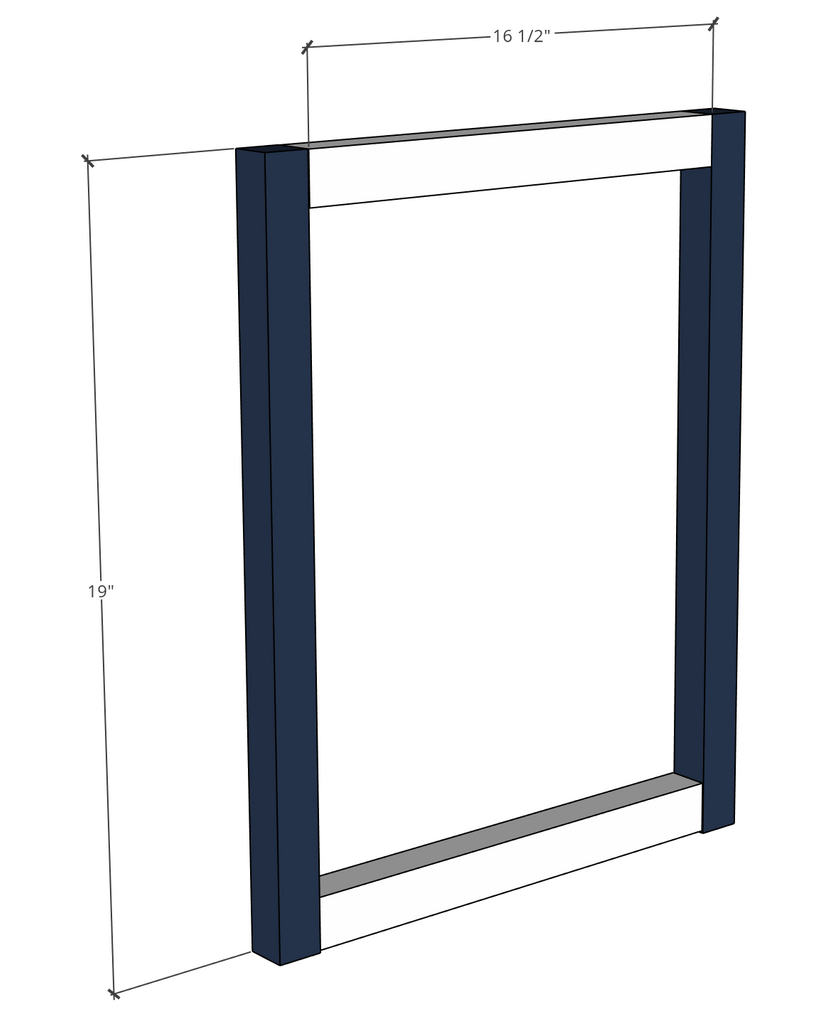
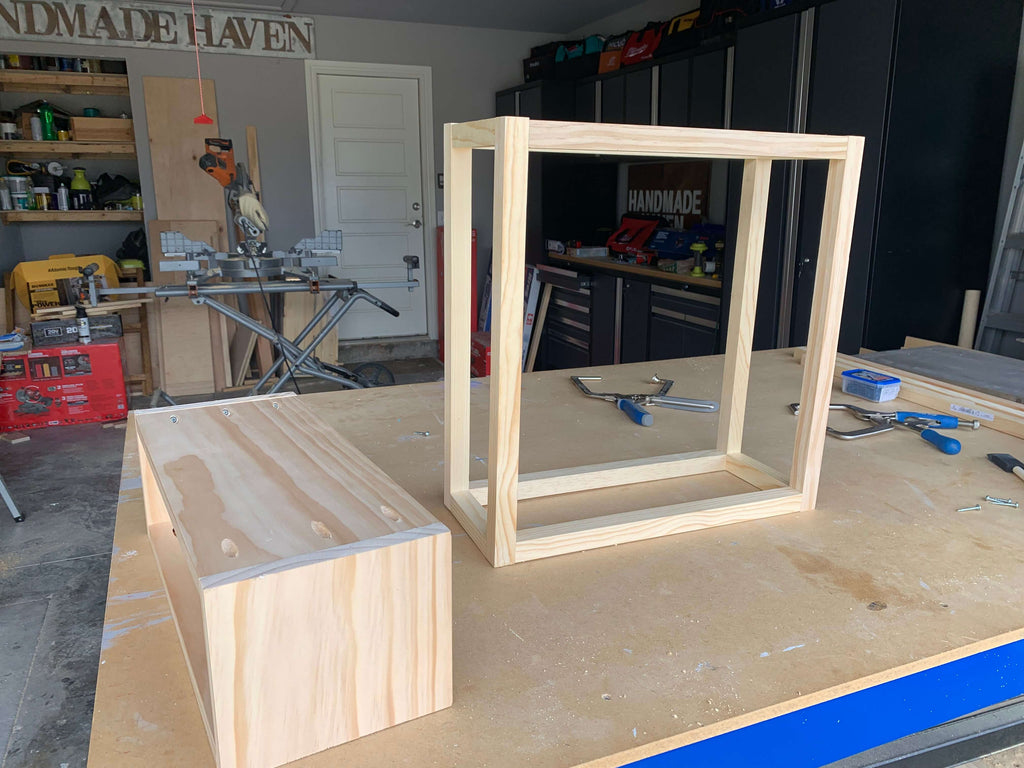
First build the front and back of the modern nightstand base using a Kreg Jig K4 Pocket Hole System on a 3/4” setting, with 1 1/4" Pocket Hole Screws to attach along with wood glue.
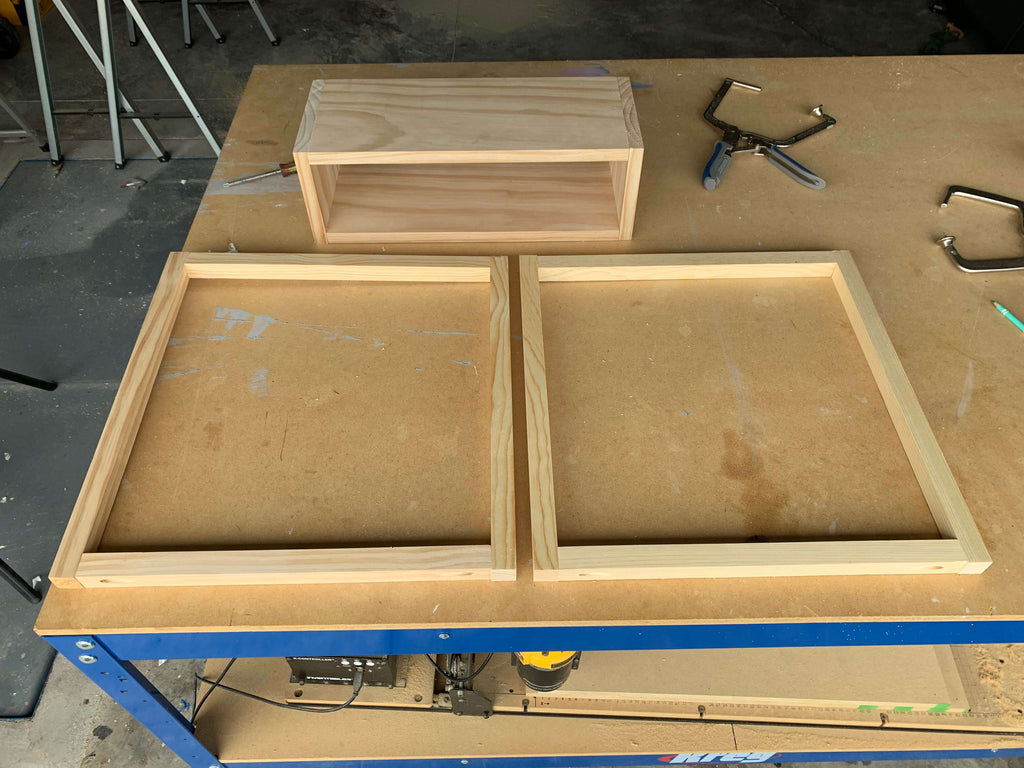 The pocket holes on the bottom (16 1/2") dowel should be facing downward and the pocket holes on the top (16 1/2") dowel should be facing upward. You should now have two completed sides.
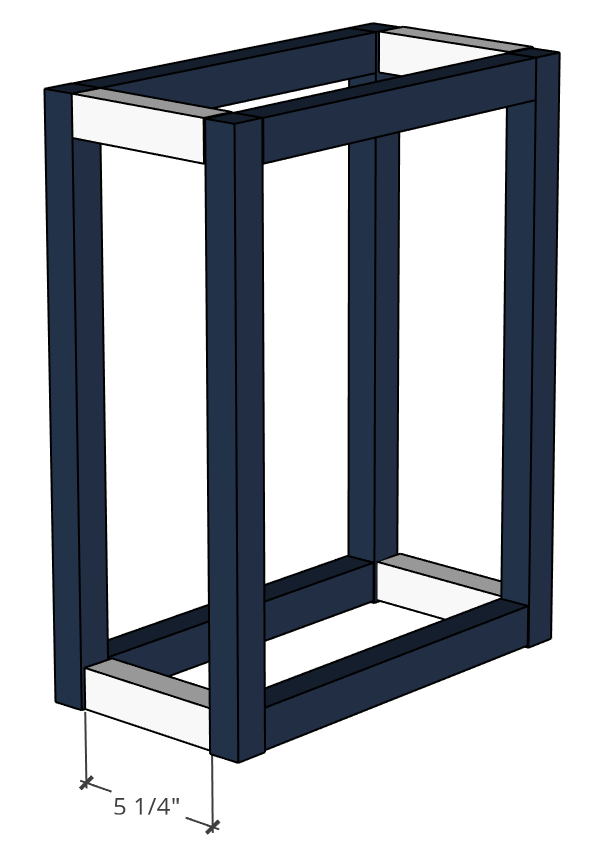
Next, attach the the (5 1/4") dowels to the two assembled sides using a Kreg Jig K4 Pocket Hole System on a 3/4” setting, with 1 1/4" Pocket Hole Screws to attach along with wood glue.
 After attaching the middle dowels, I attached the other side of the nightstand to the assembled base.
Step 4: Attach Modern Nightstand Top to Base
Now that the base and the nightstand top are all assembled, its time to attach the two. I used 1 1/4" Brad Nails to attach the two together.
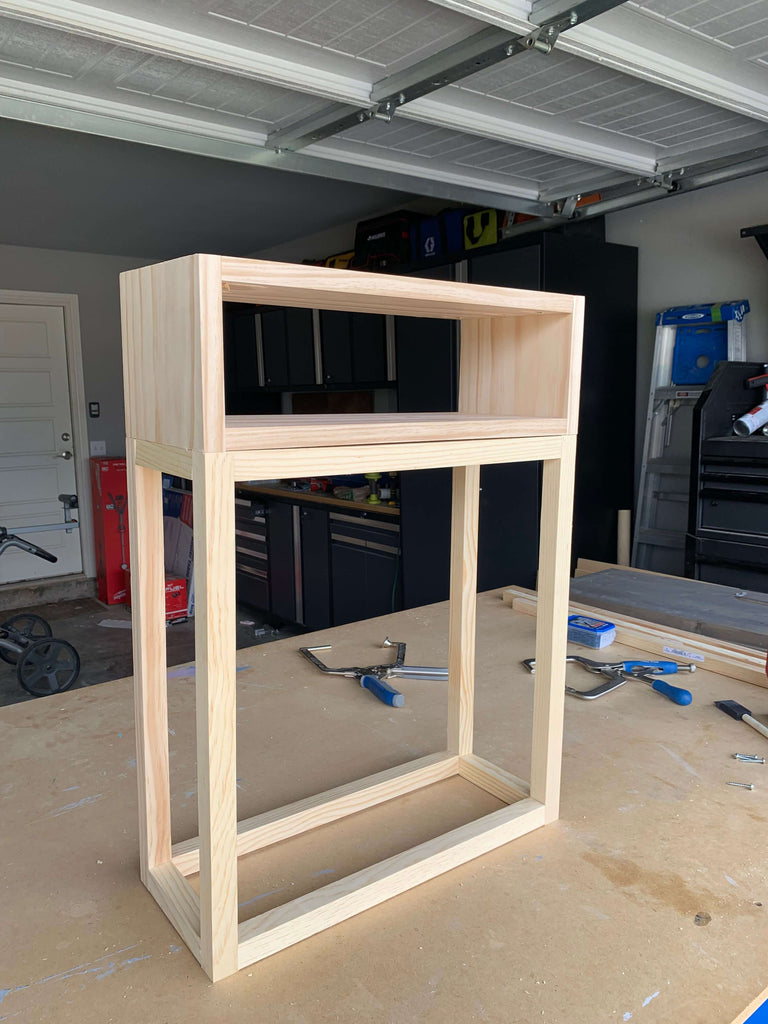
and that's a wrap folks. An easy $25 DIY Modern Nighstand. Let's take another look at this beauty.

This was the perfect little addition to my guest room. Hopefully my guest will love it just as much as I do.
Thanks for reading guys! XOXO, Ashley

