
"From Boring to Blazing: Jazz Up Your Living Room Fireplace!"
I have been so excited to transform this fireplace, ever since I moved into this lake house. It has gone through many phases and today I'm going to walk you through all of the phases we've gone through.
First Phase - Fireplace Refresh
The first phase of the fireplace was the refresh. I decided to go in and spruce up the fireplace with paint. I knew it would be a while before I got the chance to completely change it, so this was an attempt to make it look a little better in the meantime.
So here is where we started out. Lots of wood and 90's wallpaper, I can't wait for you guys to see the updated look.

First, I went in with this black paint to cover the bottom half of the brick. Most people say that it's better to use lime wash on brick but I had no issues with this paint.
 I used this brush to get all of the paint in the cracks, there were a lot of little holes to get into. You likely won't be able to paint with just a roller.
 The paint that I used went on glossy but dried matte, which I really loved because I was wanting that matte look. After I painted the brick, I went in with a high heat spray paint to cover the fireplace cover since its close to the fireplace.

Once I finished the brick, I went in and painted the top this awesome grey color. it was the perfect match to the black and this is how it turned out!

Now, let's get into the next phase of the fireplace!
Phase 2 - Brick Demolition
Let's get into the brick demolition. I always had a vision for what I wanted the fireplace to look like, so I was happy to get it going.
Here are the Tools I Used to demo the fireplace:
Check out this video to see the Brick Fireplace Demolition in action!
I was actually surprised by how easy this demolition went, my friend and I were able to knock it out in about two hours. This is how it looked once we were finished.
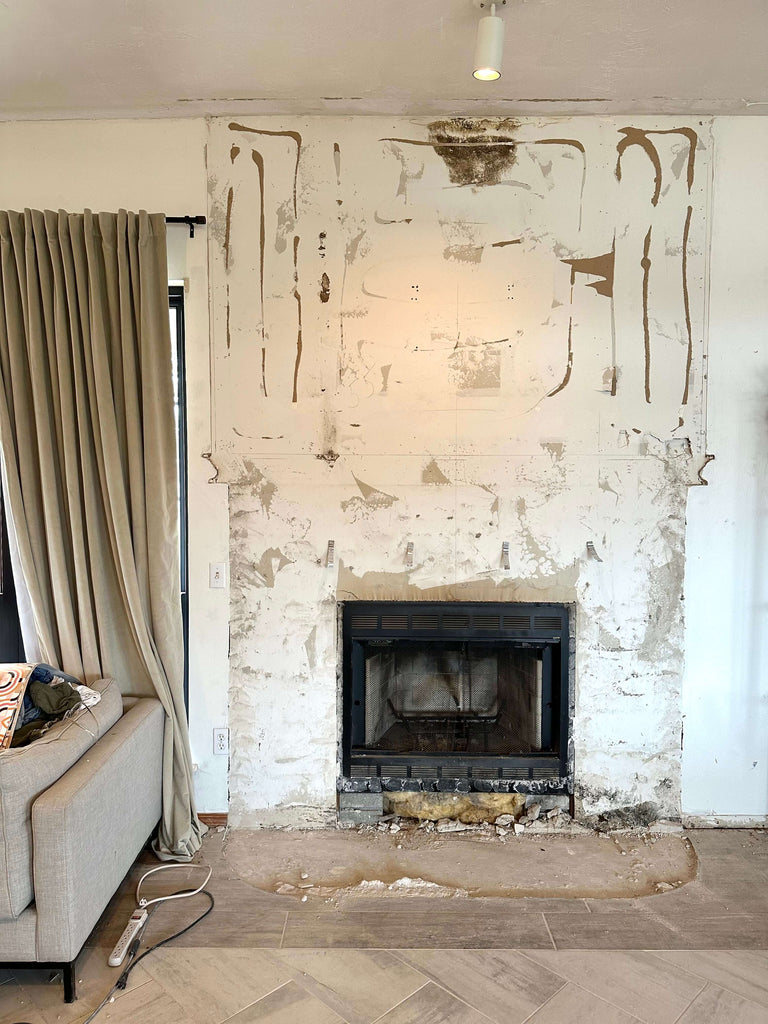
Phase 3 - New Fireplace Build Out
Once we completely removed everything, we then went in and started building out the fireplace. We used 2x4's to build out the frame to get the desired look I was looking for.
 Once everything was framed up, we covered the frame with drywall and added cement board around the fireplace opening. Then used corner bead on the edges and used mud to make everything seamless.

As you can see the fireplace was completely transformed. I've seen a similar style fireplace and fell in love with it.
Phase 4: Limewash the Fireplace
Next up was tackling the finish on the fireplace. I opted to go with lime wash because I really wanted to make a statement with the fireplace. Check out this video below to see the process and if you want more details, see the post here.
The Final Reveal
Here is the moment you have been waiting for; the final reveal. I am over the moon with how this fireplace turned out, it came out better than I thought it would with it being my first fireplace.
 I'm so glad I decided to go bold and make a statement, it was the perfect match to my living room.

Thanks for reading guys!


