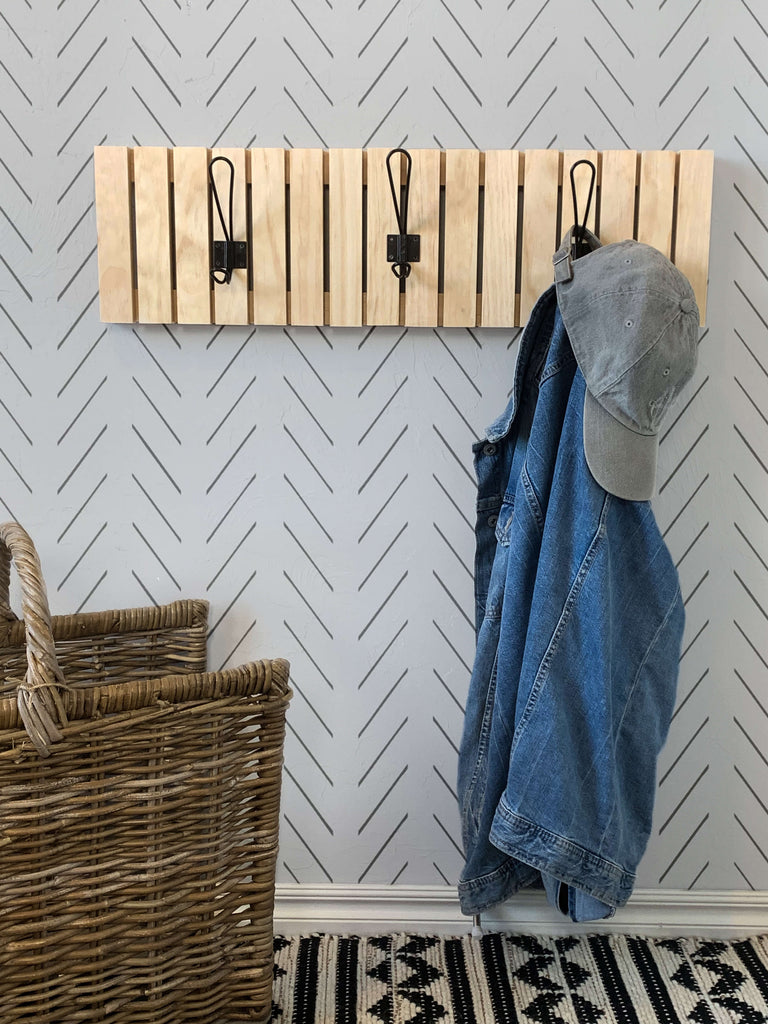
"A modern Coat Rack perfect for the weekend."
I am super excited to share today's project with you because it wasn't necessarily planned, but doesn't that make for the best projects? I had a bunch of scrap wood lying around and needed to get rid of it, so I figured, why not use some of that wood to create a fun project.
Let's just say that I made a good call. This DIY Modern Coat Rack was super fun and easy to make and a great addition to my small entryway. If you're like everyone else right now, you're spending a lot of time at home, so we might as well put our time to good use.
"There are some affiliate links in this post, meaning I get a small commission if you purchase through these links, at no cost to you. Click Here to read my full disclosure."
Materials/Tools
- 3 - 1x2s @ 6"
- 1/4" Dowel
- Coat Hooks
- 1 1/2" Wood Screws
- Drill Bit
- Impact Drill
- Miter Saw
Step 1: Cut Down Wood to Size
First, I used my miter saw to cut all of my wood down to size. I cut my smaller 1x2s down to approximately 8" and I cut my longer 1x2s down to approx. 23".
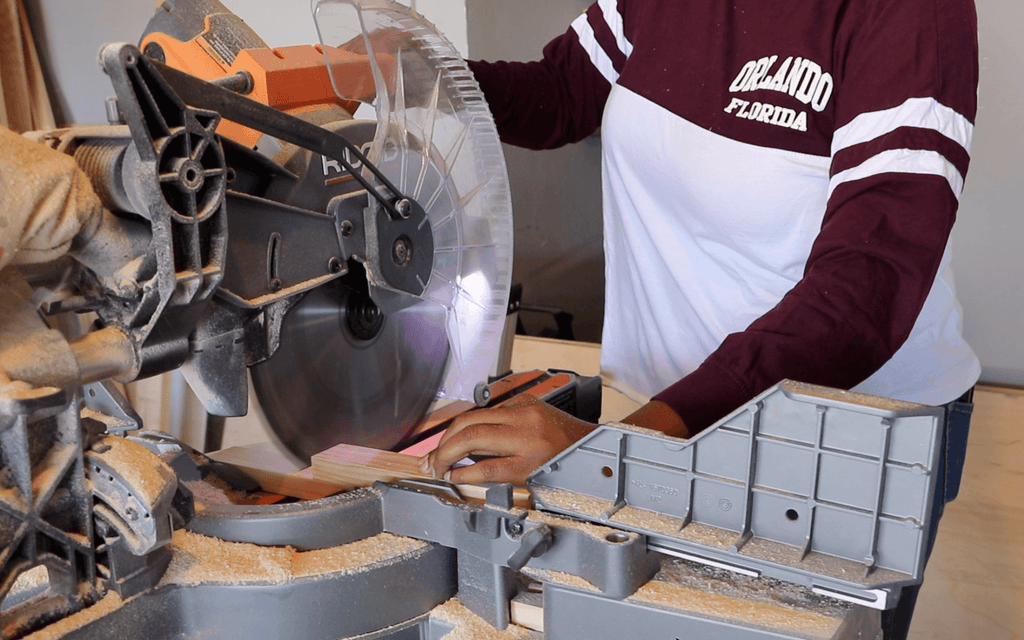
Feel free to make this coat rack as long as you'd like to fit your needs. I personally think the wall rack would have looked a little better longer, but I had to make it small enough to fit my particular space.
Step 2: Attach 1x2s to Stretchers
Once the wood is all cut down to size, I begin attaching the 1x2s. First, I used a 5/32" bit to drill pilot holes into the two 1x2s.
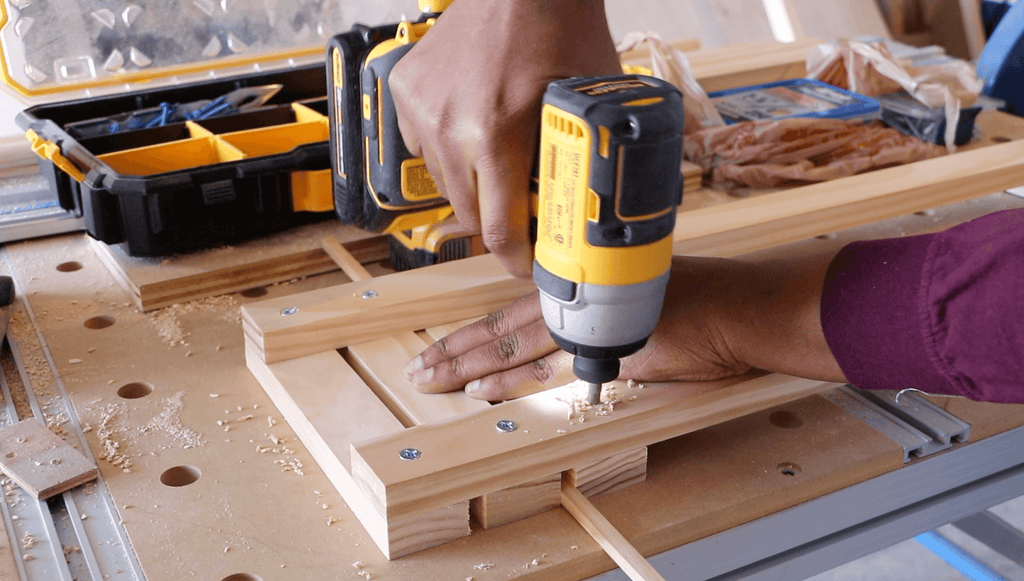 Once the pilot holes were made, I screwed in the wood screws into the two 1x2s using my impact drill.
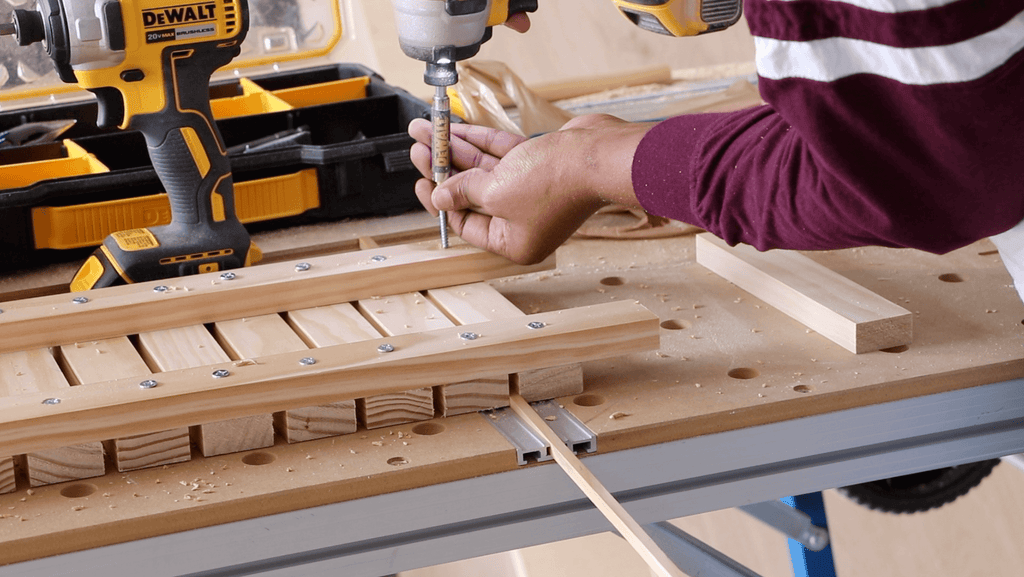 To get the accurate spacing between the two, I used a 1/4" dowel and placed them between the boards while screwing in the wood screws.
Step 3: Attach Coat Hooks
Once the coat rack was complete, I added three coat hooks to finish the look. I used my Dremel Go screwdriver to drive in the screws since they were so small. This tool allows you to drive in screws by just pressing the tool into the screw.
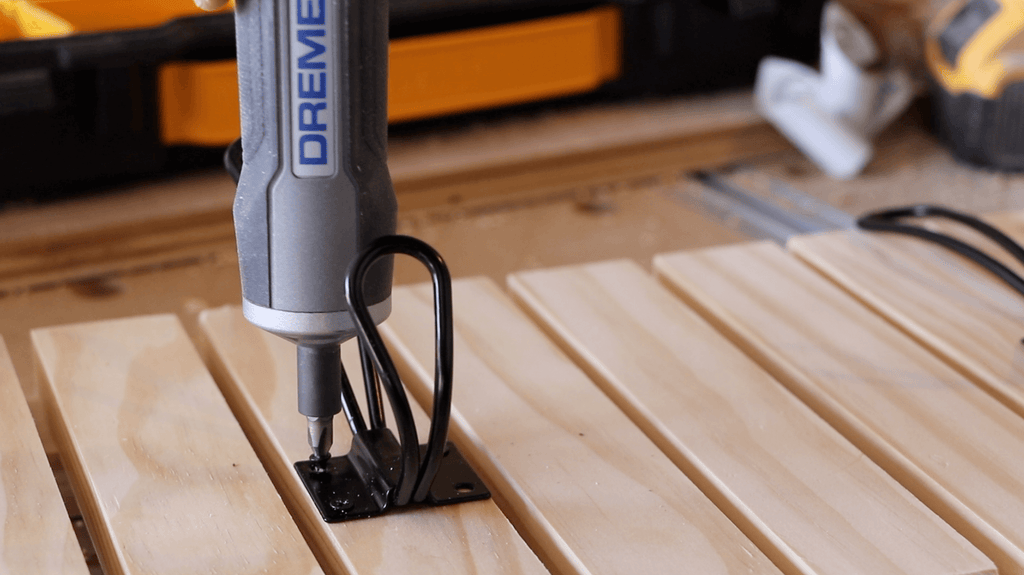 Now let's take another look at the coat rack! I would say this was a successful Scrap DIY?
 Let me know what you think in the comments below and as always thanks for reading guys, XOXO Ashley.

