
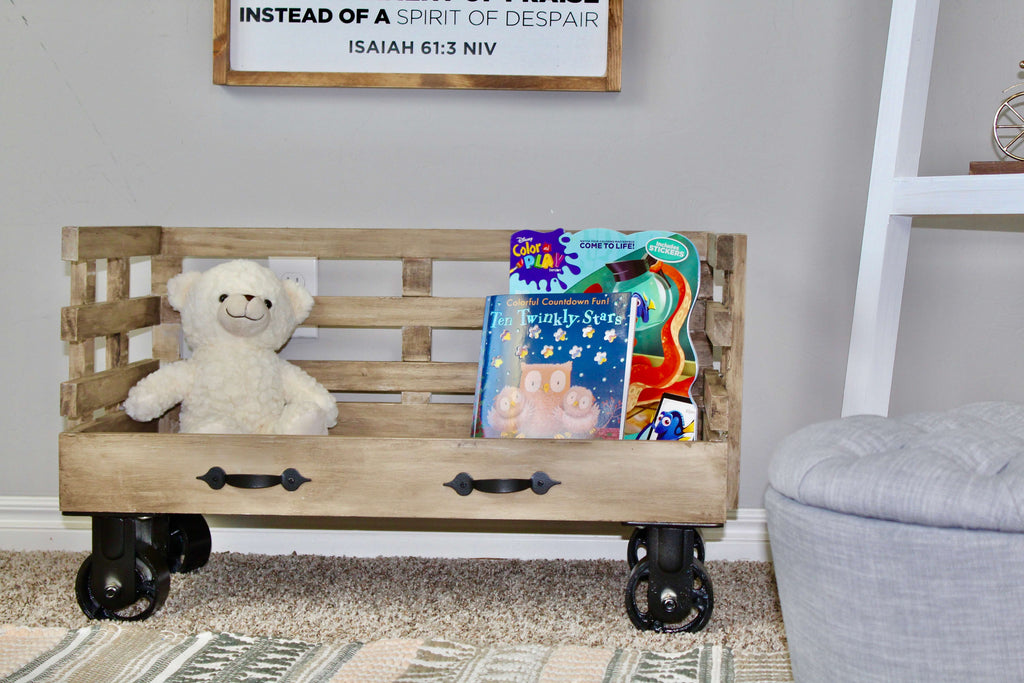
Who said toy carts can’t be stylish?
This DIY toy cart build may come as a surprise to some of you because I myself don’t have any kids; but fortunately I have plenty of nieces and nephews that will put this to good use and it was fun to build something a little different for a change.
This post is sponsored by Build Something.
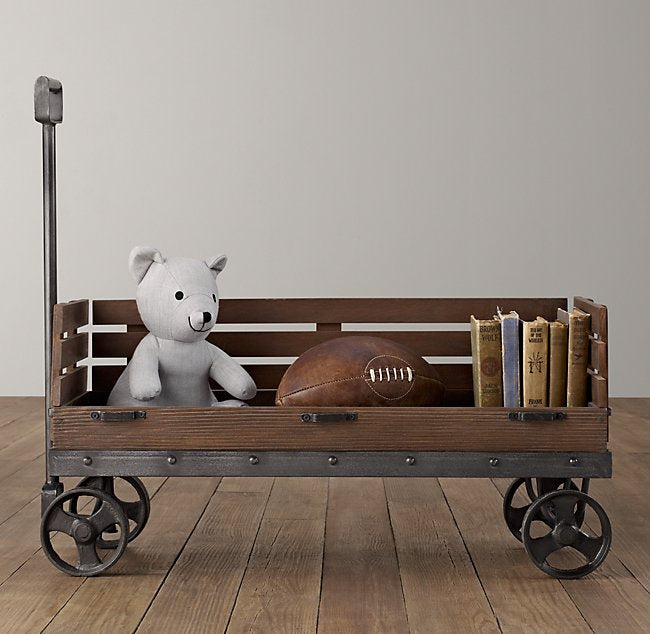
When I saw this picture on Pinterest, I immediately thought “I want to build that,” but I don’t really have a use for it. But I decided, why not? So here we are!
There are some affiliate links in this post, meaning I get a small commission if you purchase through these links, at no cost to you. Click Here to read my full disclosure.
The best part about this DIY toy cart is that I am sharing the free plans on Build Something. But before you head over, be sure to read through my build process and check out how I was able to apply a restoration hardware finish.
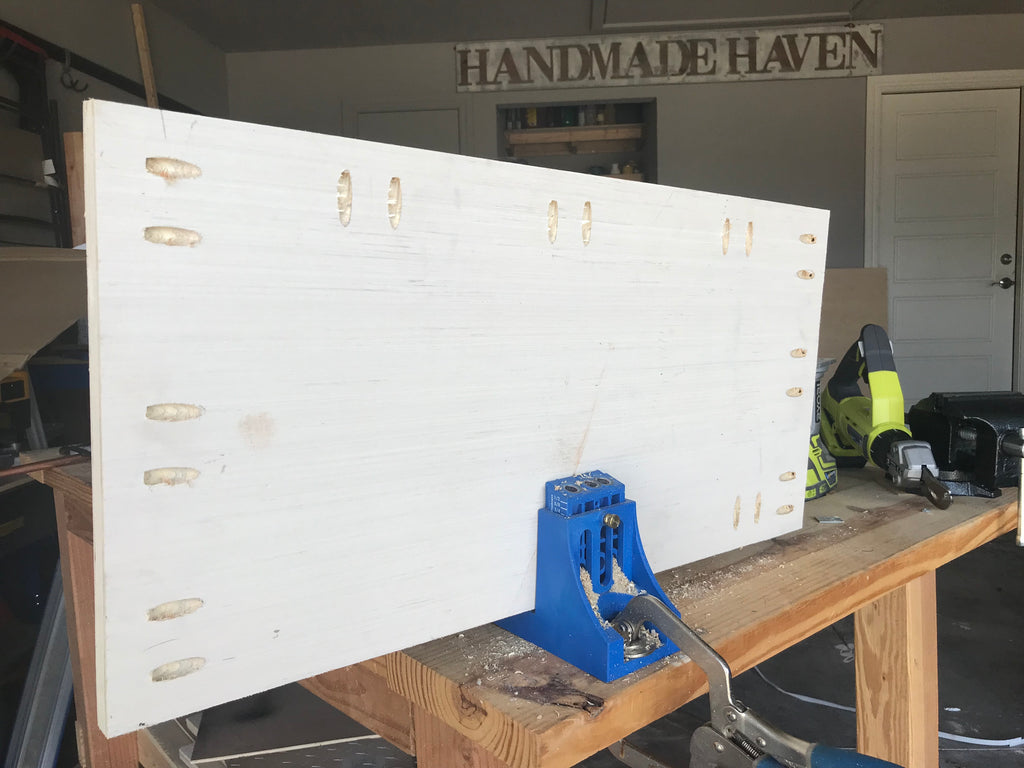
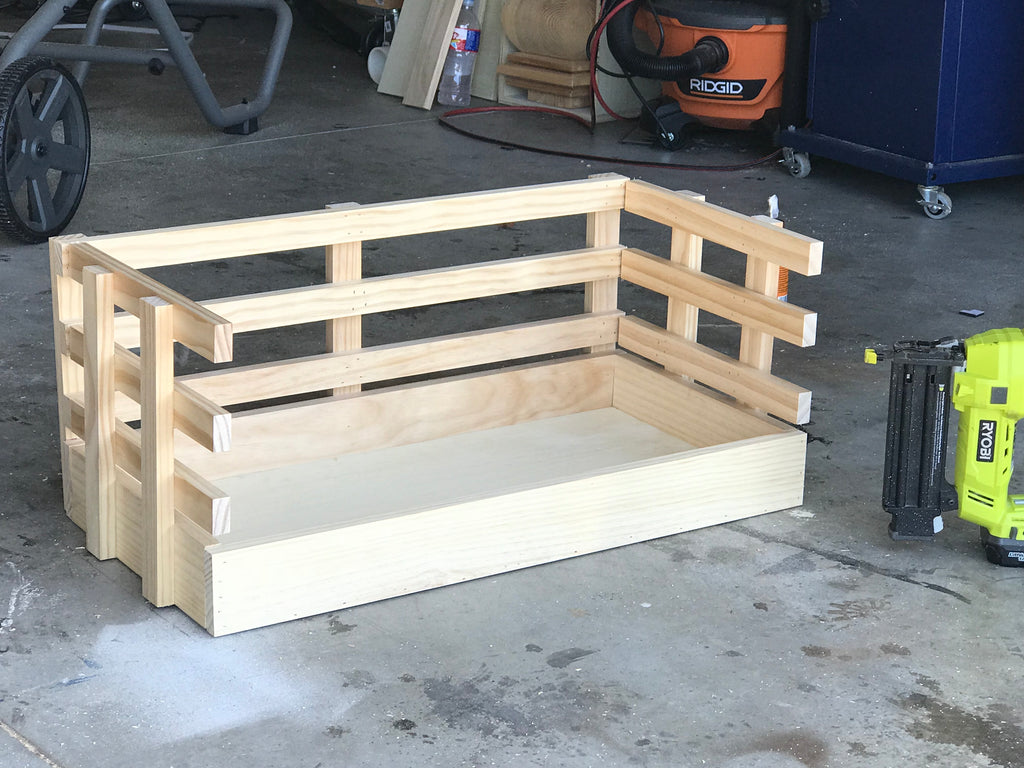
To assemble the base of my diy toy cart, I used one of my top 5 favorite tools, the Kreg Jig Master System. This is one tool I recommend any builder to have, the use of pocket holes has completely changed my building experience and I can’t get enough of it.
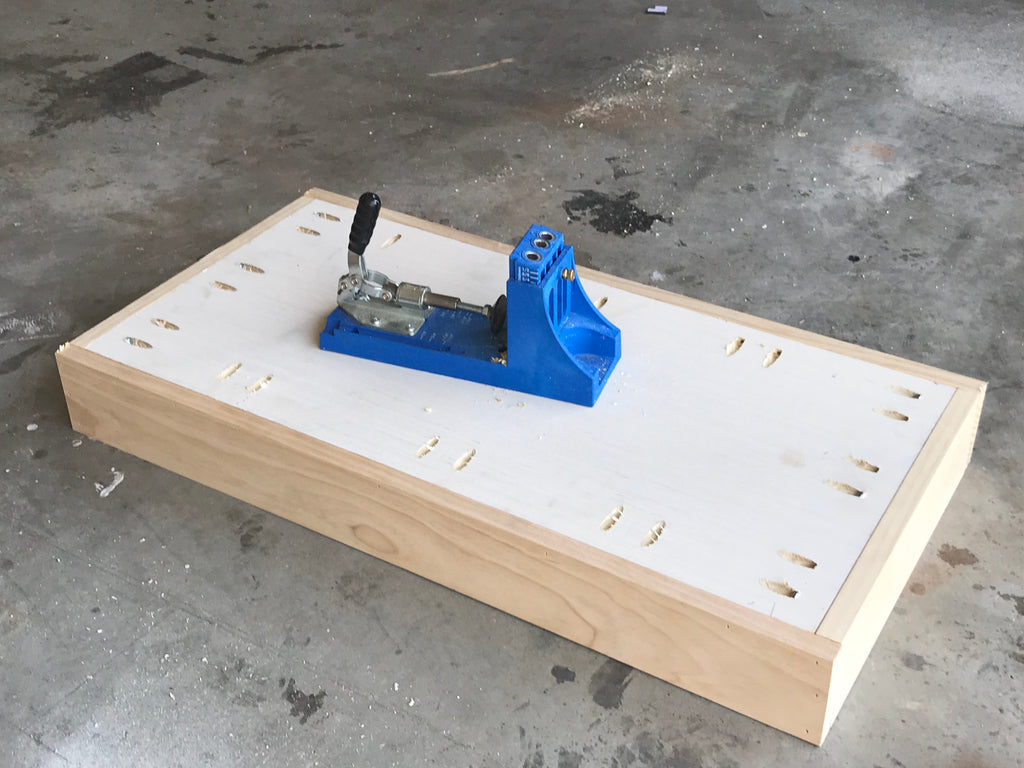
The Kreg Jig master system comes equipped with all the extra pieces to take your joinery to the next level. For any beginner woodworkers, I would definitely recommend as a must have in the shop.
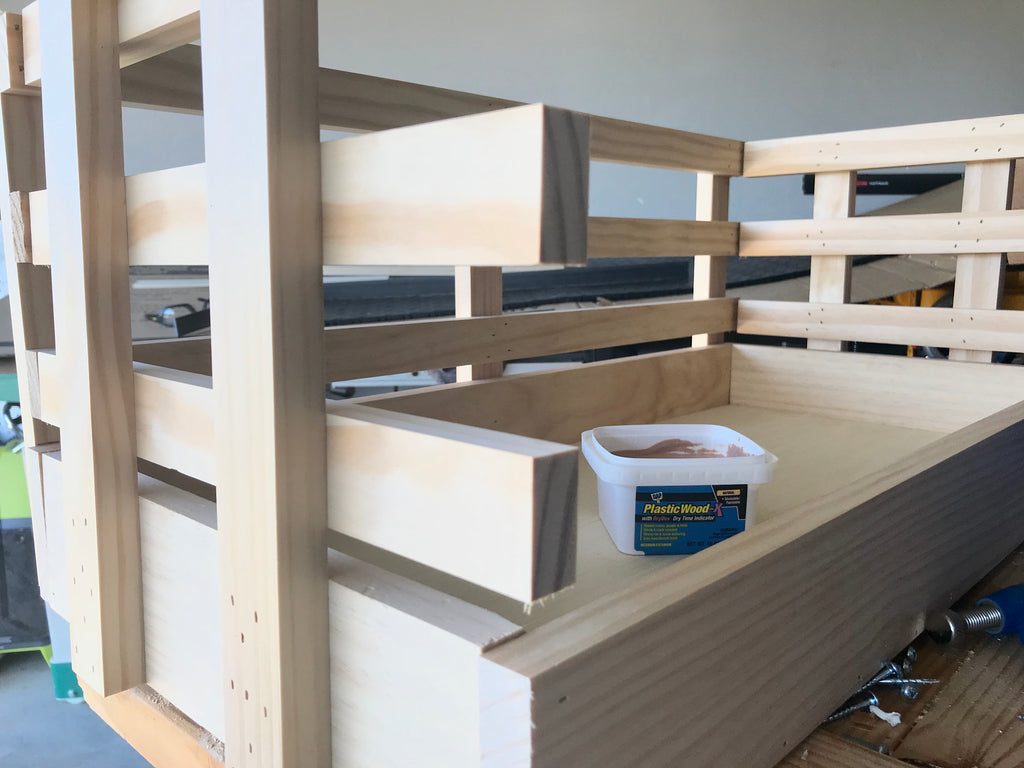
Once I assembled the DIY toy cart, I filled in all of the brad nails holes with DAP wood filler. This is one of go to products because it just gets the job done. I use this wood filler for all of my woodworking projects.
I also love these oversized casters. I really think it made the toy cart looked beefed up. This is like the King Kong of all toy carts!
RESTORATION HARDWARE FINISH
This by far is one of my favorite finishes. I have applied it to a number of my builds and I don’t see myself getting sick of it anytime soon. It gives it sort of an industrial restoration hardware feel, and it was super simple.
The first thing I did was coat the whole toy cart with white chalk paint. I don’t think it makes a difference what type of chalk paint you use. I have tried Annie Sloan and Rustoleum and each worked great. Rust-Oleum’s chalk paint is a bit cheaper so that would be my recommendation since it will be used as the bottom layer.
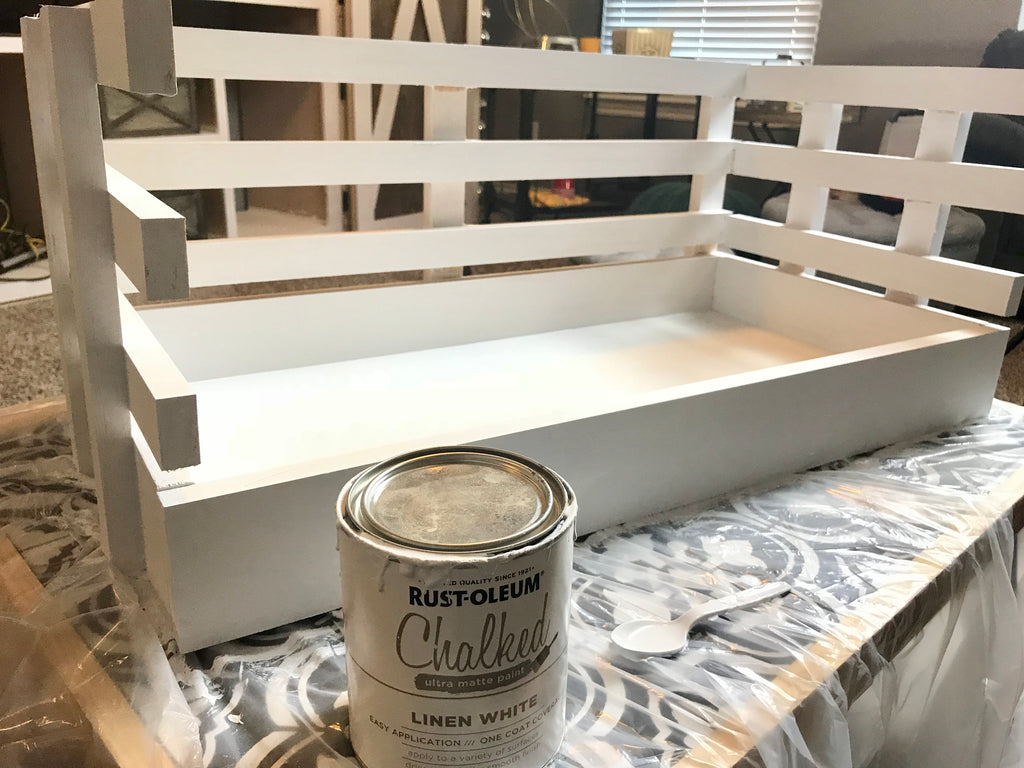
When applying the chalk paint be sure to apply it evenly and eliminate any bulk up of paint because it will show through after applying the gel stain.
Chalk paint is always my go to because it’s thick and it drys quickly (working on my patience!)
After the chalk paint dried I started applying a light coat of Gel Masters - Walnut Stain using a dry cloth. This is a gel stain that you wipe on and it gives the wood a restoration hardware look.

After the stain drys, I sealed it with Old Masters finish and WAAAA-LAAAHHH!
Be sure to go check out the free plans on Build Something, Kreg’s project plans site.
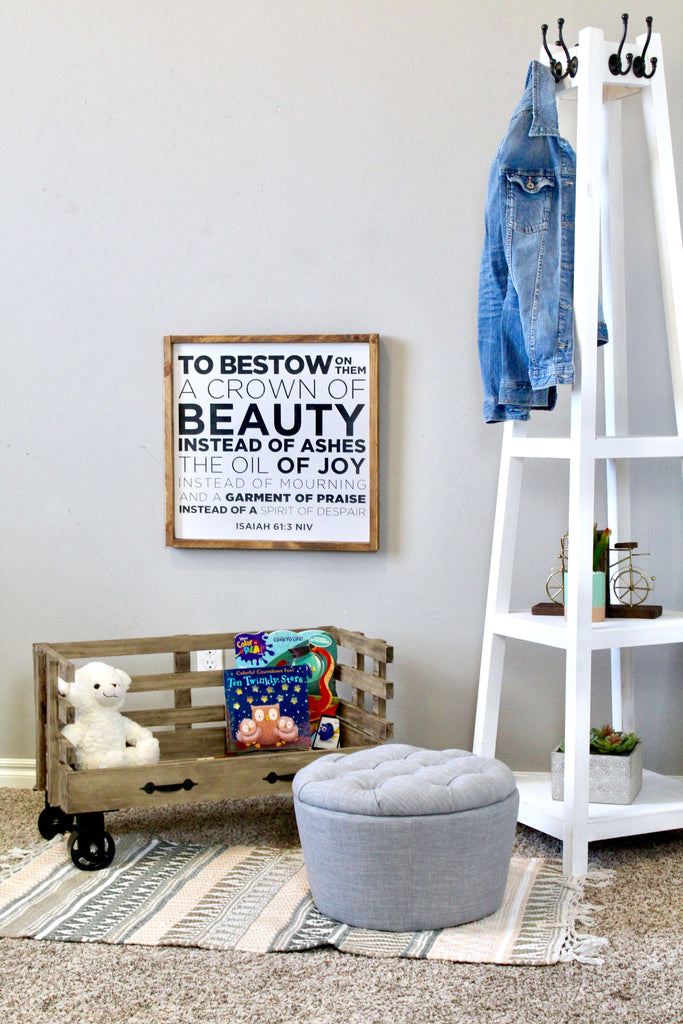
I love how this little toy cart came out and I partially want to keep it for myself.

and be sure to make your kiddos day by making your own little DIY Industrial Rolling Toy Cart. They will thank you for it.
Thanks for reading guys, XOXO ASHLEY


