
I have seen a lot of talk and posts about corbels and thought it would be the perfect starter project for my new band saw.
I have a 14" Rikon bandsaw and I know what you're thinking; "What do you need with a little 9" inch bandsaw when you have a massive Rikon?" (I have been asked) Well although the Rikon 14" is an awesome bandsaw, I am finding that it is actually easier to do smaller projects on the Ryobi bandsaw; mainly because its easier to maneuver smaller wood because of the size. So if you are a DIYer who loves to make smaller projects such as this one. This Ryobi 2.5 Amp 9 in. Band Saw is definitely the way to go!
(There are some affiliate links in this post, meaning I get a small commission if you purchase through these links, at no cost to you. Click Here to read my full disclosure)
Now lets get to it!
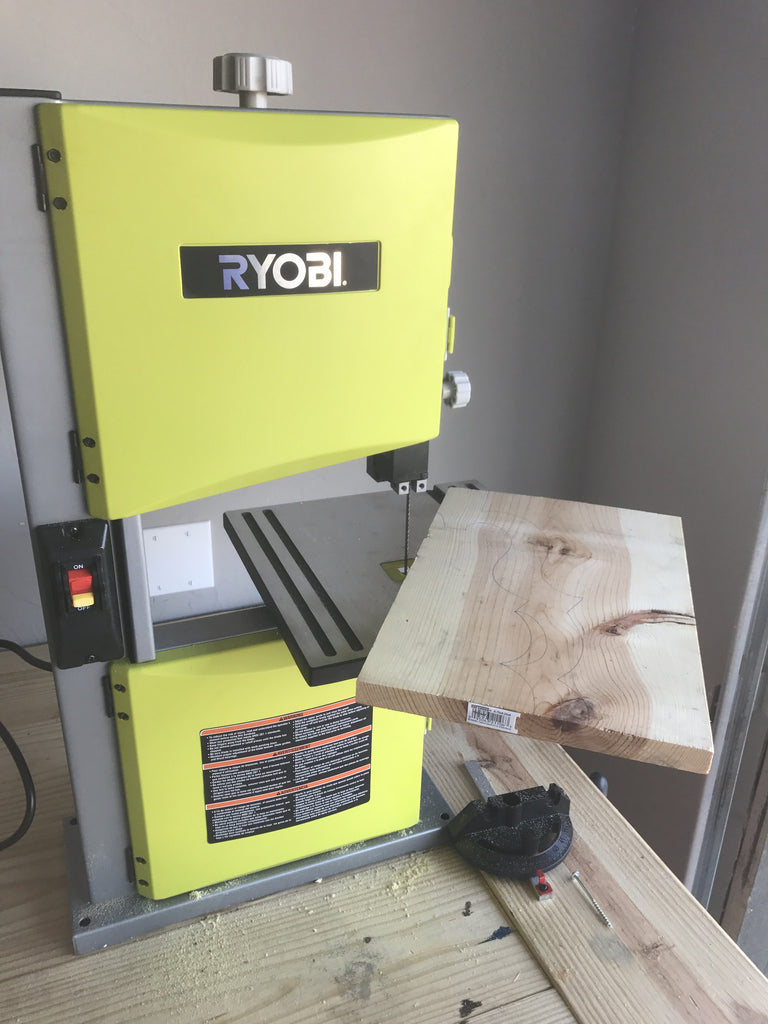
First I started of with a cut down 1 x 12 board.
I made this template for anyone who isn't confident in their scribble skills.
After tracing the template on the 1x12 board, I began cutting the outside pieces for the corbel.
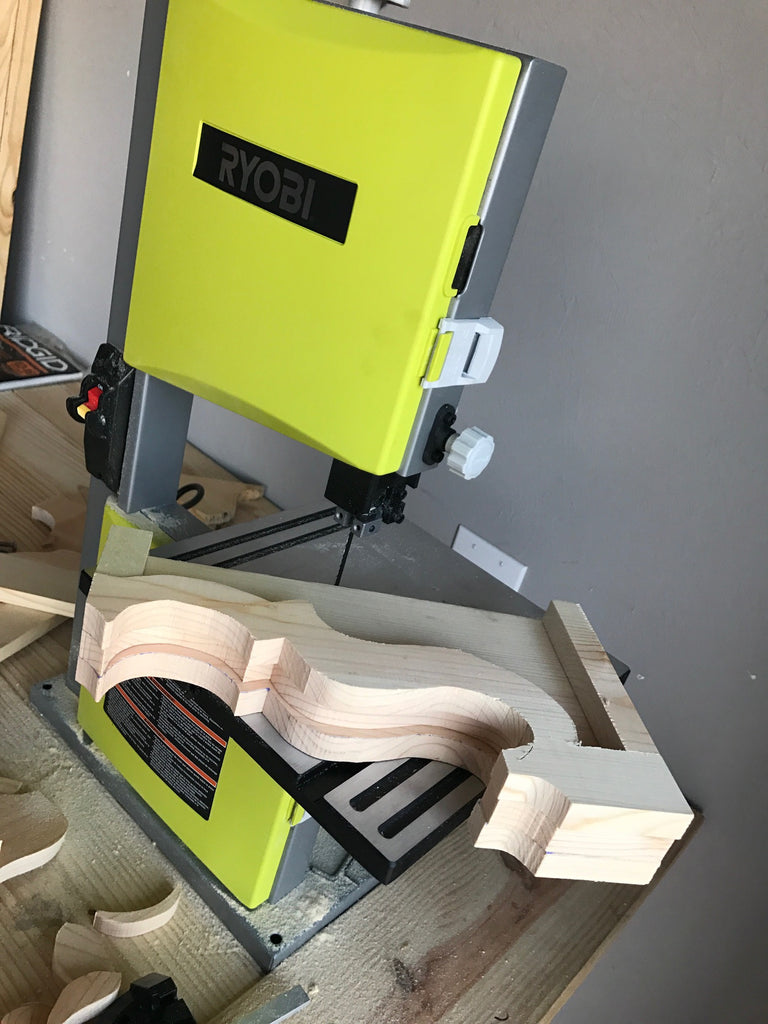
Don't feel like you have to try and cut on the template line in one straight pass, you don't want to bend the blade too much;make sure you make relief cuts. Here's a picture of how I made my cuts.
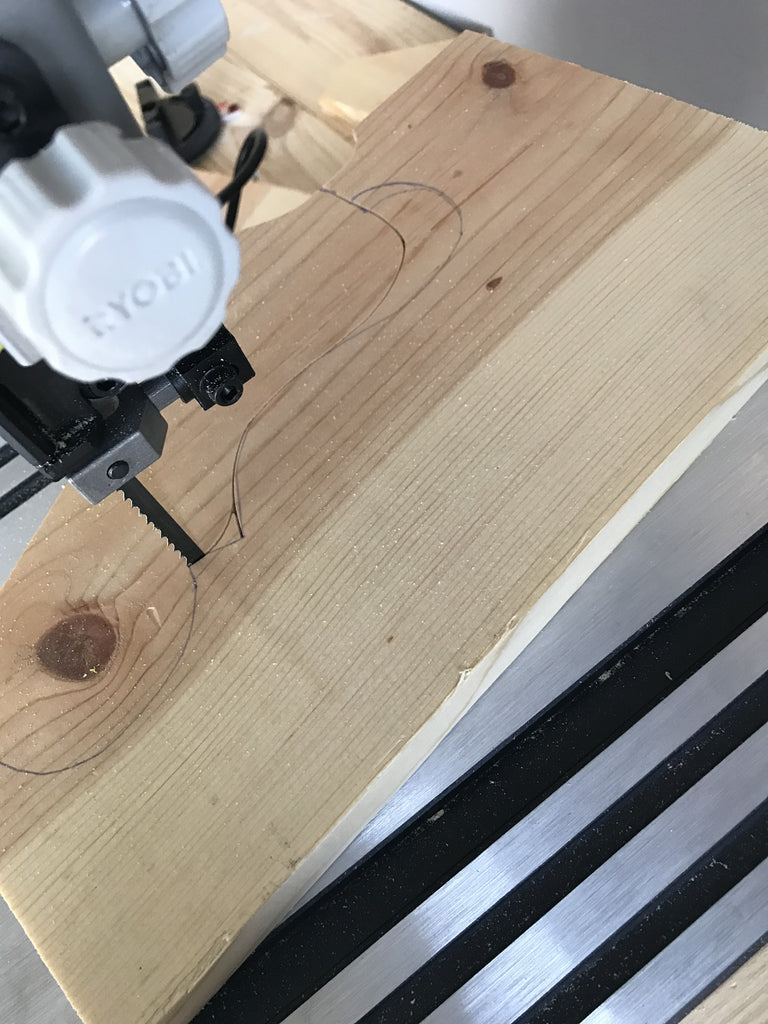
I made sure not to force the bandsaw when making my cuts, I curved around the sharp corners. Then I went back and cut the sharp corners. It makes life much easier and you don't risk the blade popping off. (Speaking from experience)
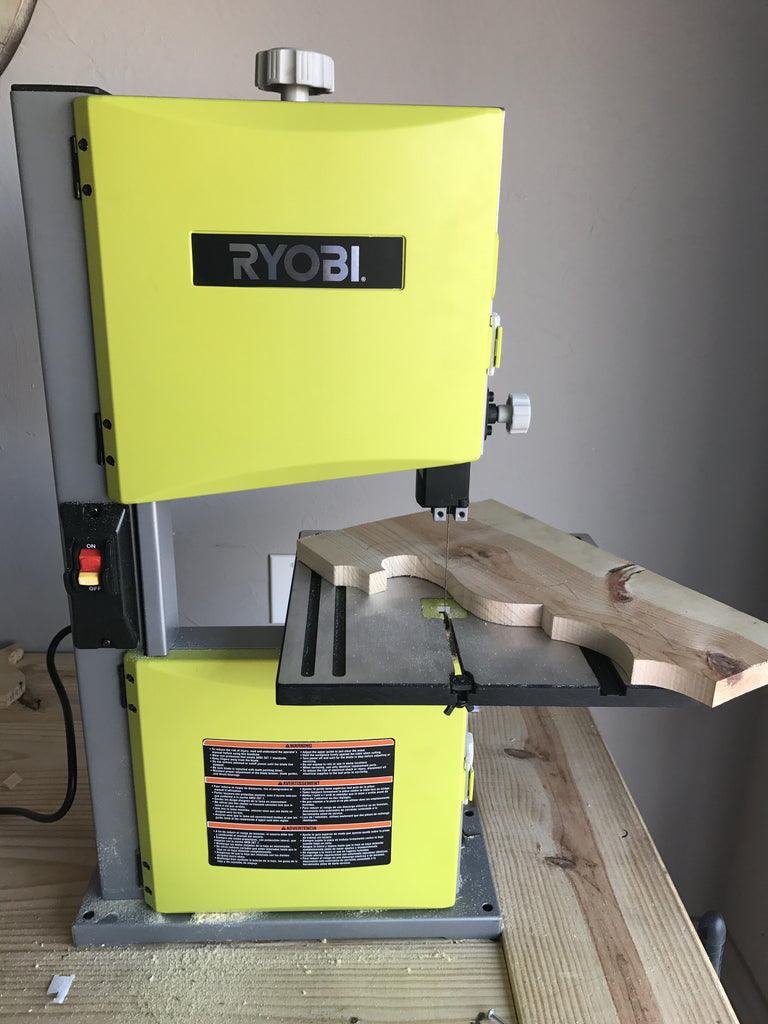
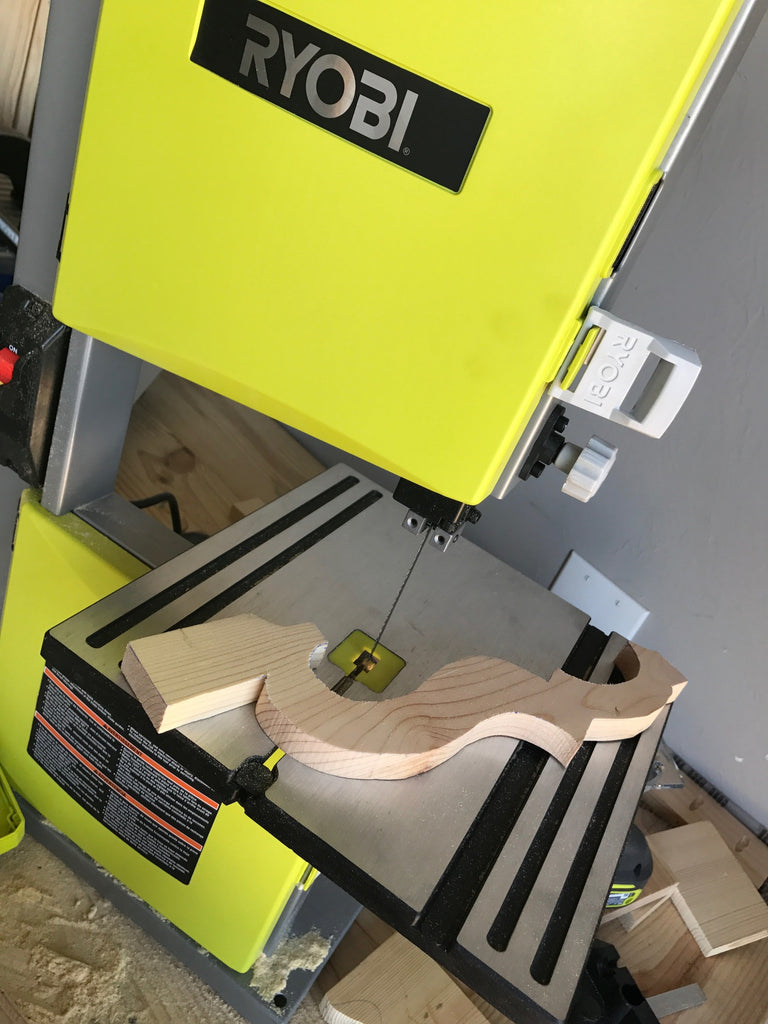
Once I finished cutting the two outer pieces I cut the inside piece. Trace your pattern or use the template pattern provided and cut away.
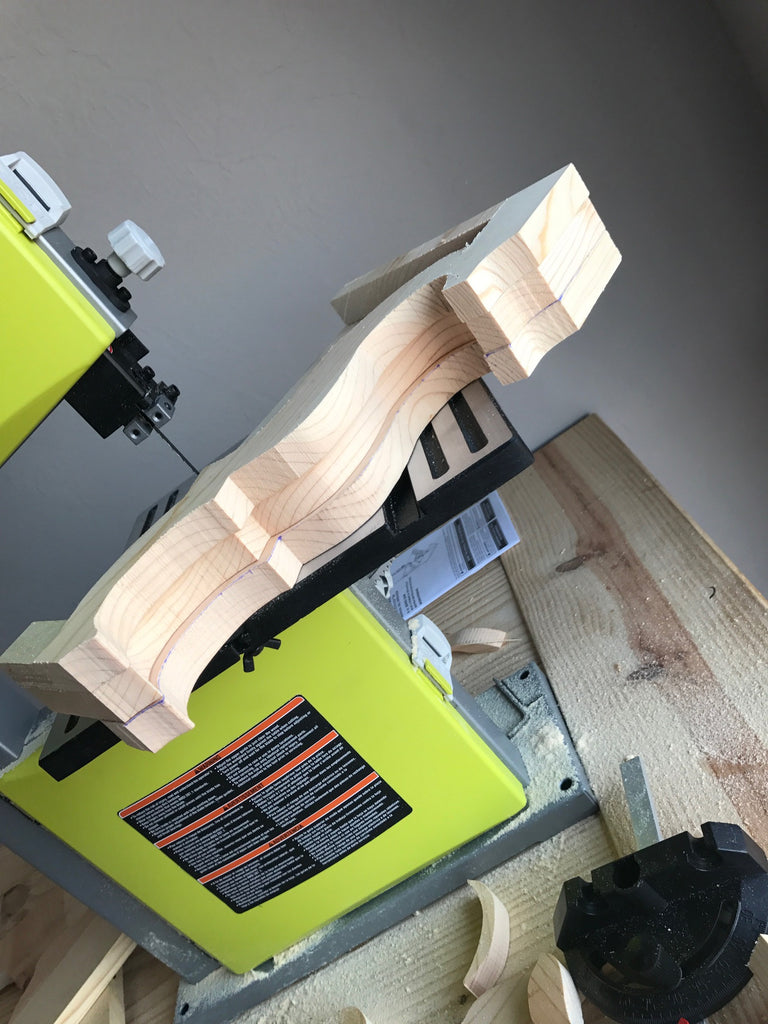
The middle piece should be about an inch shorter than the two outer pieces to give it a nice decorative look.
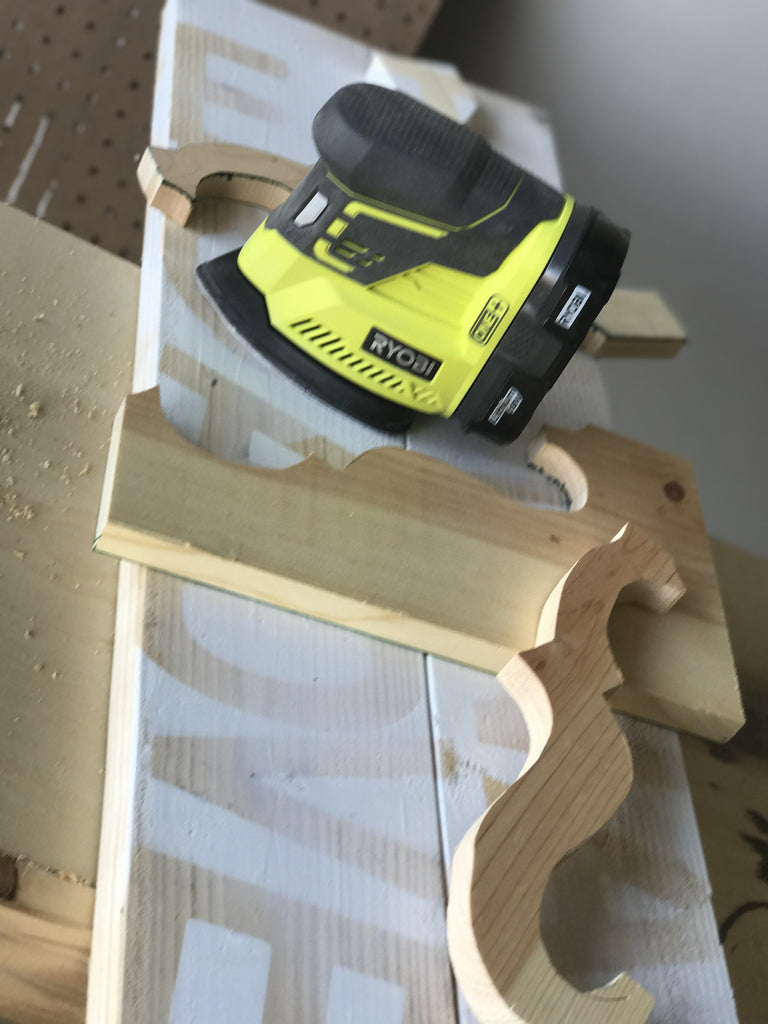
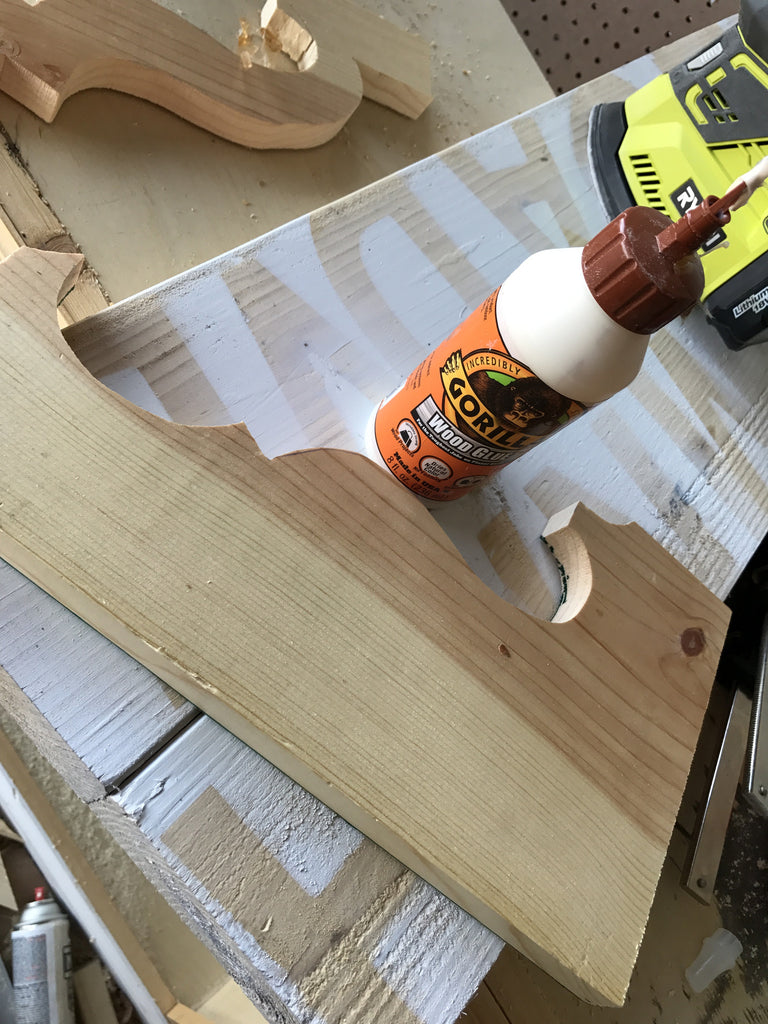 After cutting out the pieces I used my Corner Cat Sander RYOBI sent me to sand this baby down. And then glued the 3 pieces together with some good ole Gorilla Glue and secured using my Ryobi Brad nailer with some finish nails.

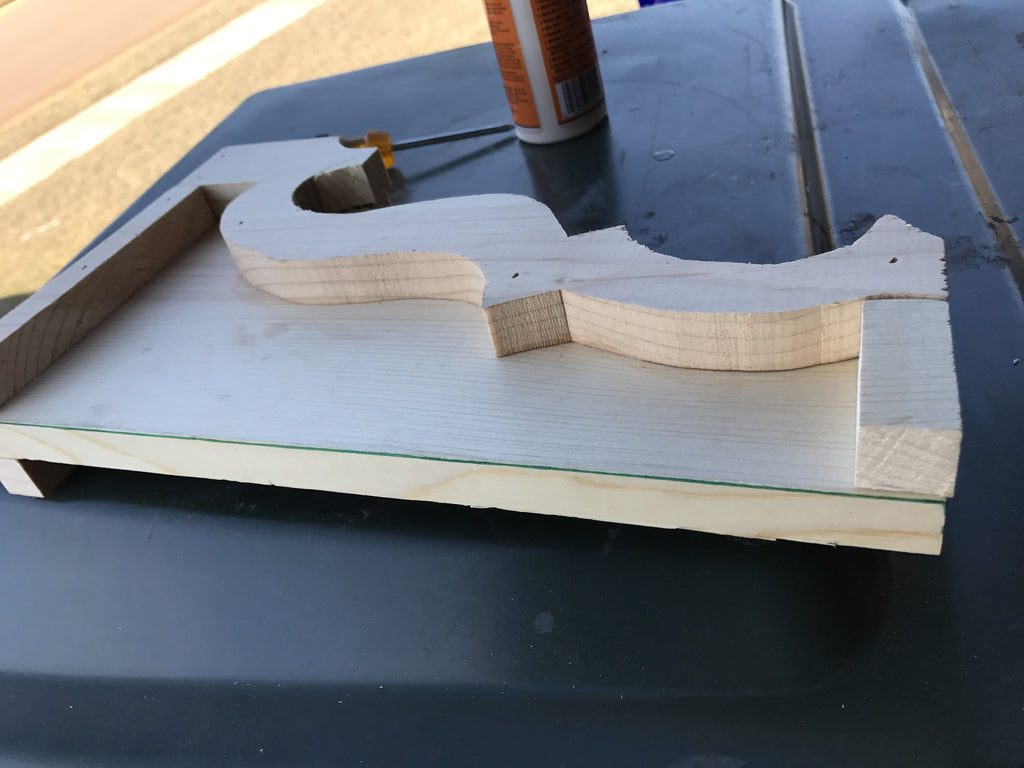
After gluing and nailing the 3 pieces together I added 1 inch pieces to both the top and bottom on both sides of the corbel to finish the look, securing them with both glue and finish nails.
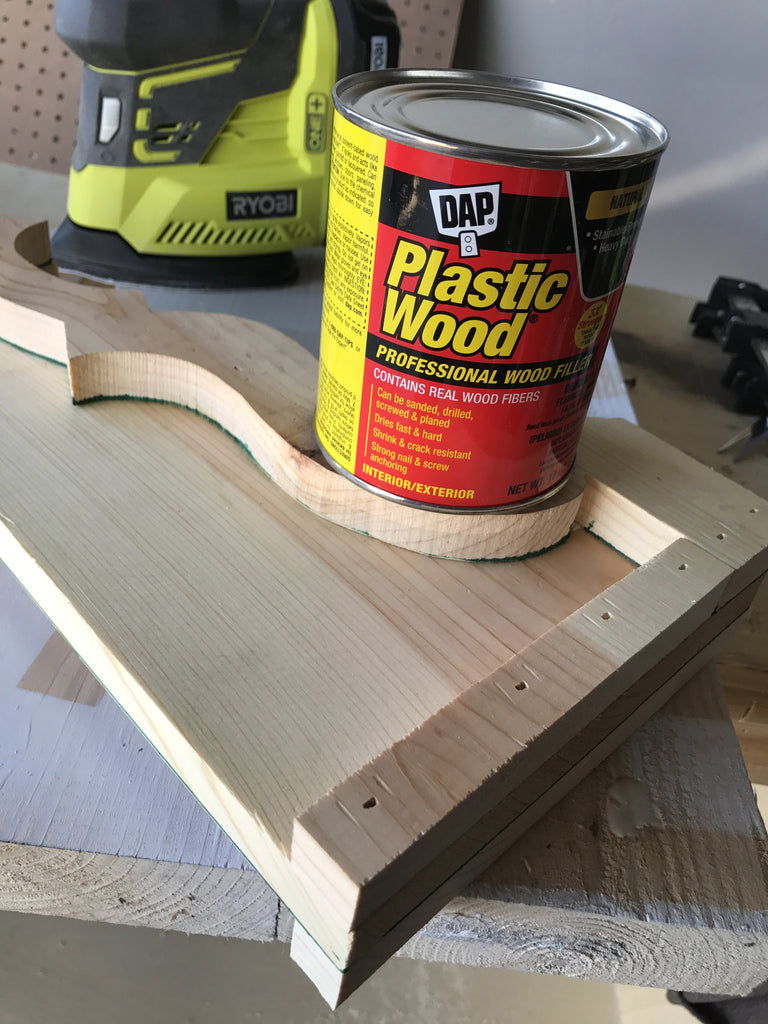 I used dap wood filler to fill in the holes. It is my go to! Definitely check it out! P.S don't use a dark green sharpie to make your lines haha luckily I'm painting over it!
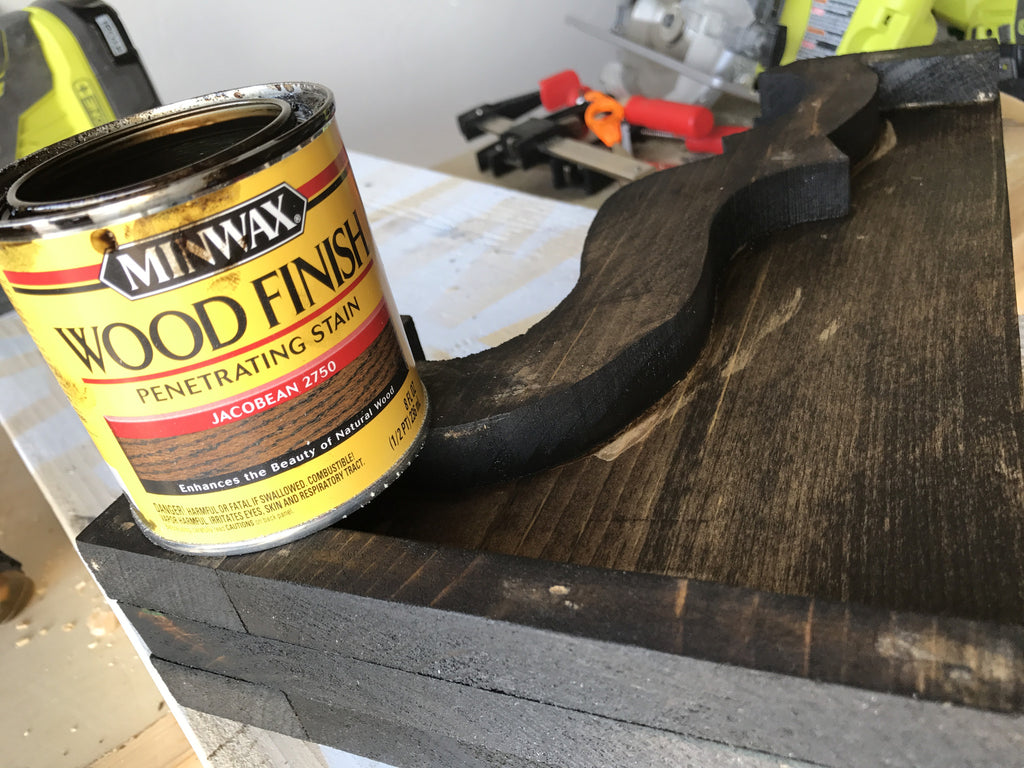
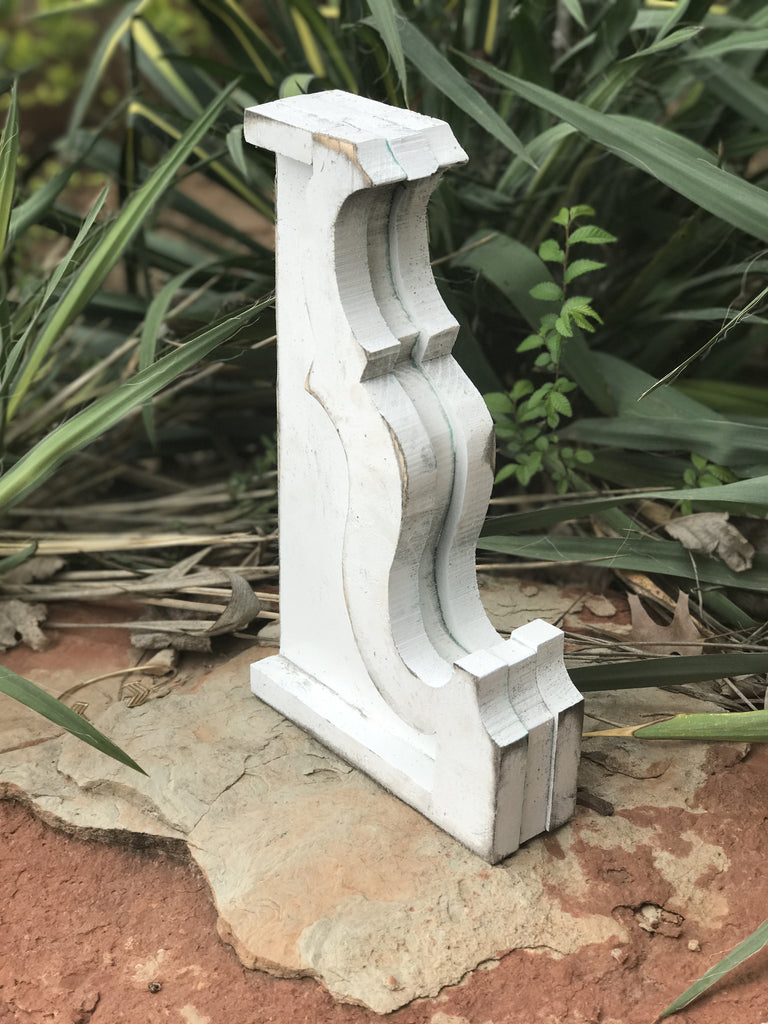
Now for the finish. First I stained the corbel with Minwax Jacobean. When your gluing your corbel make sure you wipe off the glue well or else you will be able to tell when you stain. haha OOPs. I let that dry for the day..
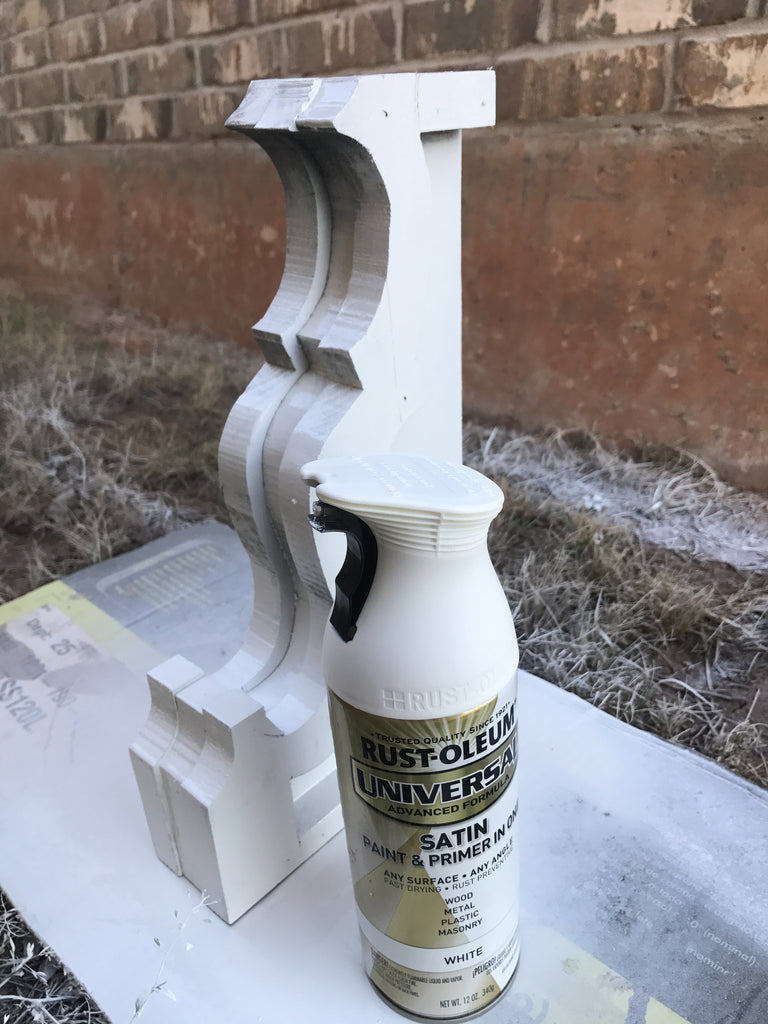
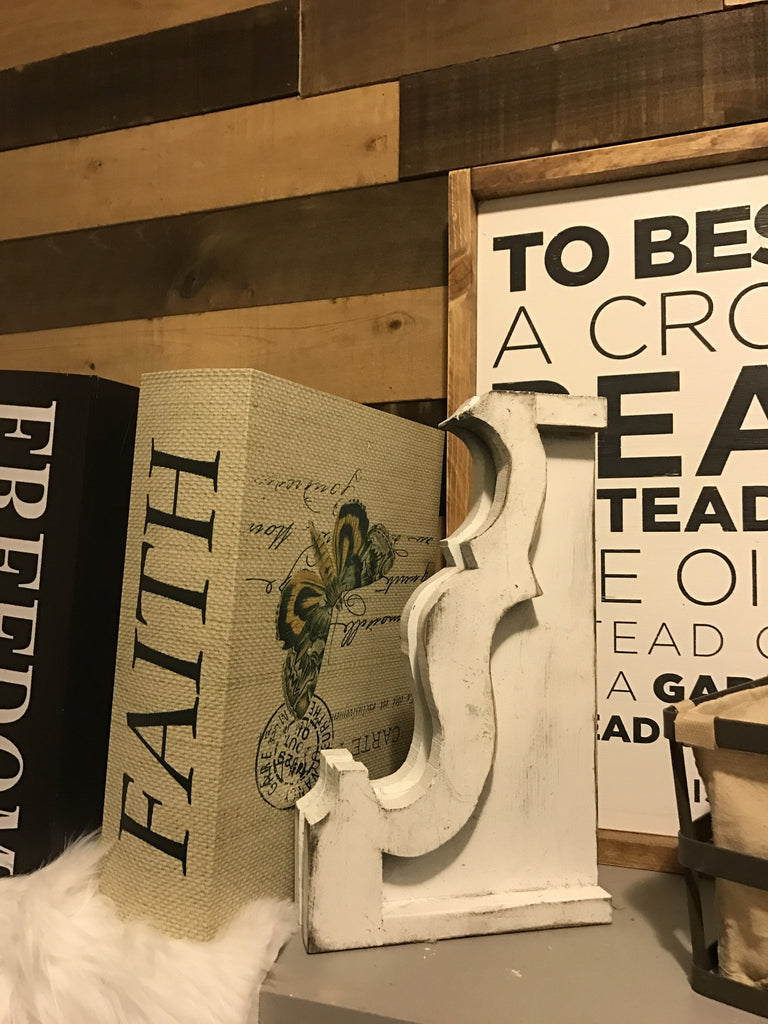
Once the stain was dry I sprayed over it with RUST-OLEUM Satin Paint and Primer, this stuff dries pretty quickly. Once dry I hand sanded the corbel with 220-grit sand paper to give it a antique look and that completes it! This was a super quick and easy project!
Don't forget to enter your projects on RYOBI Nation in Ryobi's contests for a chance to win $500 in power tools!
Be sure to tag me @smashingdiy on Insta in your own corbel creations.
Happy DIYing


