''Grab those magazines, Ive got a magazine shelf rack perfect for your space."
This review is sponsored by the Home Depot as a part of The Home Depot's Pro-Spective Campaign.
I don't know about you, but in my house I never know where to put my magazines and as a result they always end up all over the place. But today, I'm putting a stop to that with this DIY magazine shelf rack. Now I don't have to worry about wasting 30 minutes looking for my magazine, I know I'm not the only one. 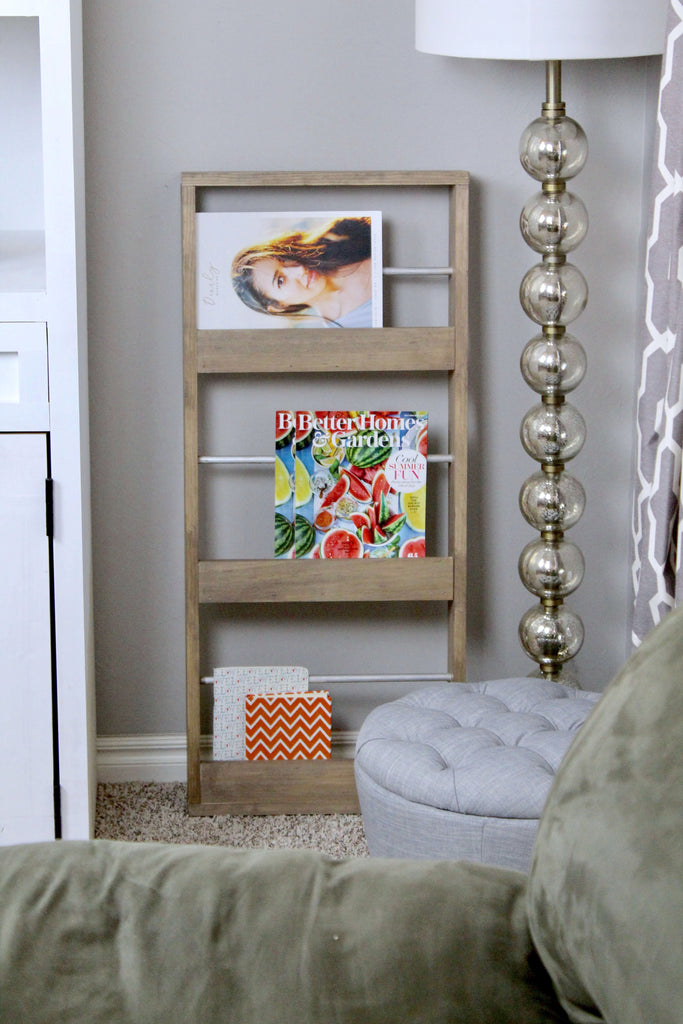
- 1x4 Lumber - 2
- 1x3 Lumber
- 1/2" Aluminum Rod
- Rustoleum Briarsmoke
- DAP RapidFuse
- Makita SubCompact Reciprocating Saw
- Diablo Metal Cutting Blade
- RIDGID Drill/Driver
- Ryobi Brad Nailer
- Forstner Bit
- Vise Clamp
Dimensions
3 - 1/2" Rod Pieces - 16"
2 - 1x4 Side Pieces - 37 1/4"
2 - 1x4 Top/Bottom Pieces - 16 14/16"
3 - 1x3 Front Braces - 15 1/4"
2 - 1x3 Shelf Supports - 15 1/4"
Step 1: Drill Holes for Aluminum Bar
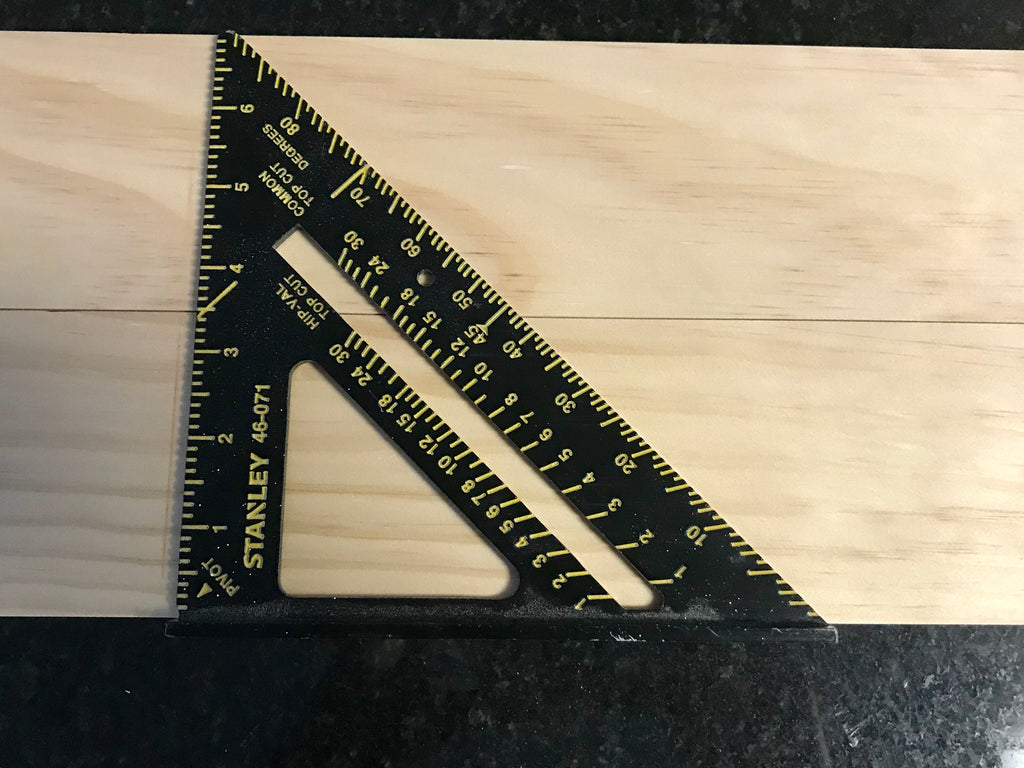
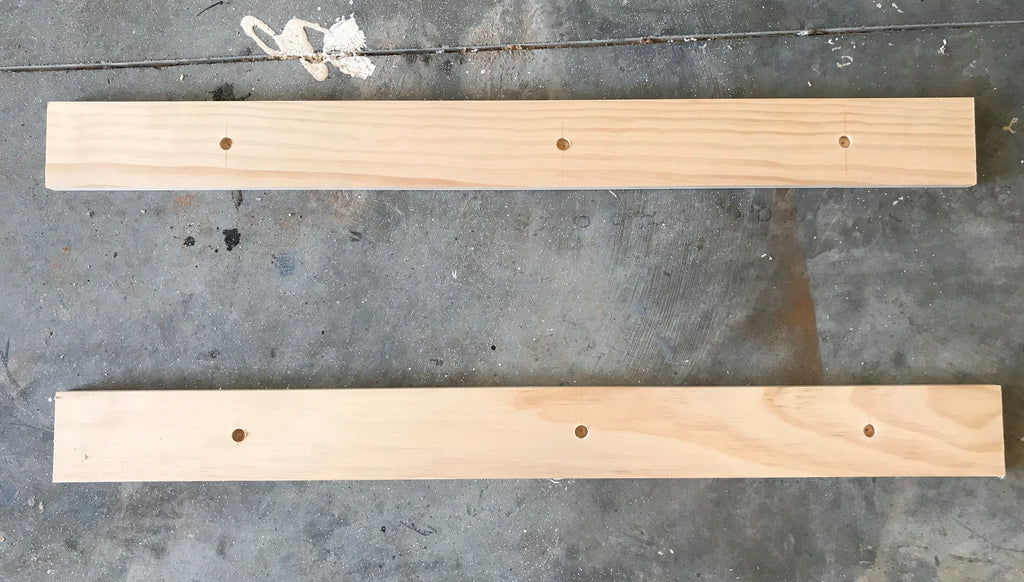
The first thing I did after cutting the lumber down to size was to start making the lines for the hole placement. I used a speed square to make sure the lines were all aligned. This is probably the most important step, because if the holes aren't in the exact spot on both boards, your aluminum boards will be off.
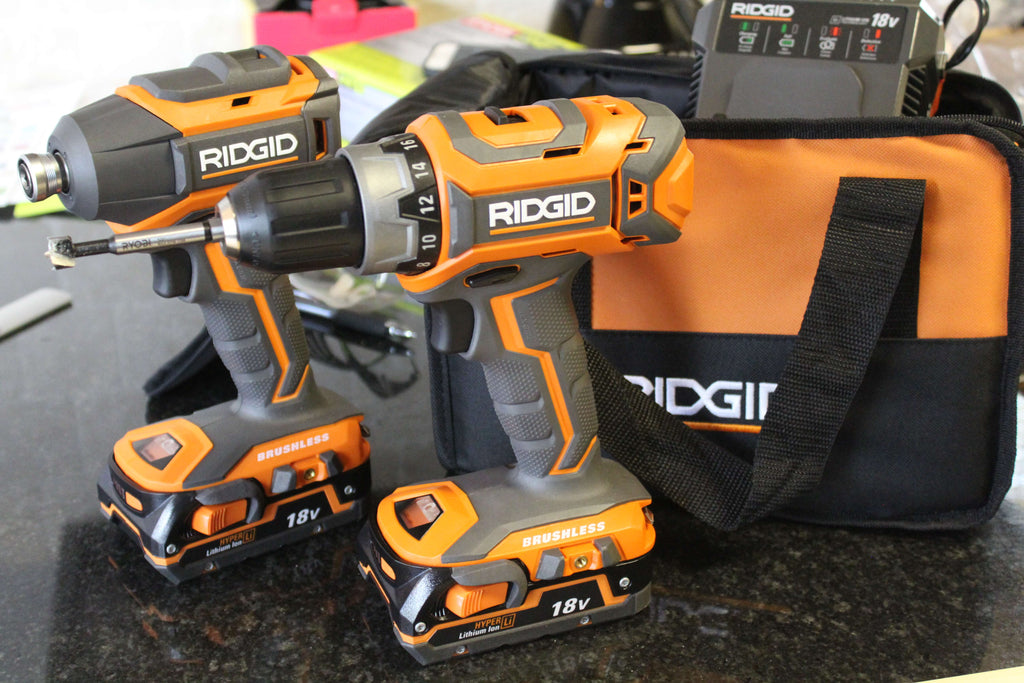
I was excited to finally rid my living room of random magazine displacement but I was also excited to use my new RIDGID Brushless 18 V Drill/Driver and Impact Driver Combo Kit. Ridgid has always impressed me with it's Lifetime warranty and it's brushless technology is at an entry level price point.
This RIDGID Drill/Driver kit comes packed with two 1.5 Ah batteries and brushless motor technology that increases performance and runtime. The drill/driver has two speed settings that help match power to the task, so it was the perfect tool to use for this quick step.
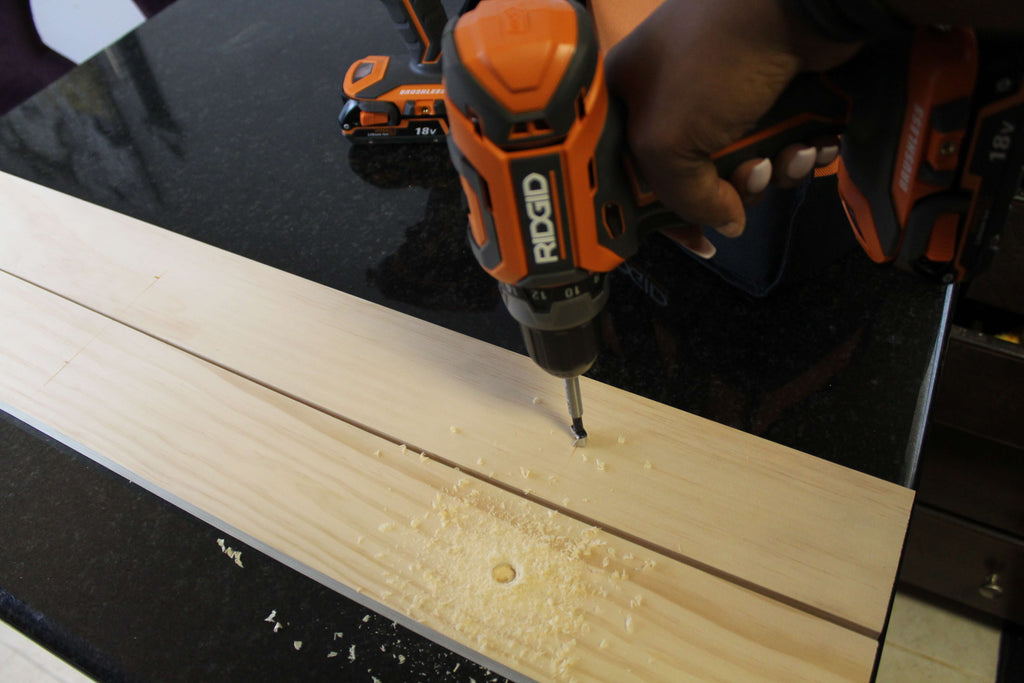
I used a 1/2"Forstner Bit to drill the holes. This is one bit that I don't use often, but glad I have it when I do, and Ryobi sells a great set for cheap at Home Depot.
Once you make the line marks for the holes, you've done the hardest part. I drilled the six holes in less than three minutes. It was just that simple. As long as you sit the tip of the forstner bit right on the line mark, the holes should line up perfectly.
Step 2: Cut Aluminum Bar to Size
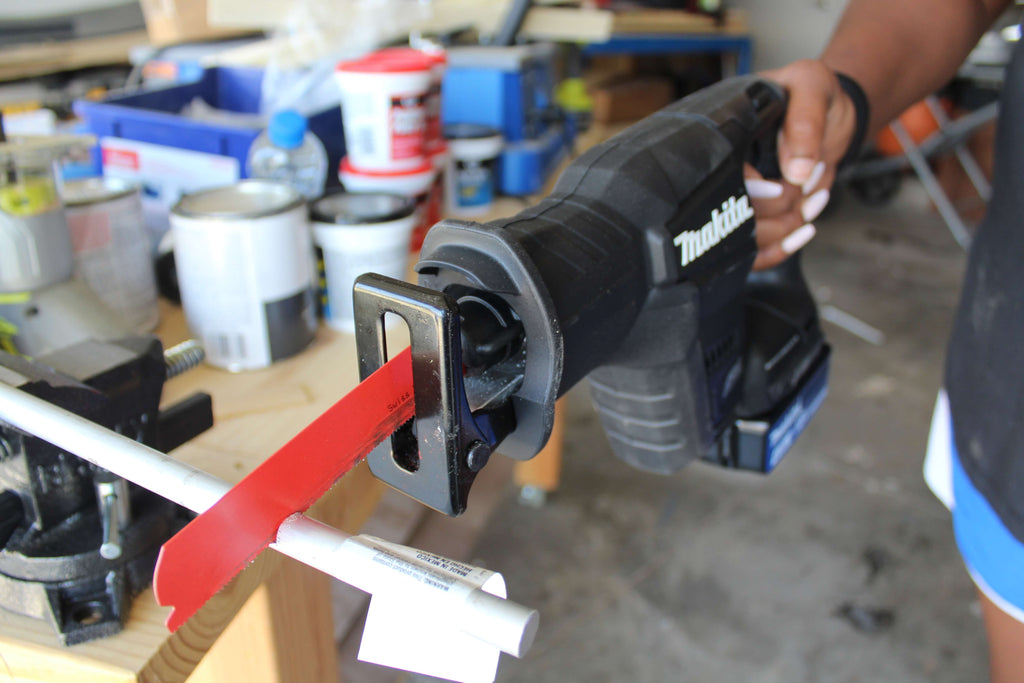
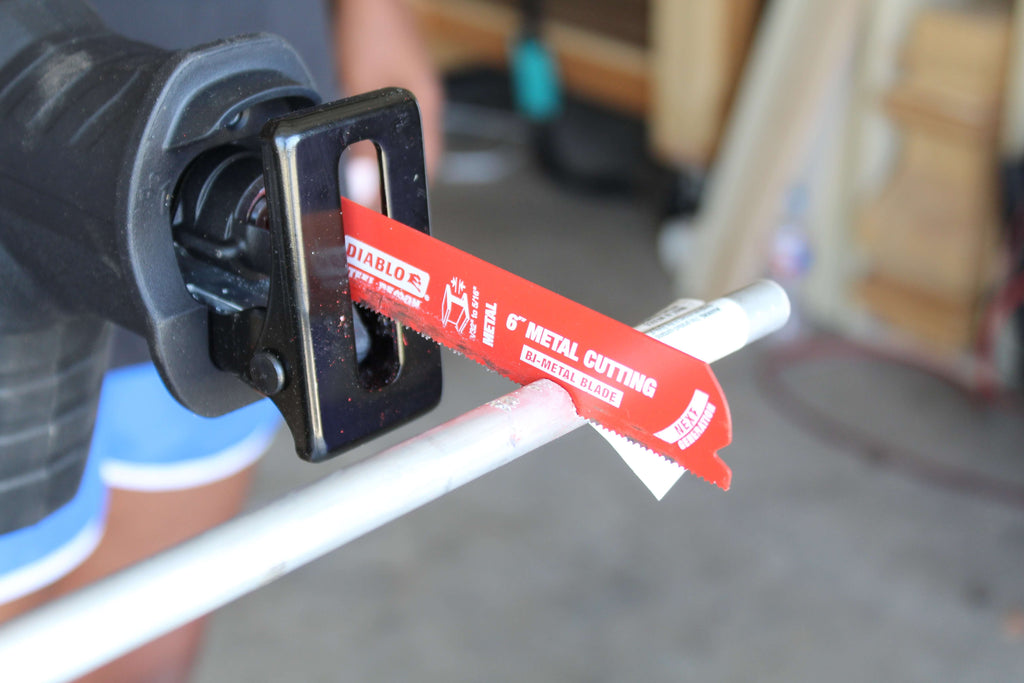
I always enjoy when I get to use materials other than wood in my project. I got the 1/2" Aluminum Rod to use for my magazine rack and it was the perfect addition to the project. To cut the aluminum bar down, I used my Makita SubCompact Reciprocating Saw coupled with my Diablo Metal Blade. It has a compact design thats only 12-1/2" ;one and weighs around 6 lbs with the battery. Its lightness and brushless motor makes it a much easier choice to pick up in the shop.
This Diablo Metal Cutting Blade went right through the aluminum bar like butter. My Diablo Blade set includes three nail-embedded wood blades and three metal-cutting blades. These blades have a non-stick coating that protects against heat damage and corrosion; and as you can see this aluminum rod was no match for this Diablo metal blade. In order to hold the bar securely in place I used my Vise Clamp and cut down my three bars in no time.
Step 3: Attach Aluminum Bar
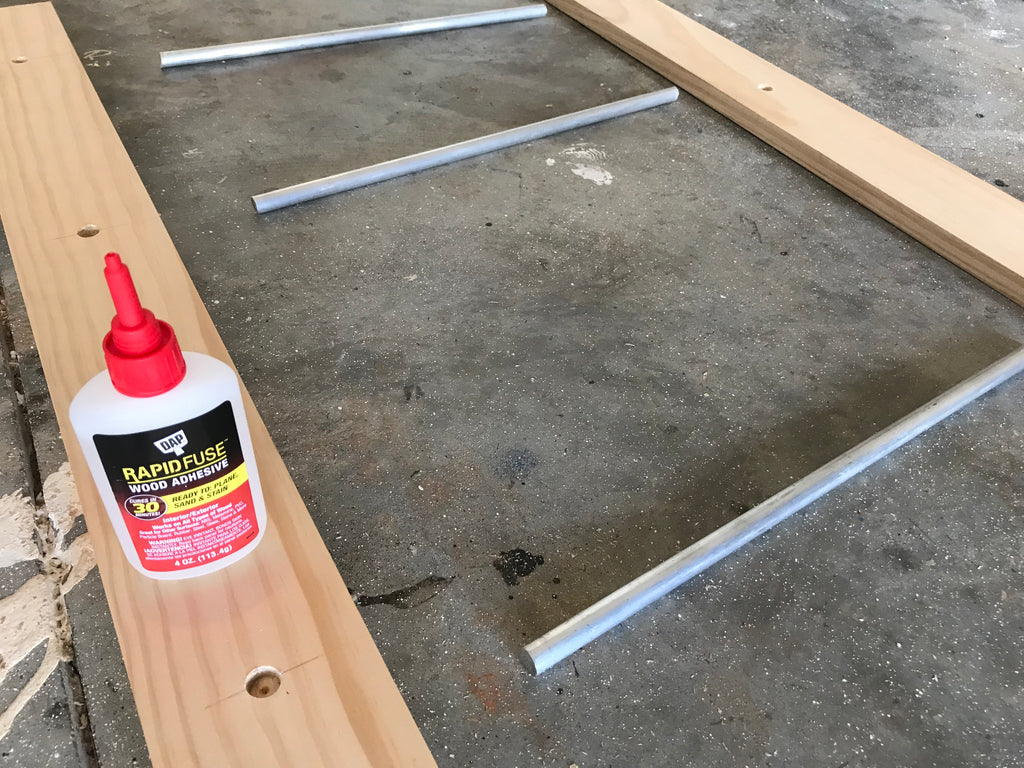
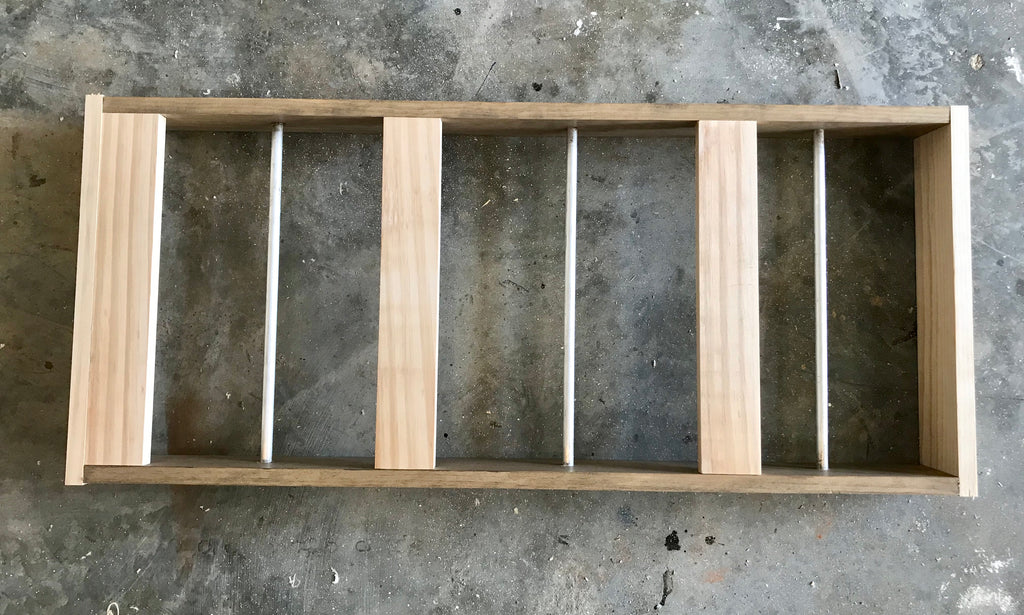
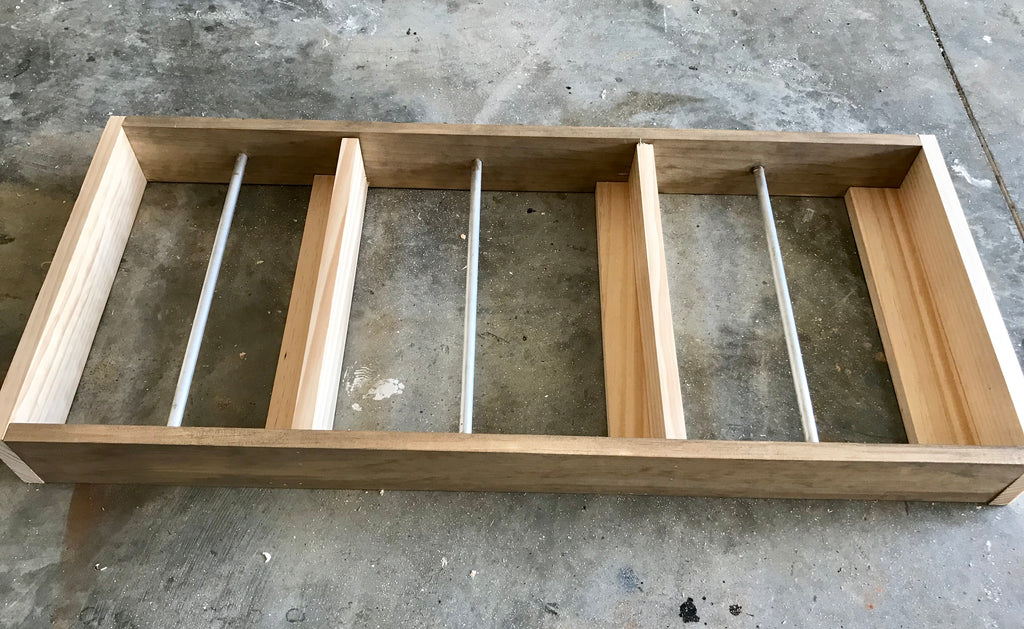
To attach the three aluminum bars to the two sides of the DIY magazine rack, I put a little DAP RapidFuse glue into three holes on one side of the magazine rack, let that sit or five minutes.
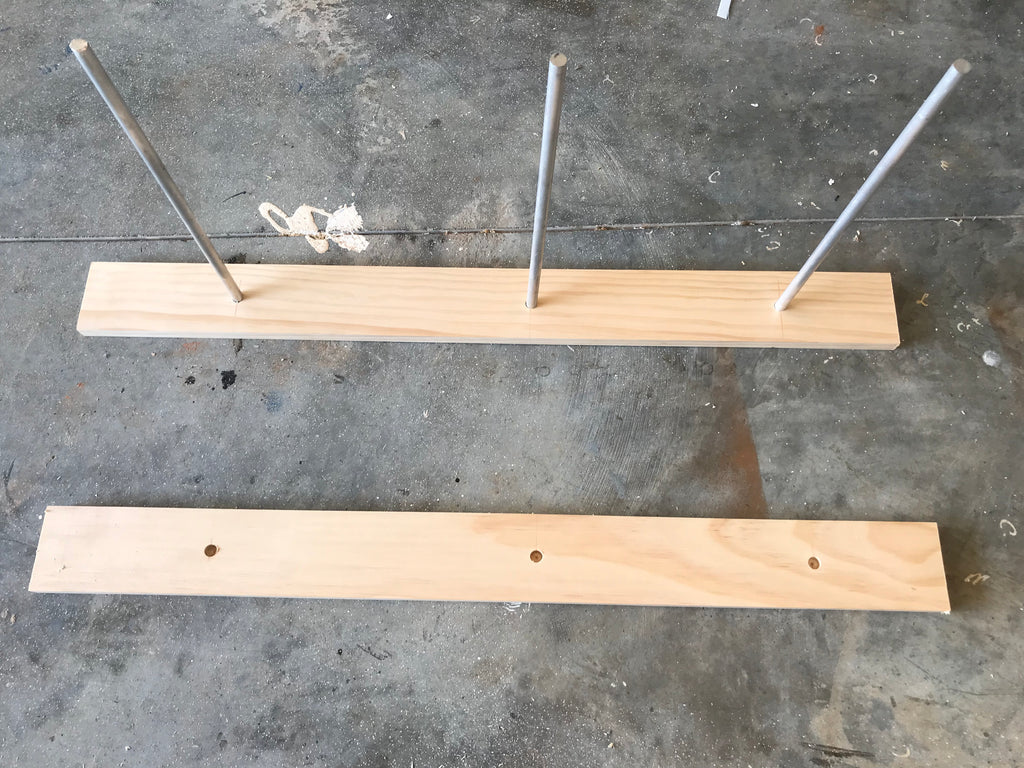
Then put some glue into the other three holes and attached that to the other end of the aluminum bars, and let it sit for another five minutes.
I placed the holes in the middle of the side pieces to keep me from loading this thing up with two many books, but if you want more room for more magazines, feel free to move the holes to the back.
Now I don't know if this ever happens to anyone, but halfway through the project I thought, why not just make this into a mini blanket ladder? haha so I tried it out but after taking a couple photos, I decided to keep going with my original plan, but I had to at least show you guys what it looked like. Surely, I'm not the only one this has happened to, right?

Step 4: Attach Additional Wood Pieces to Magazine Rack
After the experimenting was over, I began adding the front braces to the magazine rack with wood glue and brad nails.
Next I added the two shelf supports to the back of the magazine rack using wood glue and brad nails. This was the last step of the process.
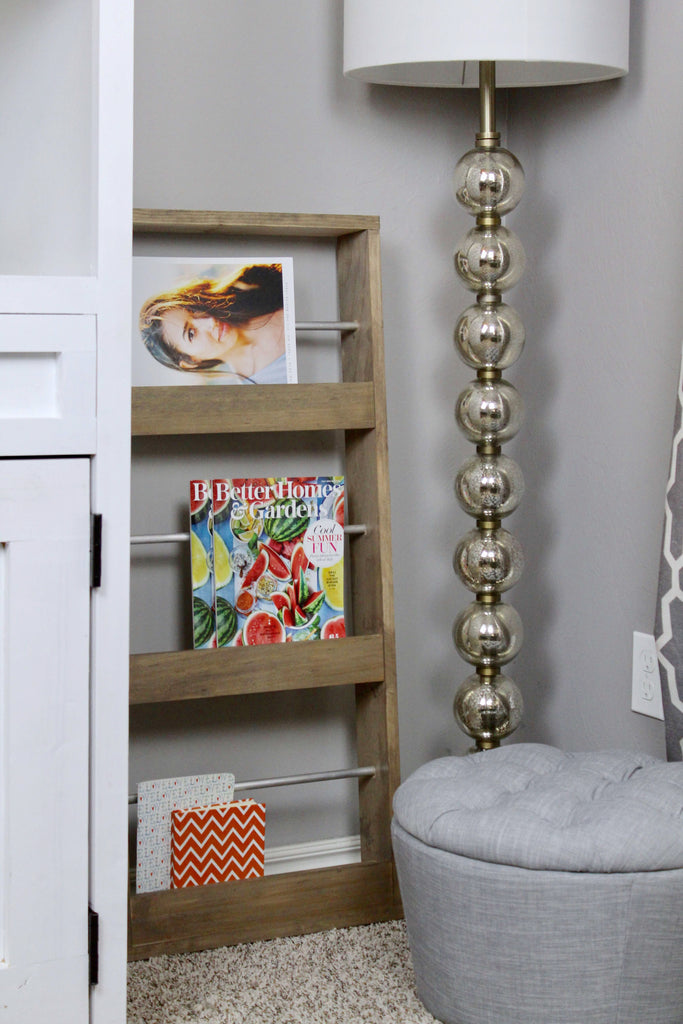
After I finished building the magazine rack, I filled the holes with DAP wood filler and then coated the magazine rack with Rustoleum Briarsmoke.
Thanks for reading guys! XOXO Ashley
I acknowledge that the Home Depot is partnering with me to participate in the THD Pro-Spective Tool Review Program. As a part of the program, I am receiving compensation in the form of products and services, for the purposes of promoting The Home Depot. All expressed opinions and experiences are my own. My post complies with the Word of Mouth Marketing Association (WOMMA) Ethics Code and applicable Federal Trade Commission guidelines.

