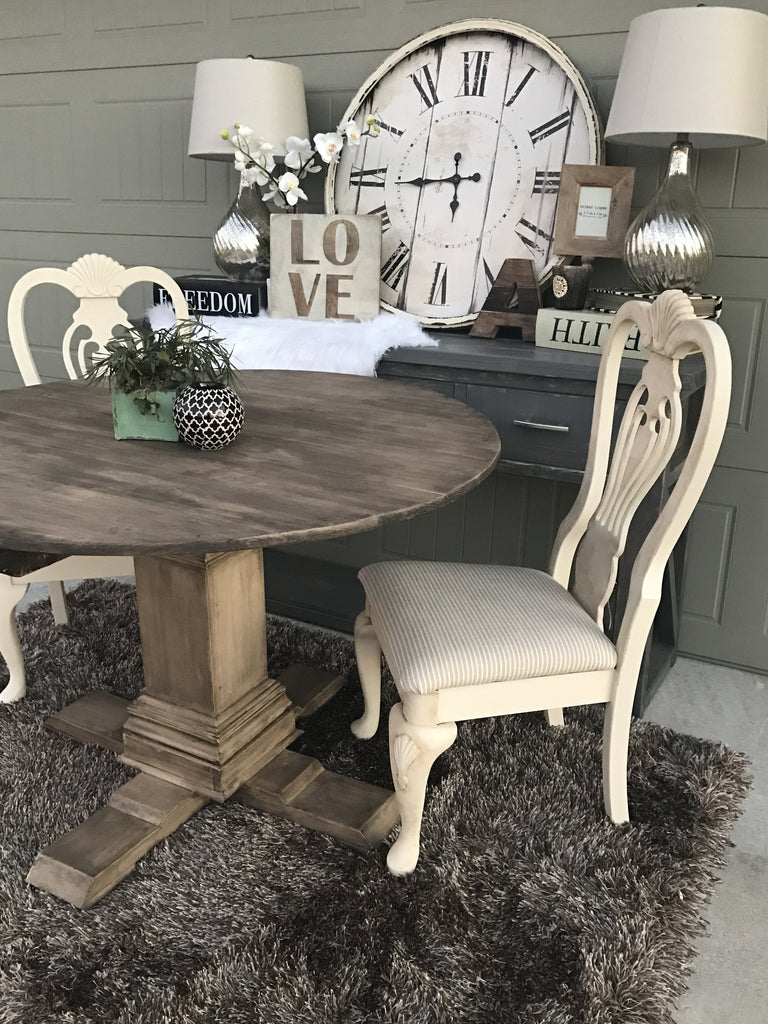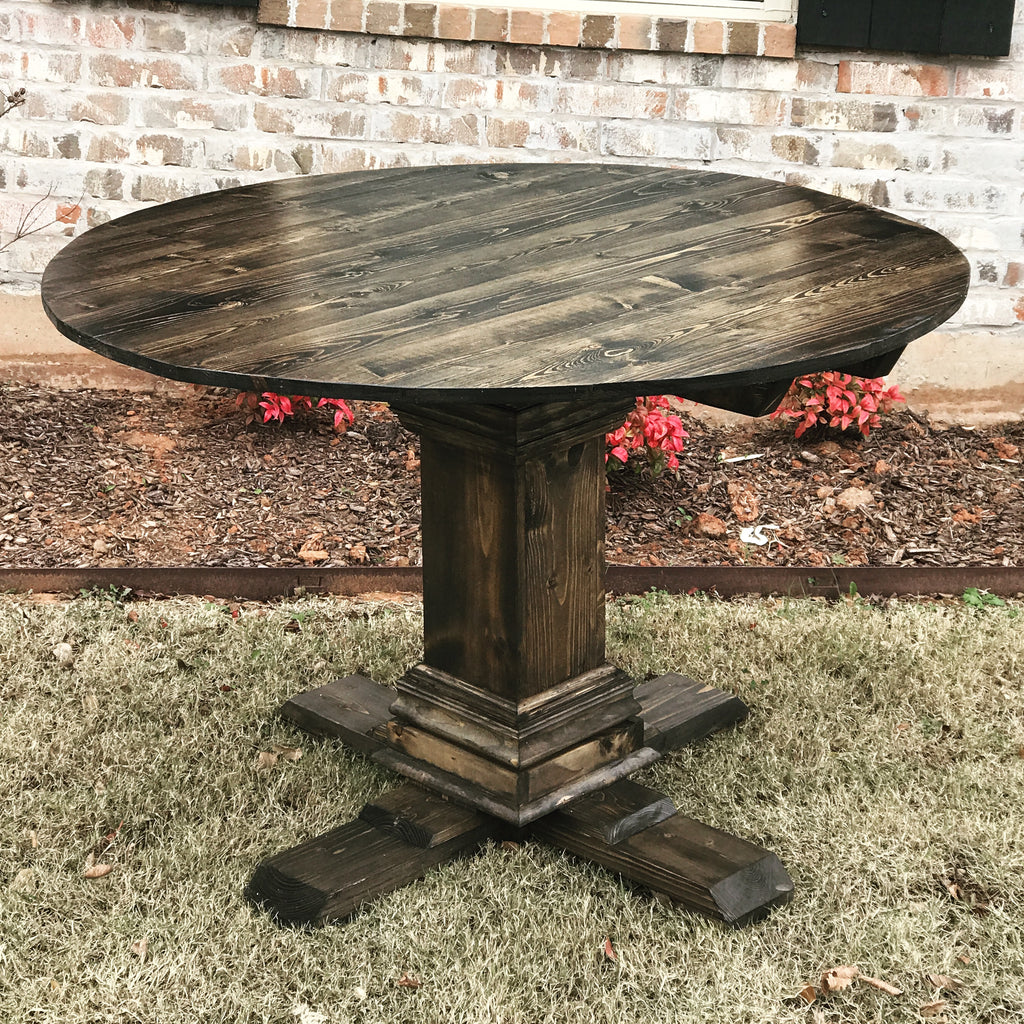
So BEAUTIFUL!!I followed the plans on their site… And didn’t have many problems!
Lets take a look at my journey of building this table!
There are some affiliate links in this post, meaning I get a small commission if you purchase through these links, at no cost to you. Click Here to read my full disclosure)

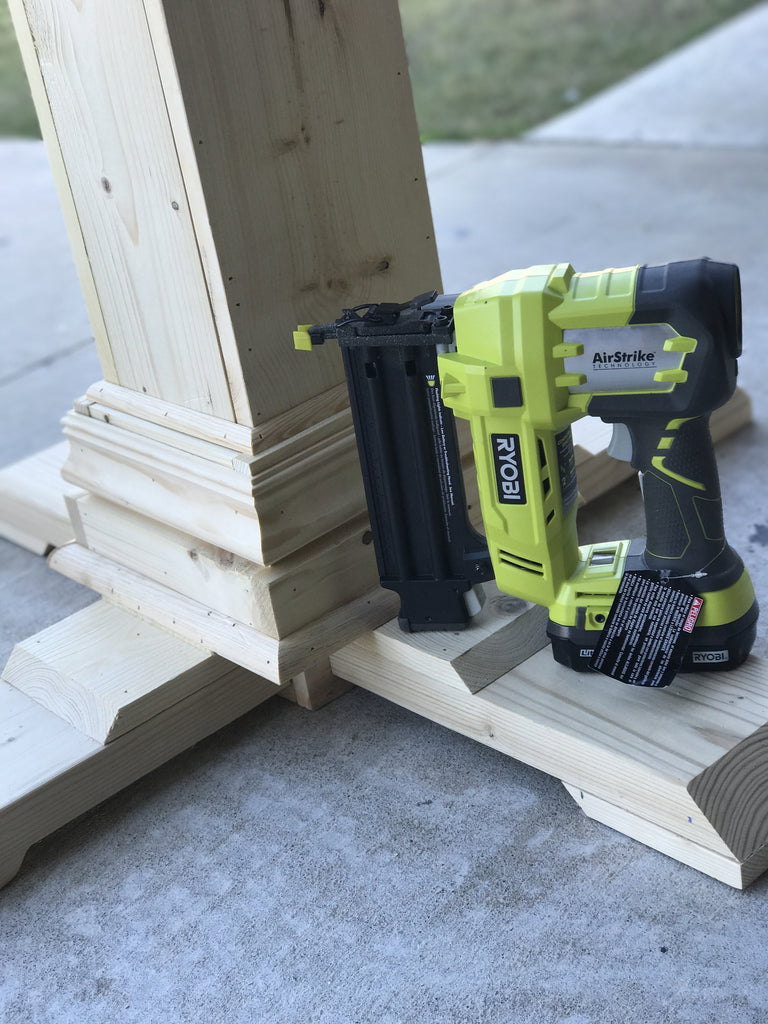
Tip: Make sure all of your legs are nailed in evenly so your bottom is nice and solid!

Tip: If your staining your project, be mindful of where you place your nail holes!
I used my Ryobi Cordless BRAD NAILER to nail my pedestal and it is by far one of my favorite Ryobi tools. I use it on almost every project I do. I actually won this amongst other tools in a contest on Ryobi Nation!
 Every month they have chances for 3 winners to win $500 in power tools. All you have to do is upload a project you've built/made. Its just that simple! Here are the tools I received from winning. Awesome Right?
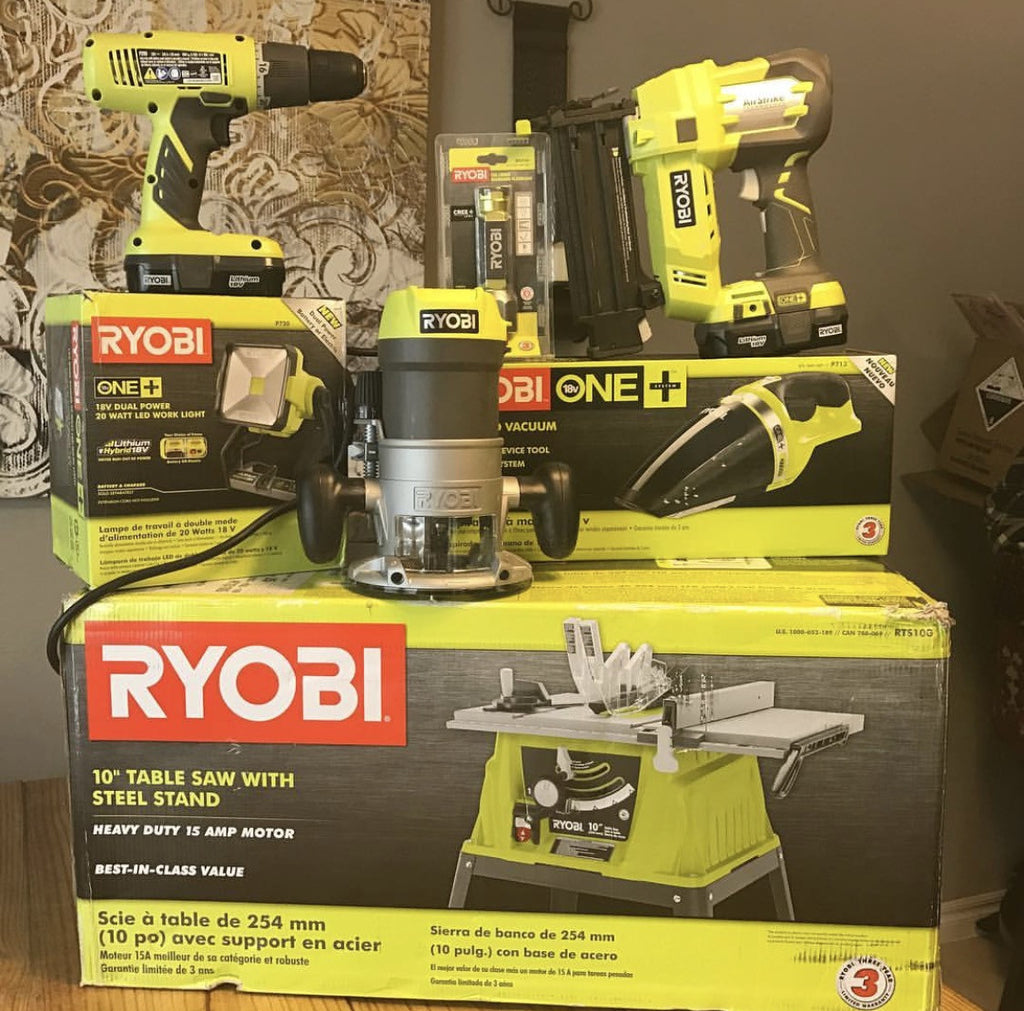
Be sure to go check it out at Ryobi Nation!
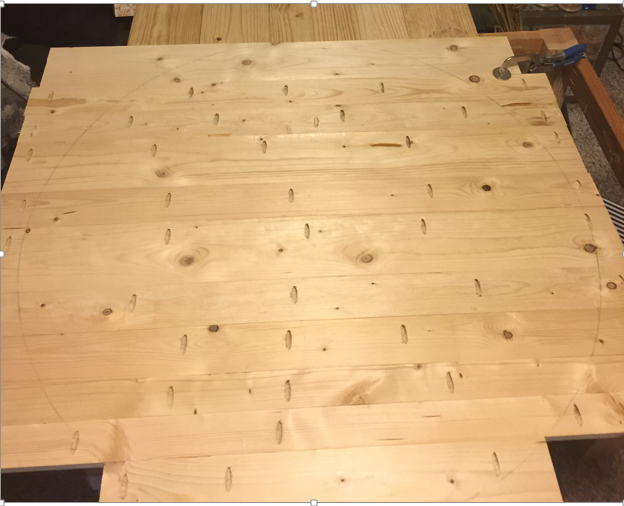
I joined the tabletop together using a Kreg Jig K4 Pocket Hole System on a 3/4" setting, Gorilla Wood Glue, 18 oz.
and 1 1/4" pocket screws and then cut it out with my Ryobi Jig Saw.

This was my finished base for the round table, I was so proud of myself for this one. After completing my build I used Dap 21506 Plastic Wood Filler, 16-Ounce to fill the nail holes and any other openings I wanted to close up.

For the finish I used:
Annie Sloans Chalk Paint in Old Ochre
Old Masters – Walnut
Old Masters Clear Finish
I painted the base first with the chalk paint and let it dry. I love chalk paint because it dries extremely fast.
Then wiped the walnut gel stain over top of it like I normally apply stain.

and here she is!!
Here is the same build using Minwax Jacobean!


