
Projects

IG Builders Challenge

I think I just might be building one for myself!!! Thanks for reading!!!!

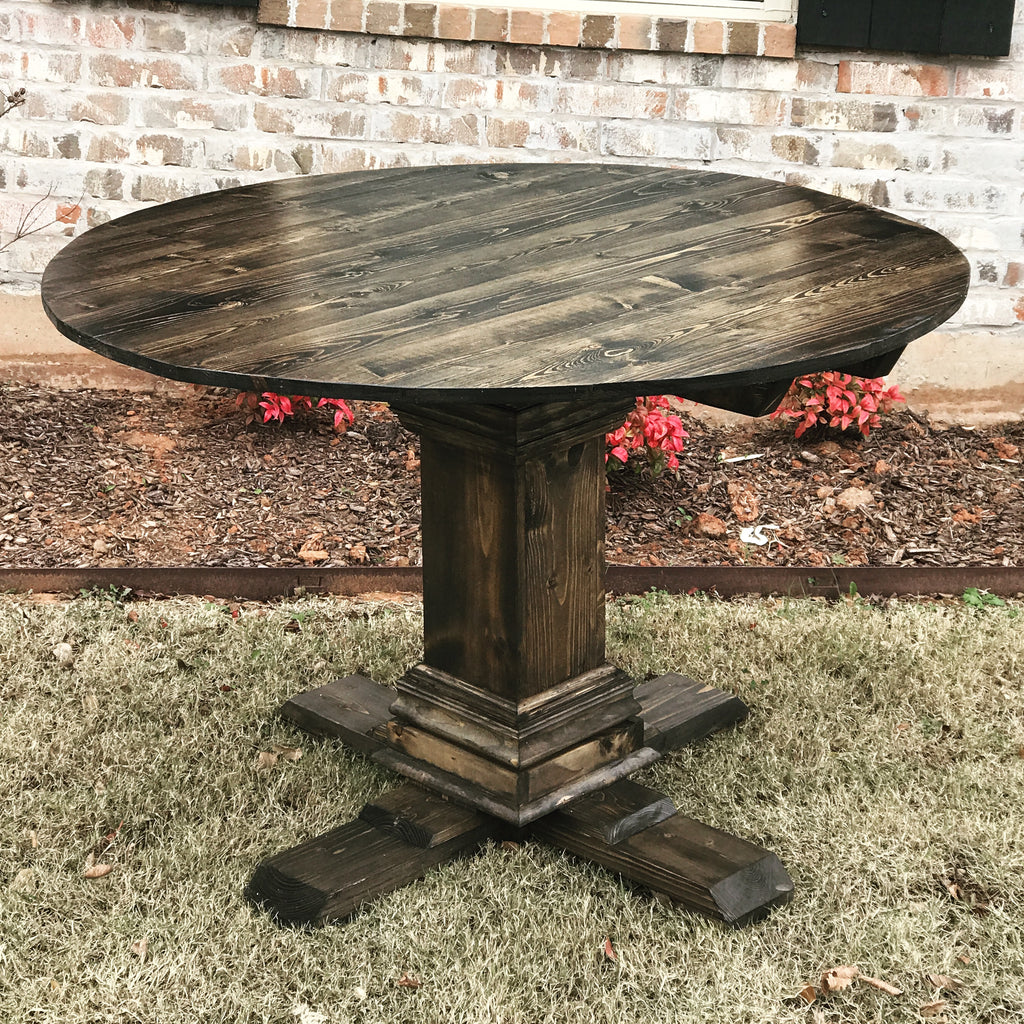
Round Pedestal Dining Table

So BEAUTIFUL!!I followed the plans on their site… And didn’t have many problems!
Lets take a look at my journey of building this table!
There are some affiliate links in this post, meaning I get a small commission if you purchase through these links, at no cost to you. Click Here to read my full disclosure)

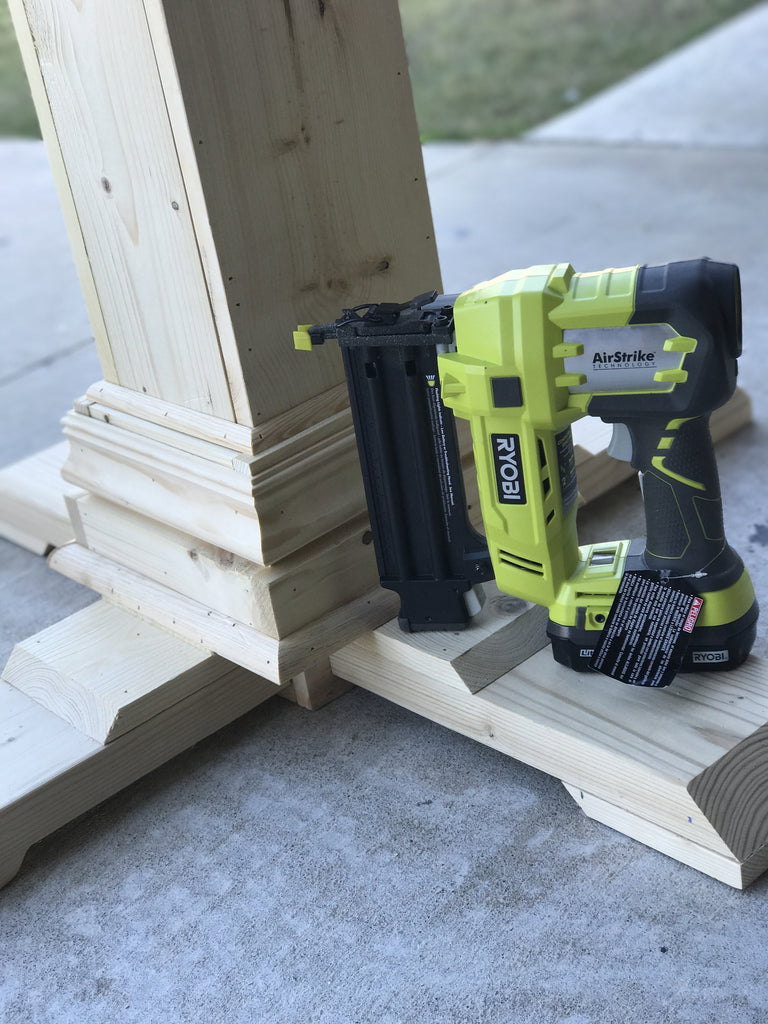
Tip: Make sure all of your legs are nailed in evenly so your bottom is nice and solid!

Tip: If your staining your project, be mindful of where you place your nail holes!
I used my Ryobi Cordless BRAD NAILER to nail my pedestal and it is by far one of my favorite Ryobi tools. I use it on almost every project I do. I actually won this amongst other tools in a contest on Ryobi Nation!
 Every month they have chances for 3 winners to win $500 in power tools. All you have to do is upload a project you've built/made. Its just that simple! Here are the tools I received from winning. Awesome Right?

Be sure to go check it out at Ryobi Nation!
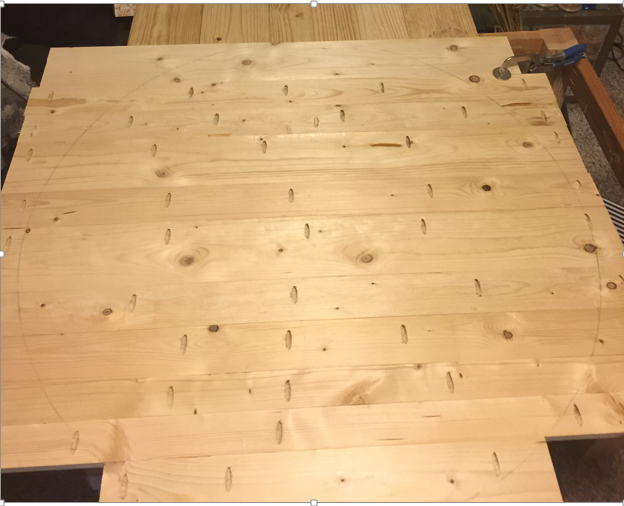
I joined the tabletop together using a Kreg Jig K4 Pocket Hole System on a 3/4" setting, Gorilla Wood Glue, 18 oz.
and 1 1/4" pocket screws and then cut it out with my Ryobi Jig Saw.

This was my finished base for the round table, I was so proud of myself for this one. After completing my build I used Dap 21506 Plastic Wood Filler, 16-Ounce to fill the nail holes and any other openings I wanted to close up.

For the finish I used:
Annie Sloans Chalk Paint in Old Ochre
Old Masters – Walnut
Old Masters Clear Finish
I painted the base first with the chalk paint and let it dry. I love chalk paint because it dries extremely fast.
Then wiped the walnut gel stain over top of it like I normally apply stain.

and here she is!!

Here is the same build using Minwax Jacobean!

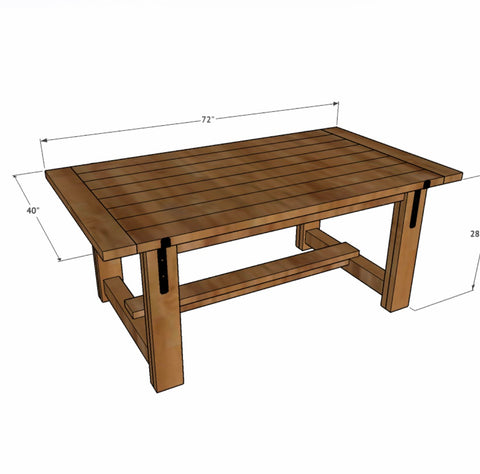
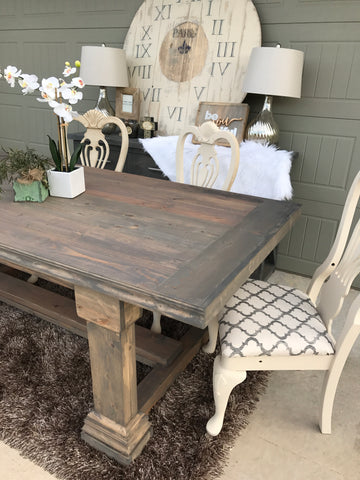
Trestle Dining Table
I looked at the plans for this dining table for a full month. Nearly everyday saying to myself “There’s no way you can pull this off” (No Lie) After staring at it for weeks I finally just said “I’m going to try it!” and I’m SOOOOOO glad I did!!
I got the plans for this from ANA WHITE’s website! (DIY QUEEN)
and only for a whopping $65!!!!
Mine was actually about $40 because I had extra 2×4’s from my last build so DIY WIN!!

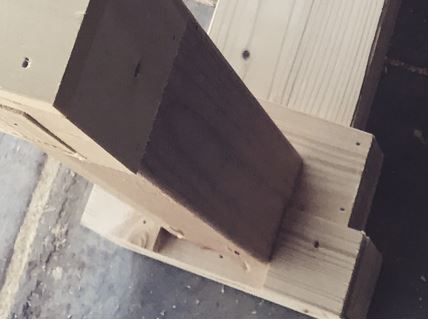
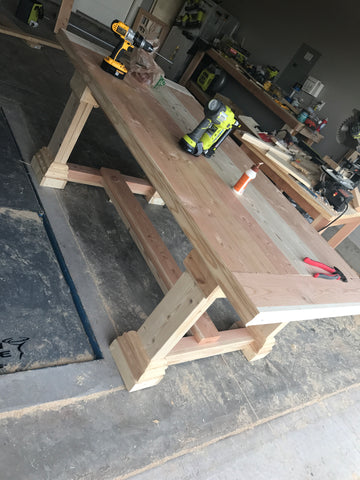
These little suckers were tricky for me! It was my first build so I definitely learned a lot!!! But it was much easier for me to put the two middle straight vertical pieces together, assemble the long horizontal piece and then put in the diagonals using pocket holes ( just another excuse to use my Kreg Jig)
Different ways might work for different people but this worked best for me!
In the Ana White plans it says to countersink the screws…and I just read over that all willy nilly and didn’t even bother to countersink the screws. I learned quickly that without countersinking the screws it can cause your boards to split when drilling down! SO don’t be a cheater like me..
COUNTERSINK!!!!!:)
After finishing one leg, I repeated the same steps for the other one..and one became two!!

The legs seemed short…but once the table was assembled the table seemed like the appropriate height!!
Next was the cross braces and anchor pieces! I joined these to the legs with my handy dandy KREG JIG (I’m telling you guys this thing is GREAT) Im not sure how people build these things without one!

Once the bottom was finished I started chucking away on the top…

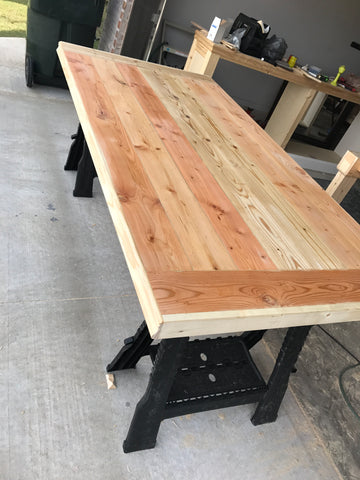
Can you guess how I joined the boards together?? haha KREG JIG!!!! Once the boards were together I filled the holes with wood filler!!! Now the wood filler I used was Minwax’s stainable wood filler in a tube! I learned later that this is not at all stainable and NOTHING like the MinWax wood filler in the can! It didn’t matter for the bottom since I used paint….but for the tabletop I could definitely tell. Luckily the weathered oak kind of matched the grey color that this wood filler dried as. 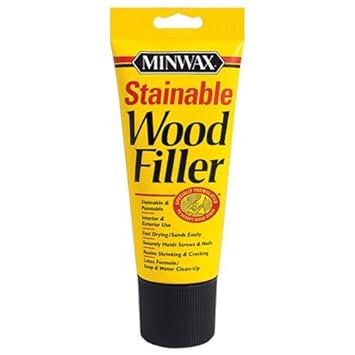
So for any projects you are staining. Don’t use this product!!! lol
I applied two coats of the weathered oak and let it sit to dry.
While this was drying I started on painting the bottom!!
Once the wood filler was all dry…I sanded her down and used a damp clothe to wipe it down so I could start painting.

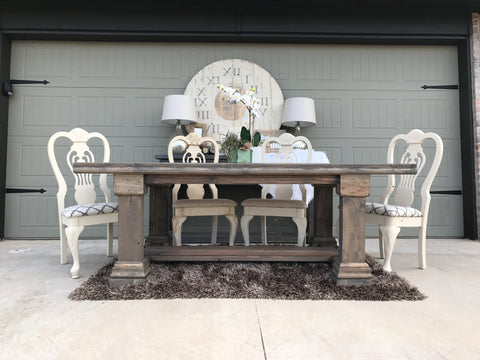
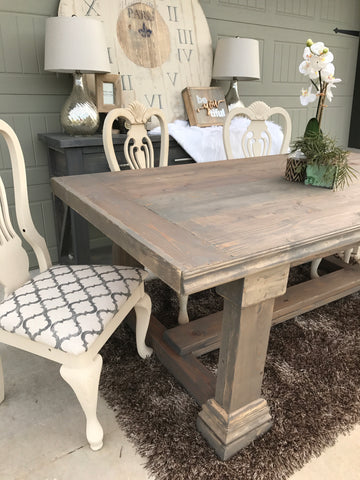
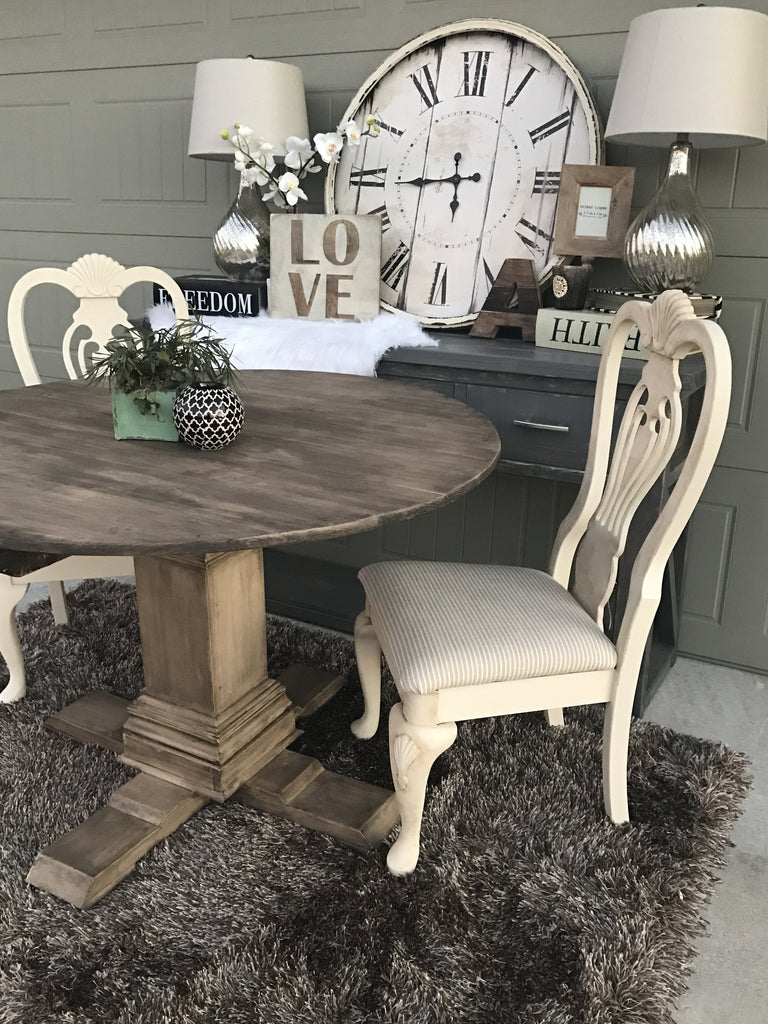
I used Annie Sloans Chalk Paint (Old Ochre) that I had left over from a previous paint job to paint the base of the table and then went back over with Annie Sloan’s Clear and Dark Wax to give it the antique feel. You MUST have the clear wax if you use the dark wax! This is kind of an eye thing. You rub the whole base down with clear wax and then just rub the dark wax sporadically to give it the textured look!

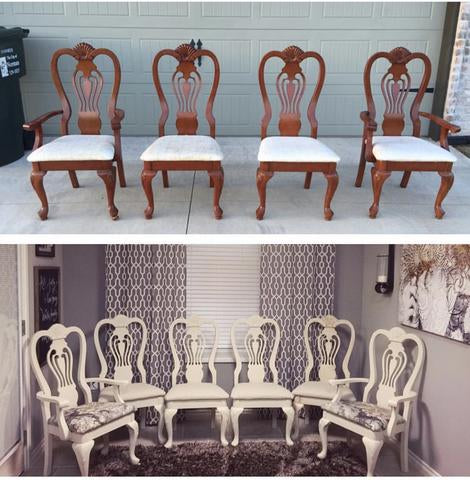
I used the same chalk paint for my dining chairs, man do I love a good before and after.
After this was all dry..which didn’t take long….It was time to put a clear coat on the table top!

I used 3 coats of Minwax’s Water Based Polycrylic Protective Finish. I sanded the tabletop with 220-grit after the poly dried between coats!
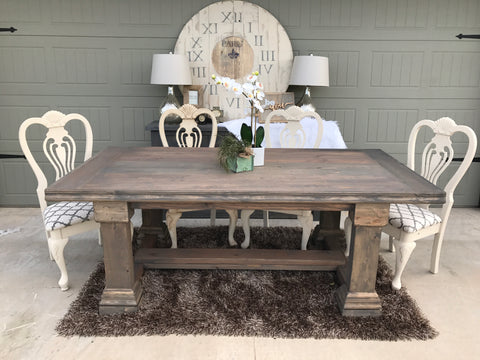
After the table top was dry…I connected the table with pre-drilled pocket holes and a few screws and there you have it!!


This table looks great in my dining space!!
