Projects
DIY Hairpin Coffee Table with Stenciled Tile
Don't let this DIY Hairpin Coffee Table fool ya, that's a stencil design!
I have seen DIY hairpin legs start to make themselves known and I thought this project would be a great way to dive into a new trend. So I made this DIY hairpin coffee table featuring a tile stencil on top!
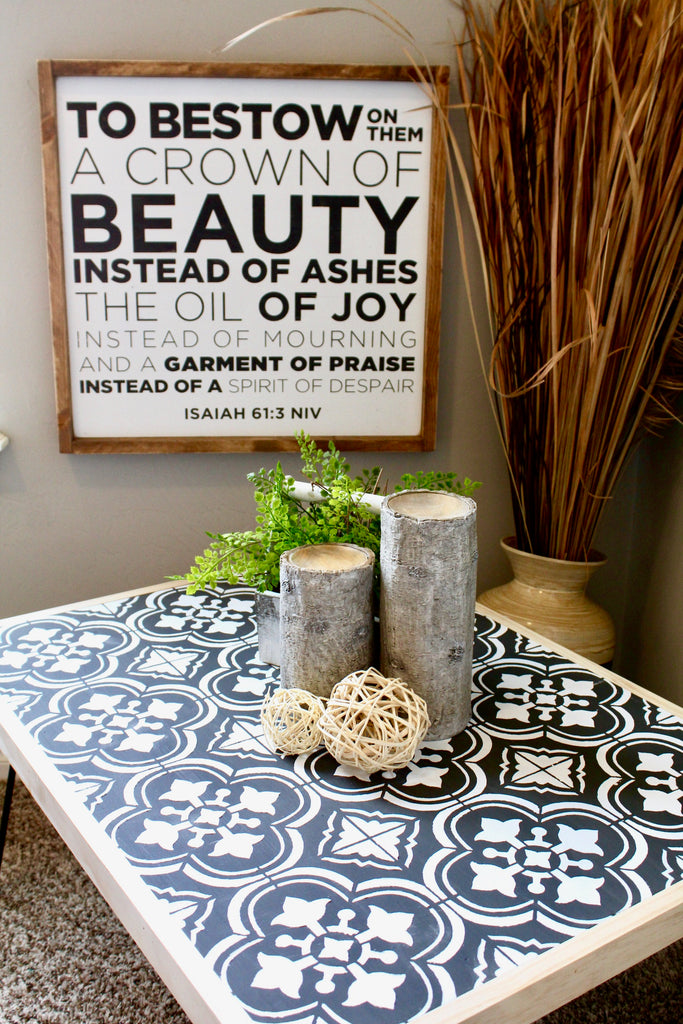
Luckily for you guys, I videoed the process! Check it out and be sure to read up on all the details I missed in the video below.
There are some affiliate links in this post, meaning I get a small commission if you purchase through these links, at no cost to you. Click Here to read my full disclosure.
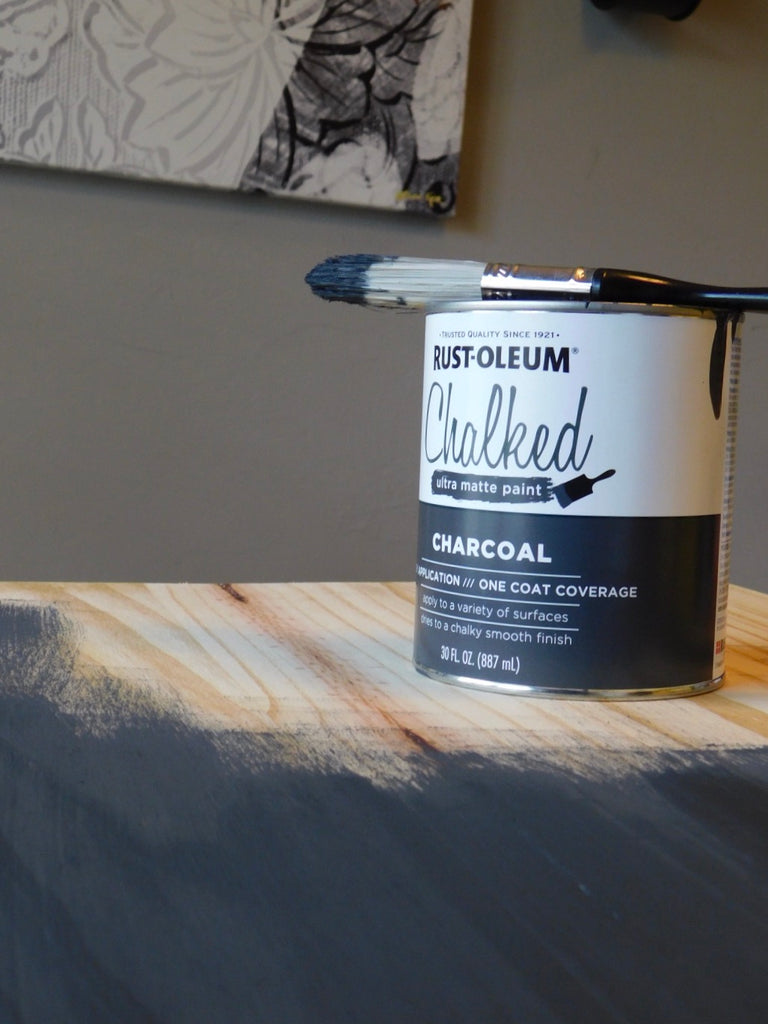
I am a huge fan of chalk paint and normally I use Annie Sloan but ever since I used Rustoleum chalk paint on my fireplace, I wanted to try it out on this build and I love it! Even better it's the third of the price of Annie Sloan! Sorry Annie! But Rustoleum is taking the win on this one! I'm excited to see how it holds up! I used the Rust-Oleum Charcoal for the under bottom and the Rust-Oleum Linen White
for the top. This was the perfect paint for a stencil because it dries so quickly. Idk if I would have enjoyed this project as much if I used regular paint.
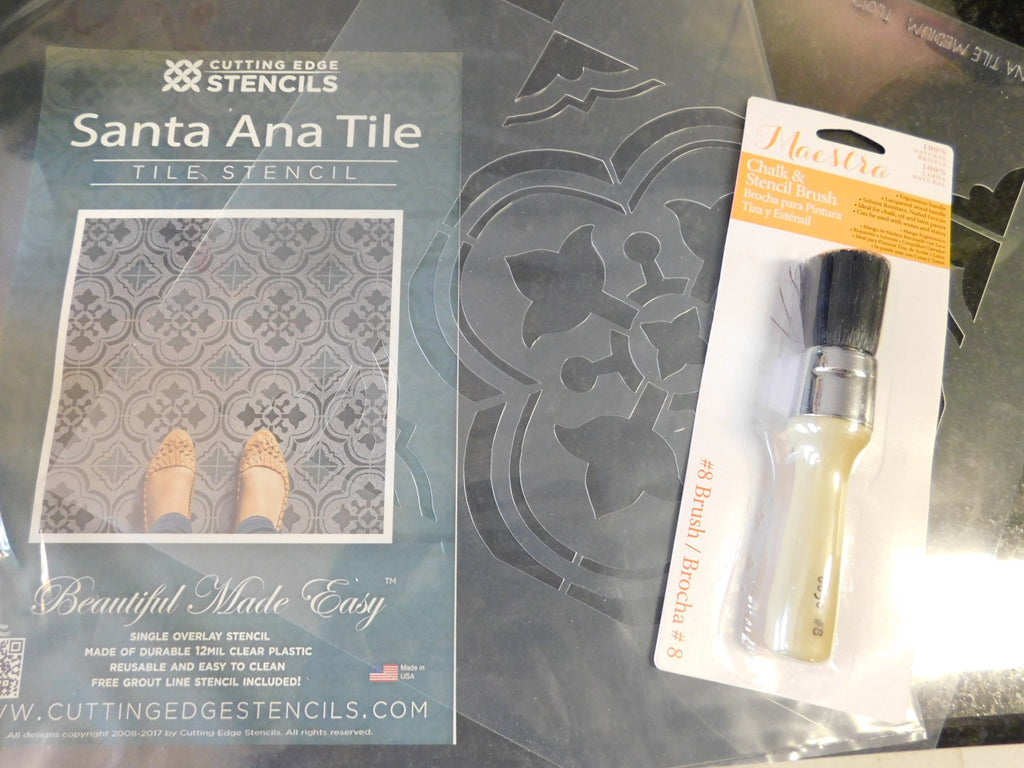
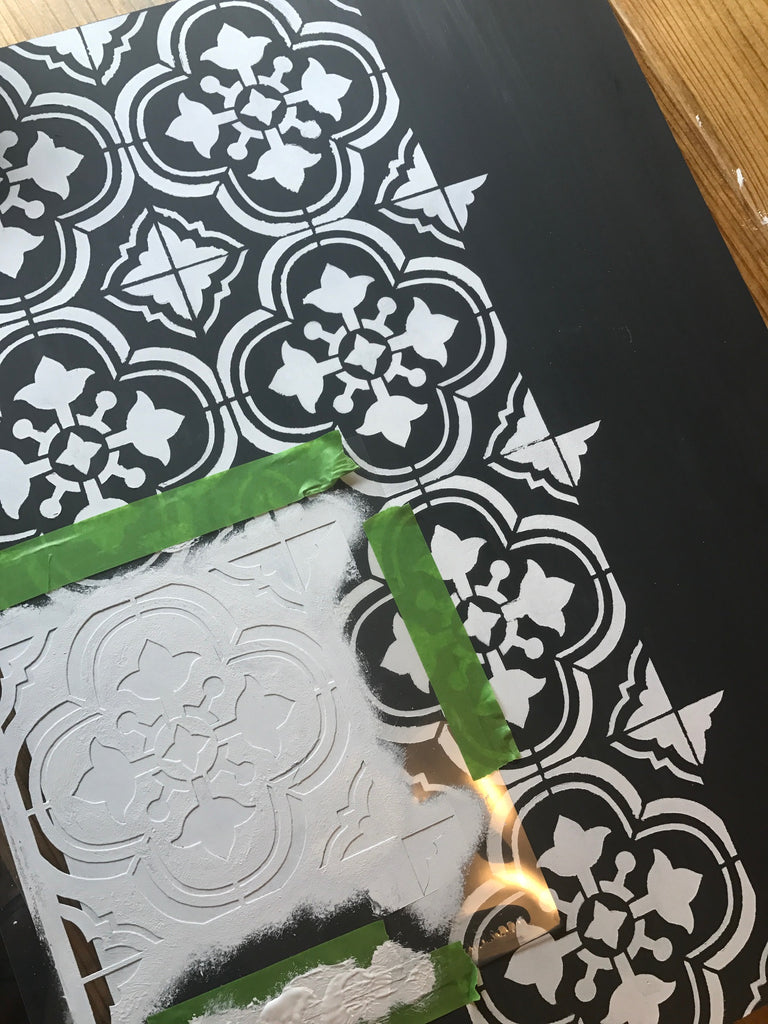
I have been seeing these Santa Ana Tile Stencil everywhere and since I couldn't use them for my floors, I thought what better to use them on then a piece of furniture! The best part was it was only $9.99! Nothing like a cheap stencil to make my day! I cut the wooden piece down so that I could fit the stencil on there 4 times. The stencil comes in two sizes so depending on the size you can decide the length you want. Mine was 24x36.
This was my first time using a stencil so I definitely learned some good tips for getting a clean finish. Rule # 1 don't put a blob of paint on the brush and expect to get clean lines. IT AINT GONE HAPPEN'.... I would suggest practicing on a scrap piece of wood first to get the hang of it, unless you want to be a brave soul like me and just thug it out. Either way, it wasn't that hard to do. I think a good brush is key, I picked mine up from my local Home Depot. Once I finished stenciling the table top I coated it with Rust-Oleum Clear.
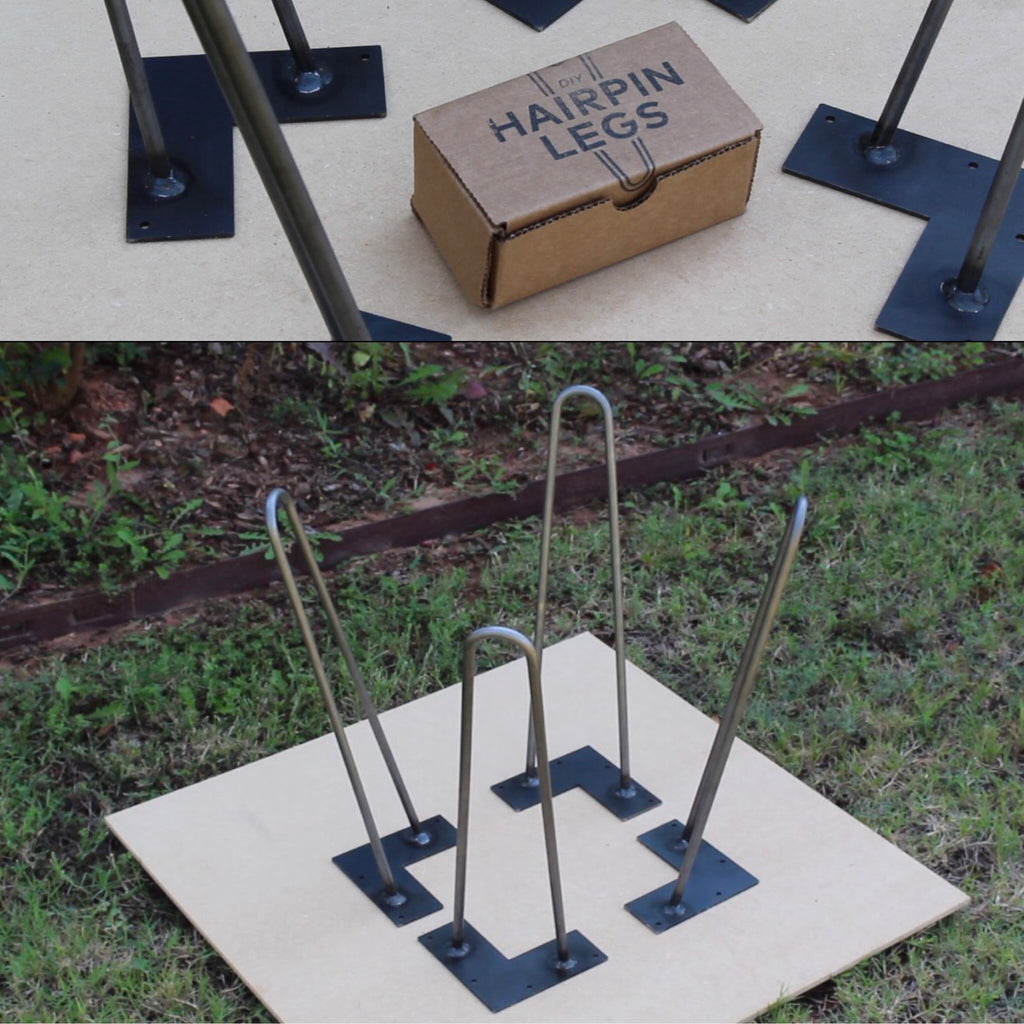
This was my first experience with hairpin legs, as well and I loved using them. They were super easy to incorporate into my DIY hairpin coffee table . Huge shoutout to DIY Hairpin Legs for sending these babies over! I loved that the legs came equipped with screws, I wasn't expecting that at all. It also came with full instructions on how to use them, even though its pretty straight forward. I used Rust-Oleum Flat Black and Rust-Oleum Matte Clear
on the hairpin legs and it really made them come to life.
I am so happy with how this build came out. It was my first industrial type build and I couldn't be happier with the outcome. I think we need one last look!
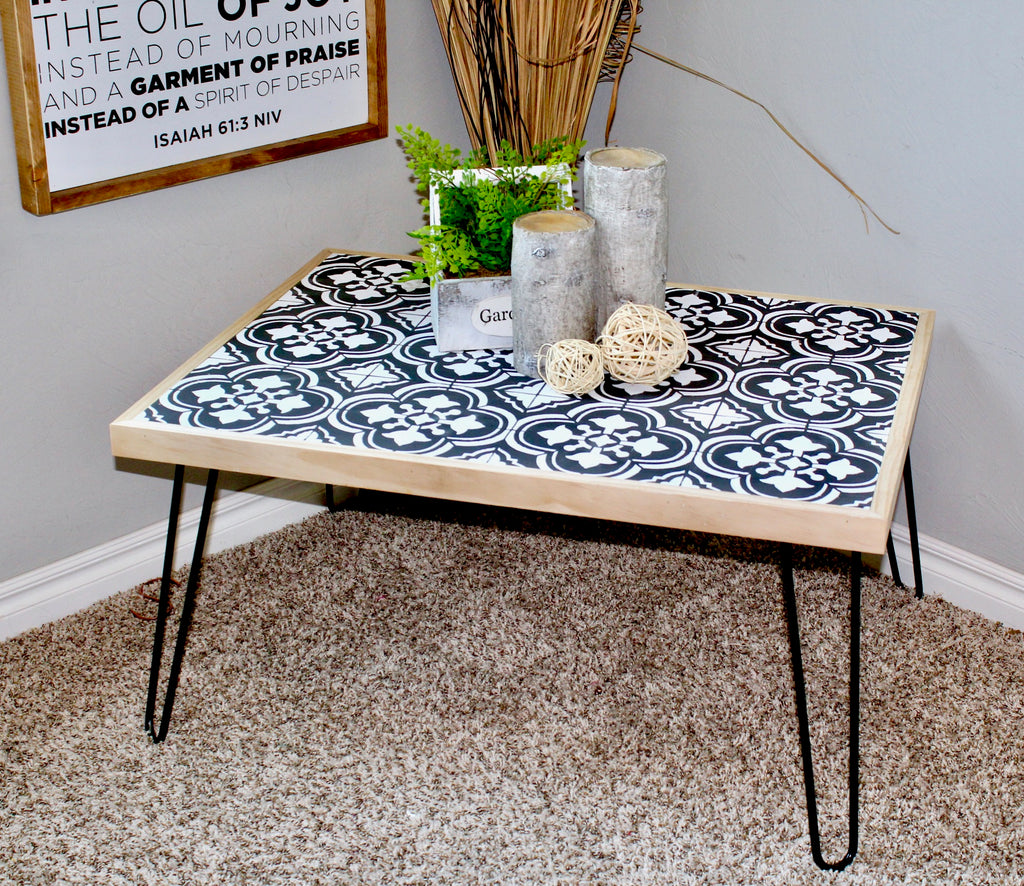
I love that this DIY hairpin coffee table has such a modern feel to it and it only took one afternoon to get it finished! I would love to see your go at this modern hairpin coffee table.
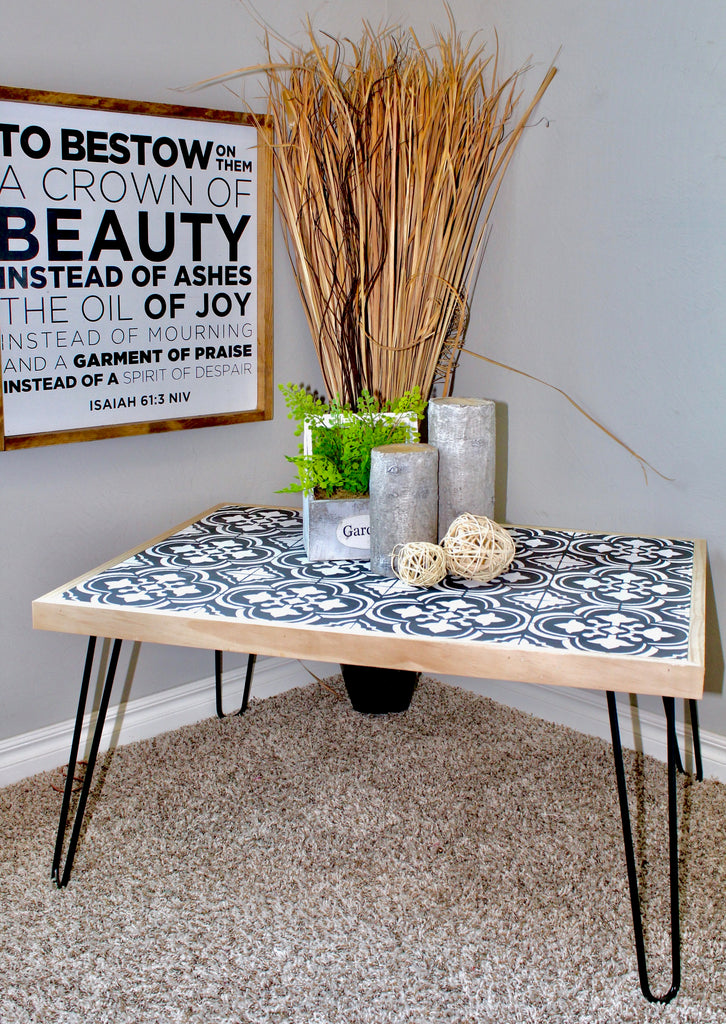
"I received product for this post but all thoughts and opinions are my own."
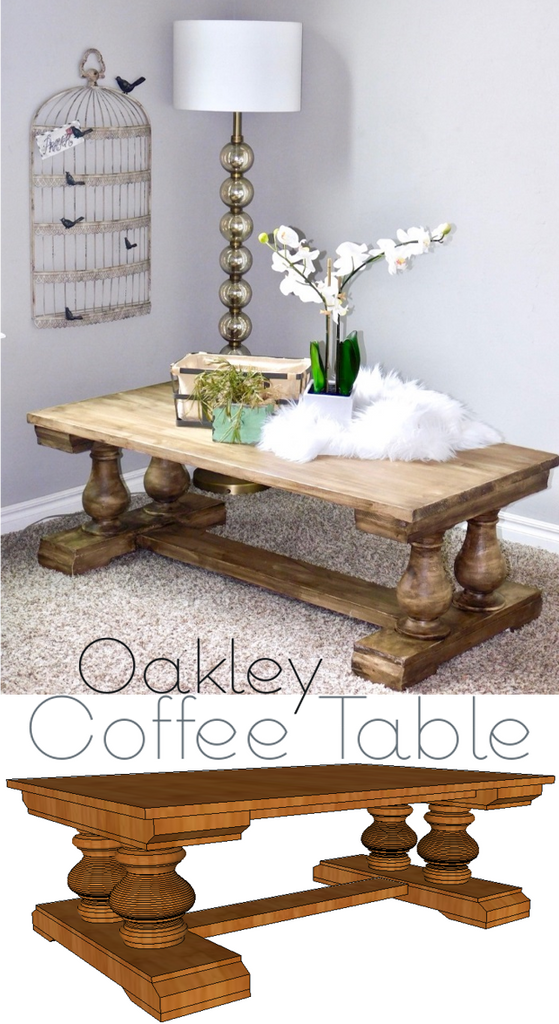
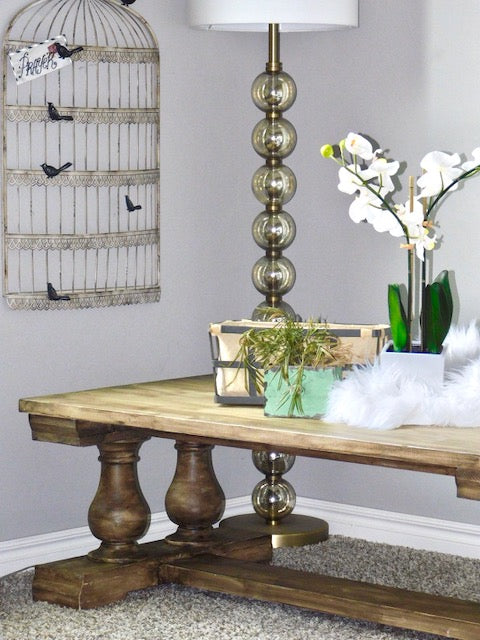
Oakley Coffee Table
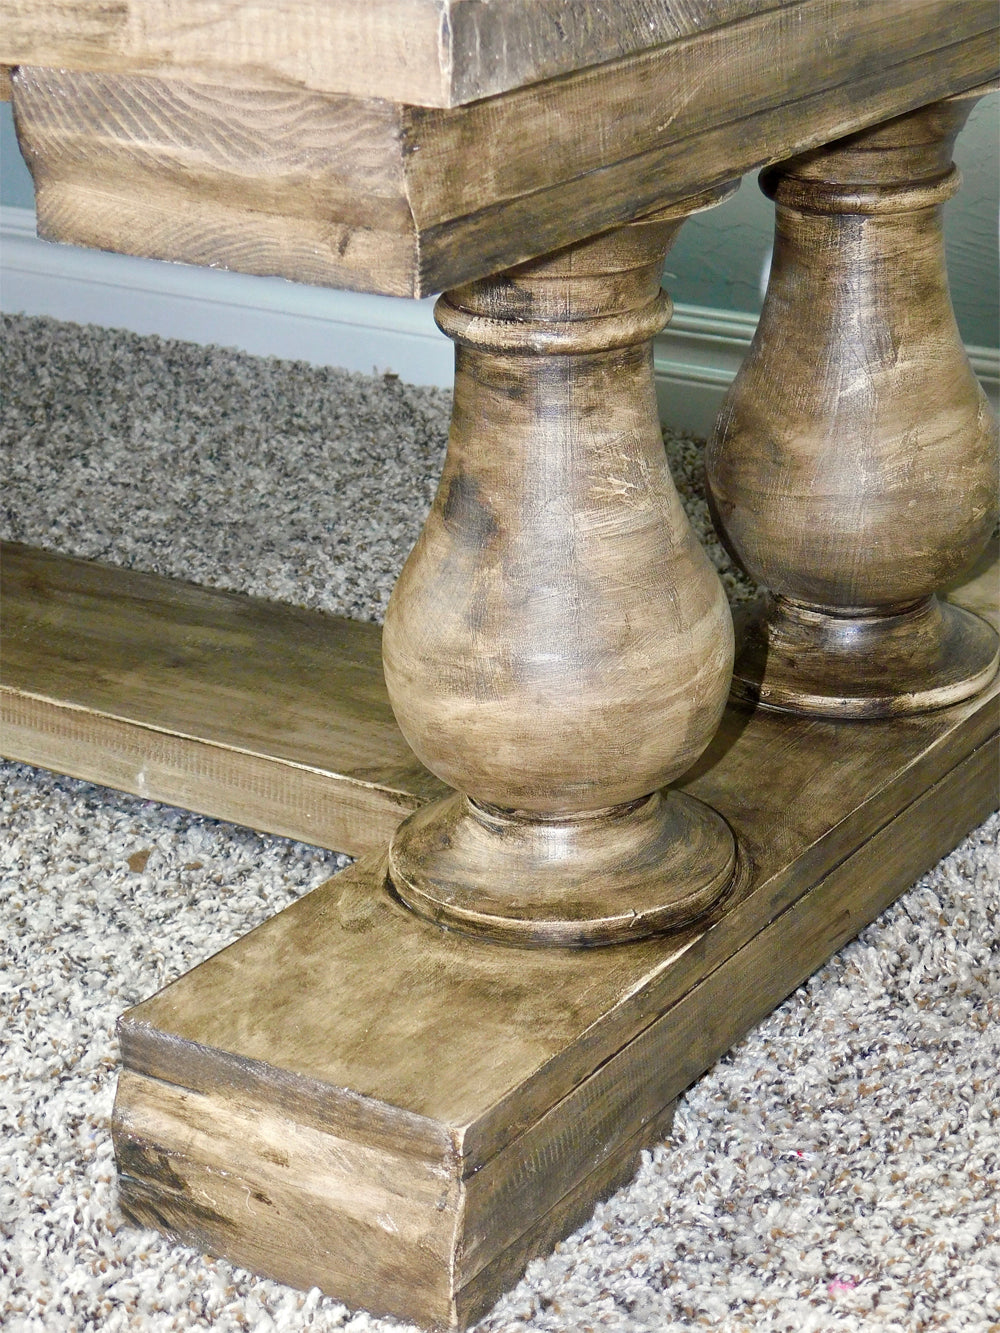
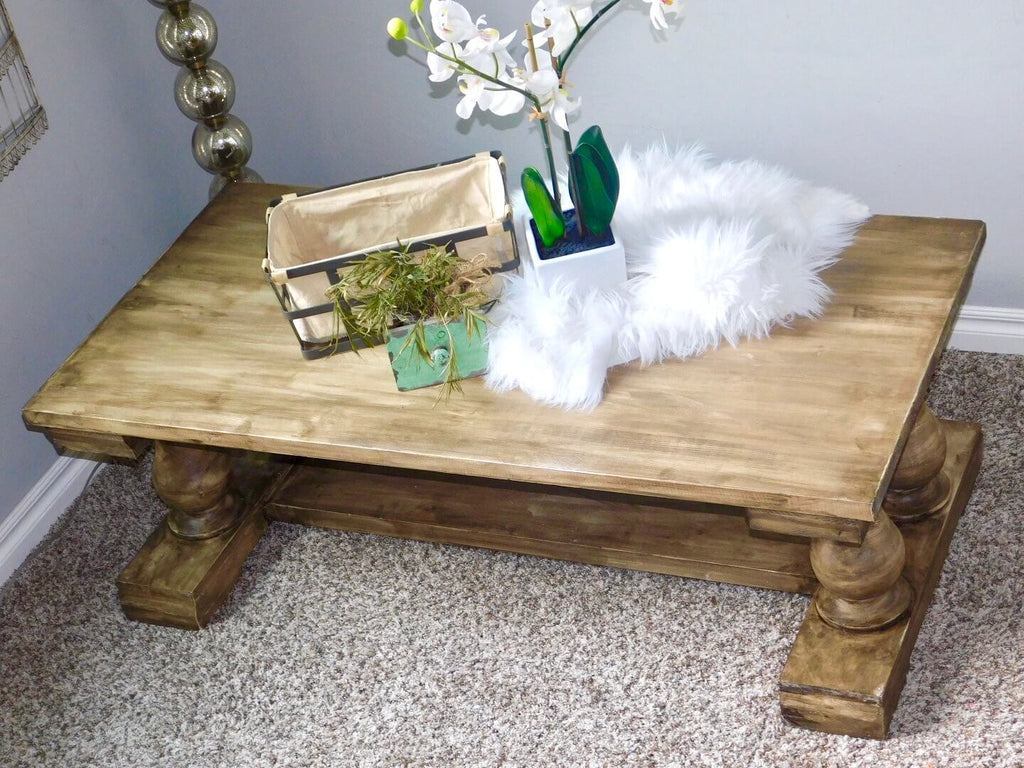
Who doesn't love a farmhouse coffee table with a nice set of turned legs?
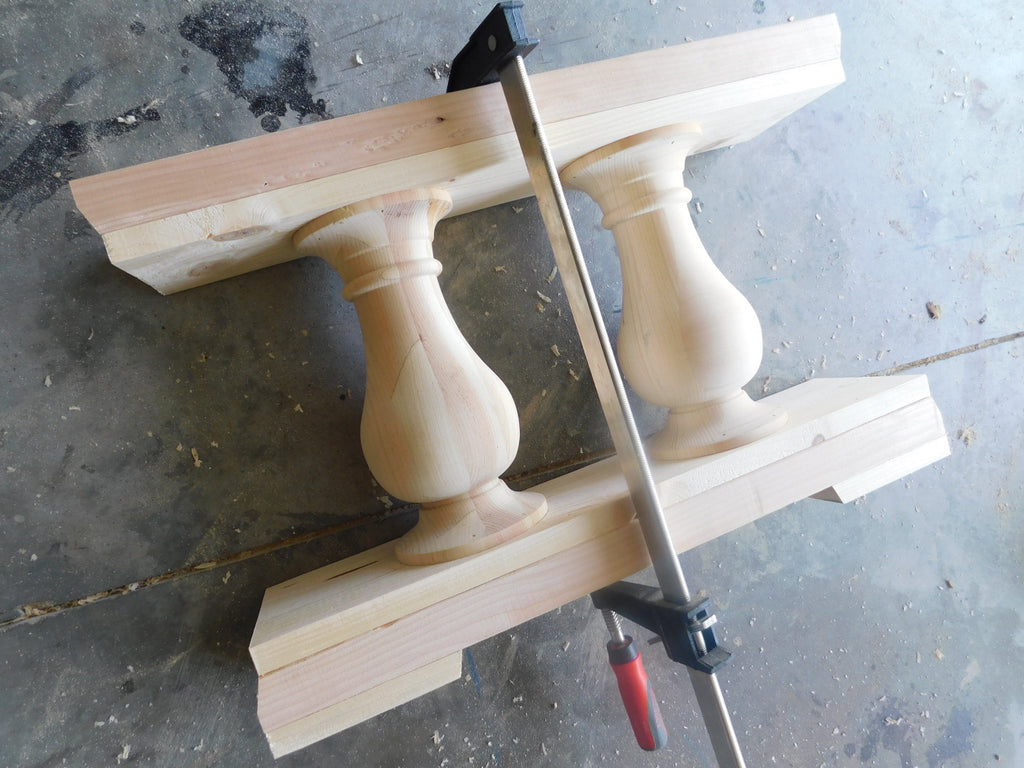
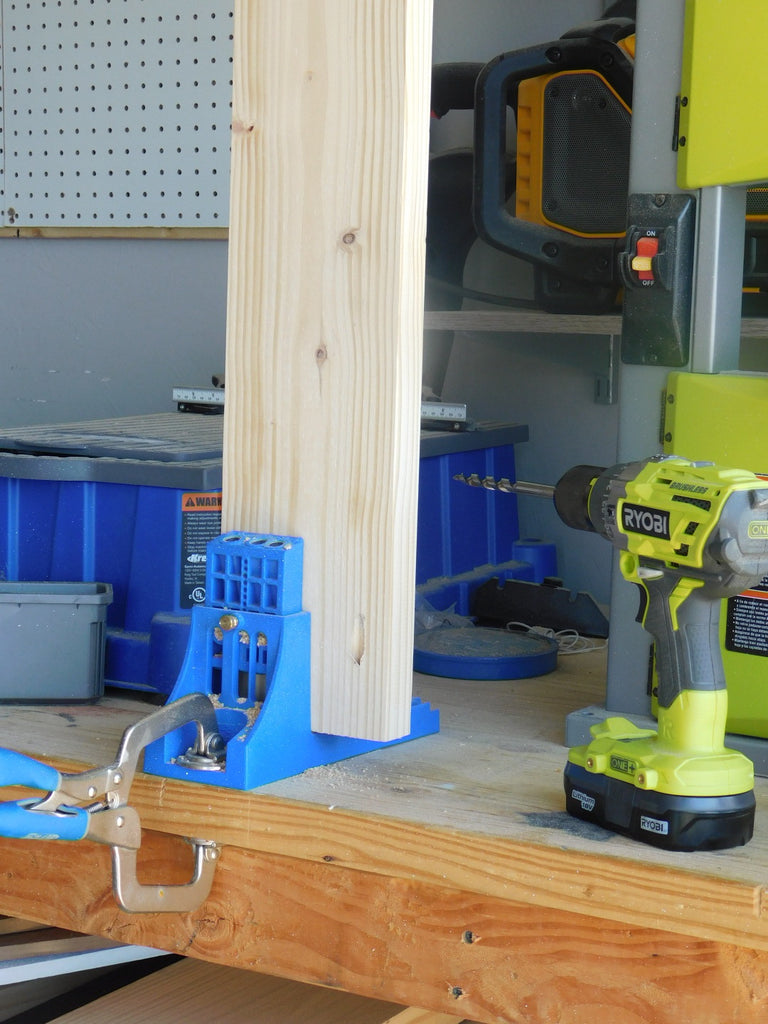
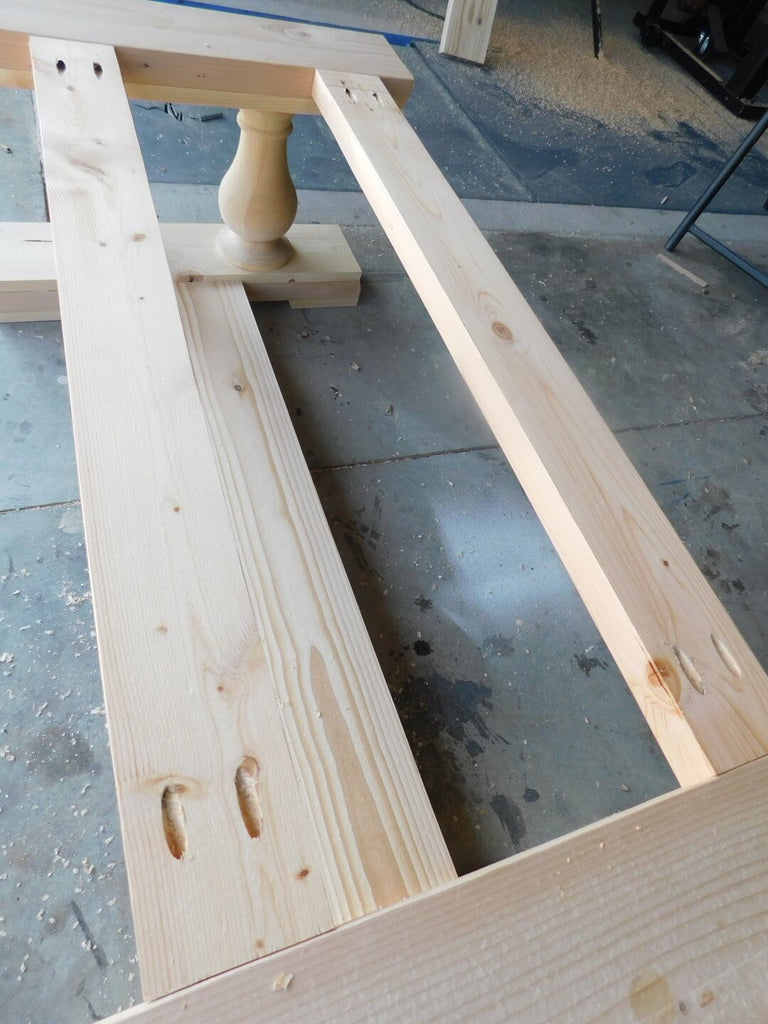
These legs are super popular in the woodworking community and I couldn't wait to get my hands on them. Thankfully, my friends over at Build Something are partnering with me to present the plans so you can create your own! Build Something is Kreg Tools plan site where you can find free plans for some awesome DIY furniture.
and that about wraps it up!
Now what are you waiting for? Head on over to Build Something to check out the free plans!
or Pin it for later!
