
Projects

Roman Numeral Clock Tutorial
This Roman numeral clock will make your walls pop!
I just LOVE Roman Numeral clocks, so I wanted to come up with this How-To for anyone to be able create one easily! Here goes..
(There are some affiliate links in this post, meaning I get a small commission if you purchase through these links, at no cost to you. Click Here to read my full disclosure)
Clock Materials Needed
- 24" Wooden Round
- Clock Face Wall Decal
- Rustoleum Linen White
- Annie Sloan Aubbuson Blue
- Credit Card
- Brush
- One small nail
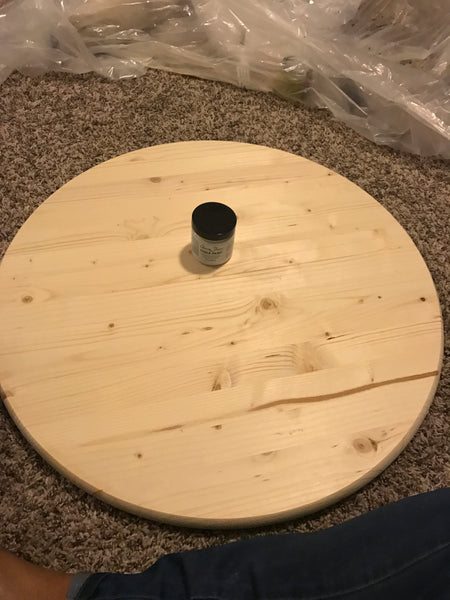
I love how simple and easy this Roman numeral clock was to make! I started off with this 24" round. For all you Non-woodworkers, Home Depot and Lowes has pre-made wooden rounds in all different sizes. "Home Depot's round isn't quit 24" so I'm not sure how it will work with this decal. I purchased mine from Lowes."
After the paint was dry, I applied the Roman Numeral Sticker Decal; my favorite part.
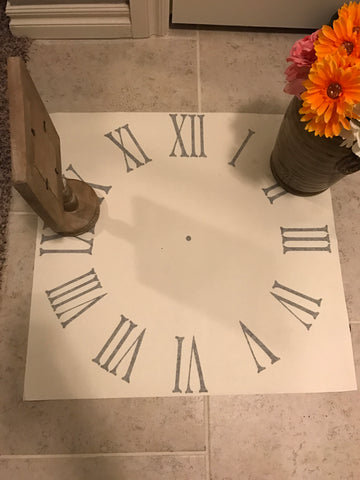
Amazon sells this Roman Numeral Clock Decal in 24" (it comes in other sizes too) that is perfect for a clock stencil. Wallpressions sells it for $9.99. WallSlicks sells it in other sizes but their 24" is higher.
It comes rolled up so I used a picture frame and pot to flatten it out.
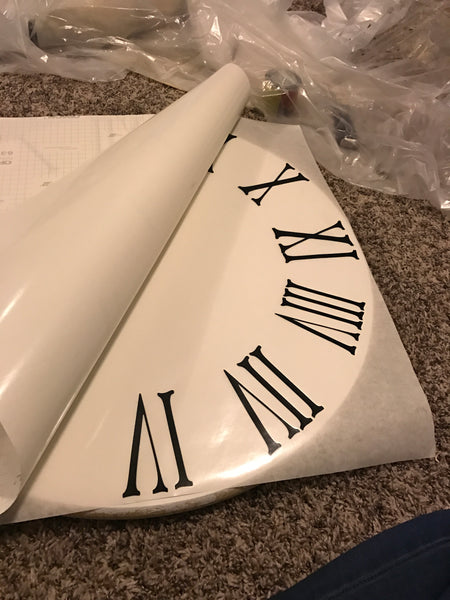
The sticker comes with instructions, but you peel the back side off. Flip it and press the letters into the round. Make sure you place the stickers where you want them before pressing down on the decal.
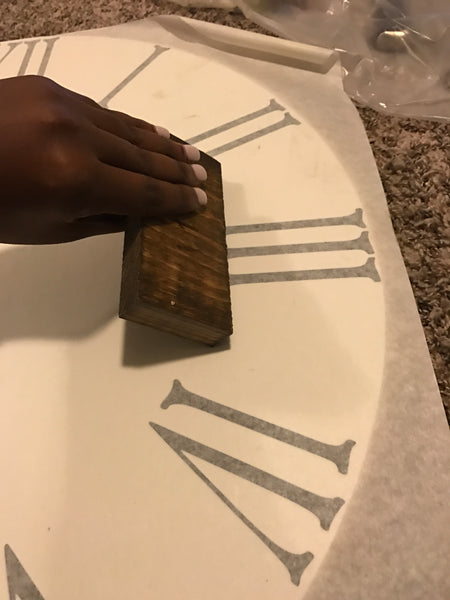
I used a scrap wooden block to make sure the letters would stick to the wood. A credit card would work GREAT for this too.
After pressing the decal down, I removed the top layer of the decal. Make sure to lift slowly to ensure the stickers stay placed on the wood.
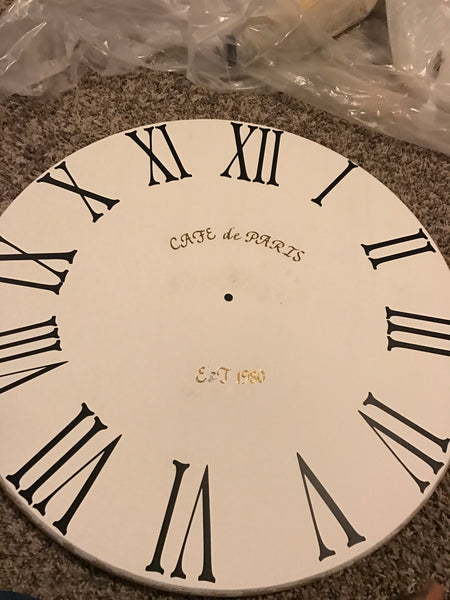
I added some small letter stickers to give the clock some extra PIZAZZ!! I pressed those down as well.
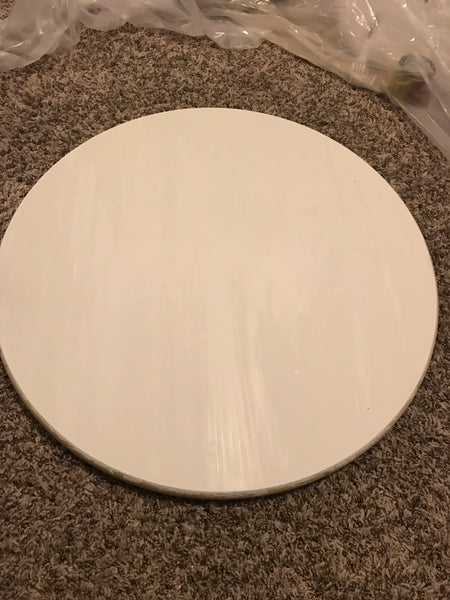
Once the Stickers and decal was placed I started painting over it! I used Annie Sloans Chalk Paint in Aubbuson Blue.
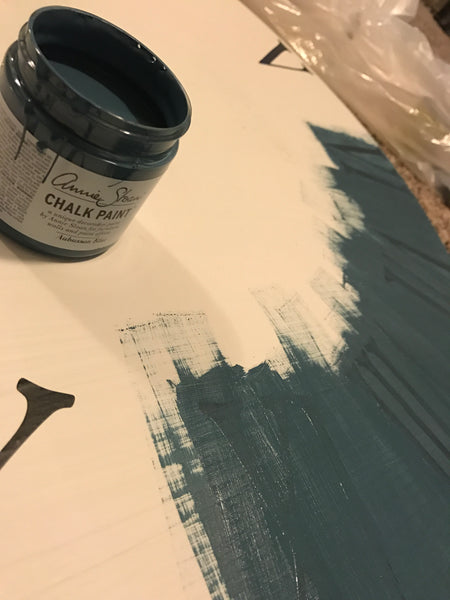
I painted over the whole round and then let it sit to dry!
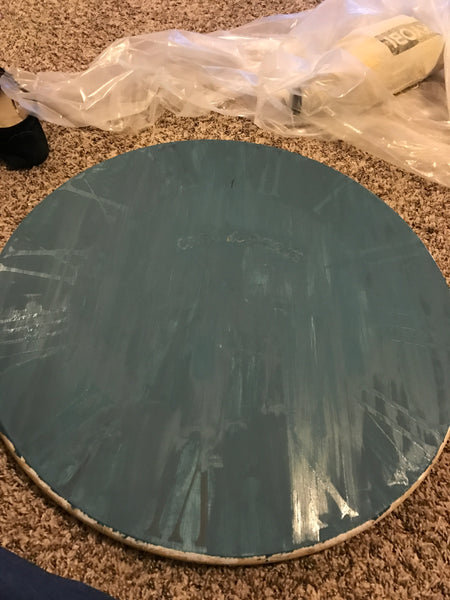
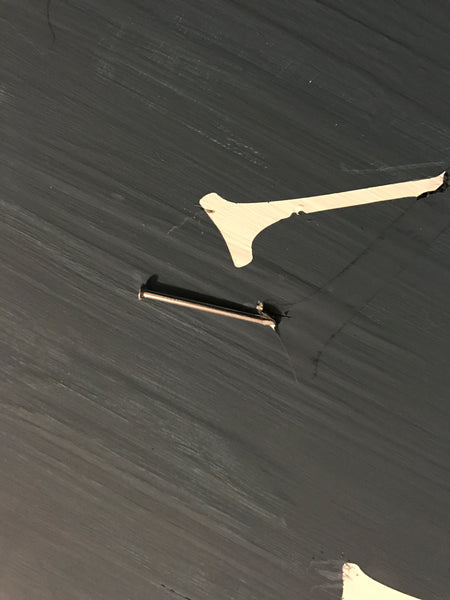
Once it was dry I started peeling the stickers! Another FUN part! I used a small nail to help lift the edges of the sticker, but be careful not to scratch the wood! After peeling I sealed it with Annie Sloan's Clear and Dark Wax.
WAAAAA-LAAAAAAHHHH!!! My Roman Numeral Clock was DONE!!
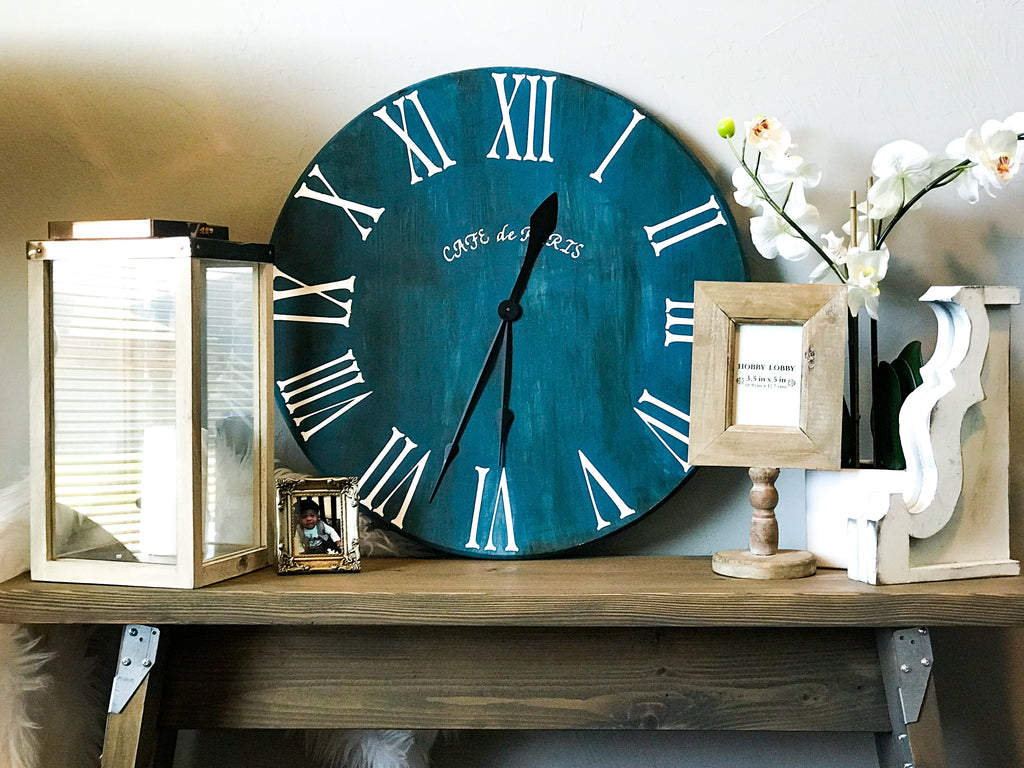
Feel free to add clock hands or put your own flavor on it! I would love to see your go at this project.

HAPPY CLOCKING!!