Projects
IG Builders Challenge
While on Instagram I came across an IG Builders Challenge hosted by the WoodGrainGirls. Everyone signed up beforehand without knowing what the build would be and plans were released soon after. We all had 2 weeks to build and I must say this may be one of my favorite builds to date….HANDS DOWN!! Here is the table they released!!!
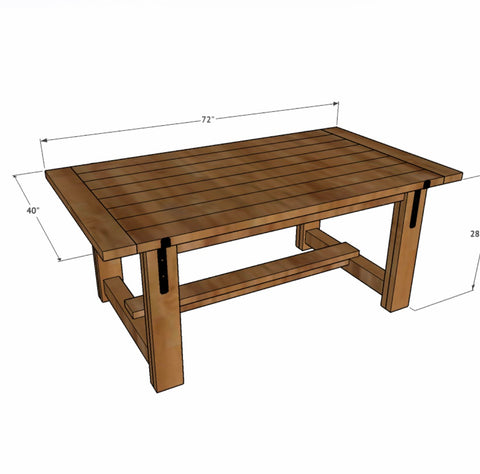
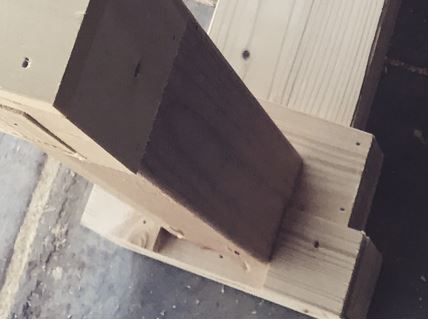
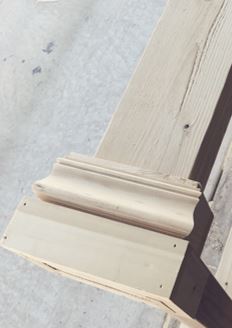
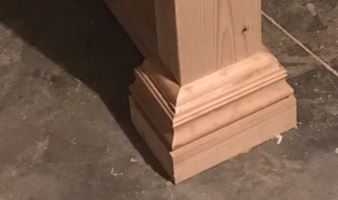
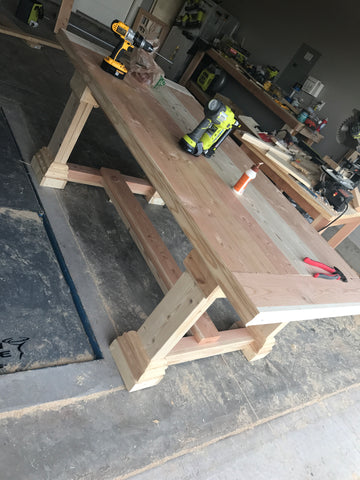
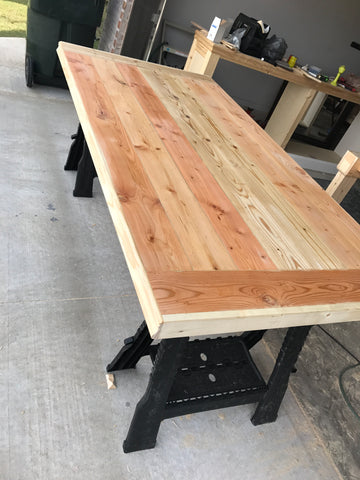
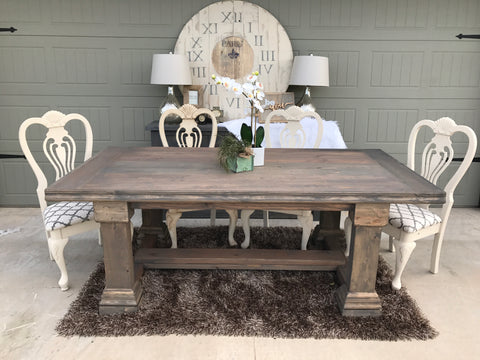
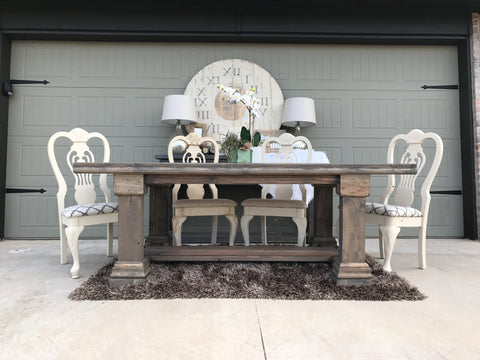
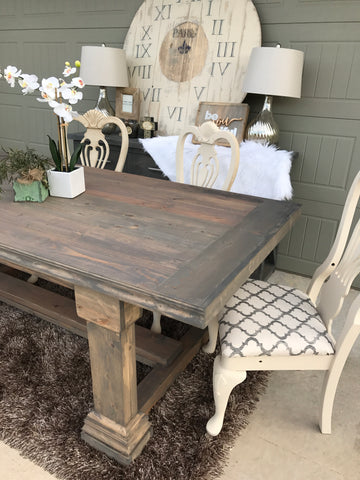
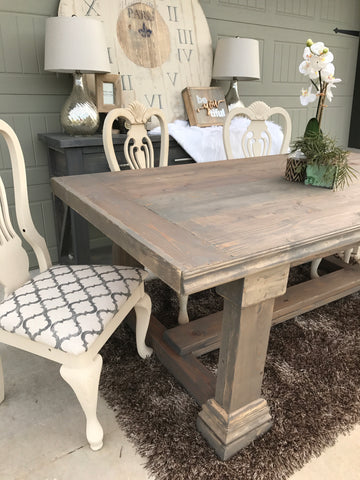

You can get the original plans on the SHANTY 2 CHIC website, and I will take you through what I did to give it some PAZAAAAZZ!! I had planned on taking a lot more photos to provide more detail on the build but with only 2 weeks and a full time job I just didn't have the time. I hope this still helps! :)
In the original plans, they ripped their boards, but I did not! So don’t FRET, there is a work around!! To start, I joined my 2x6 boards together with glue and screws. I opted to use regular 3” screws because I knew the moulding around the legs would cover it. So I used 4 screws per table leg. Then I let it dry overnight, as instructed in the Shanty 2 Chic plans. After the legs were dry I started on building up the legs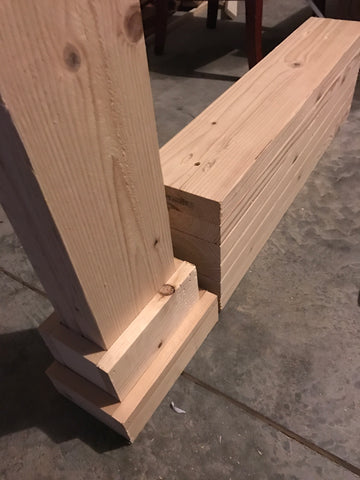

Adding the trim to the legs is definitely a measure and cut as you go…I used 1x6x8 trim, 1x3x8 trim and 2 5/8 case moulding.
First I applied the 1x6 trim; Put the board up to the leg, measure, cut and attach the first layer of trim with wood glue and a brad nailer using 2” nails. Be mindful of where you are putting the nail holes. I put more nails where I knew the 1x3 trim would cover it. Make sure to add the trim to both smaller sides first then the longer sides second. Add the remaining pieces of the 1x6 trim and flip it upside down and do the same with the top.
Once I did this on all four legs, I started adding the 1x3 trim. I only put 1x3 trim on the bottom legs.
NOTE: Only put 1x3 trim on 3 sides…the side that will connect to the 4x4 should be left with just the 1x6 moulding. After the 1x3 trim was complete I connected the legs to the 4x4s and then added the 2x4s to the top of the base. Once the base was assembled I added the 2x6 runners and started working away on the legs again!

Now here is where it gets a little tricky! On the leg side that has the 4x4 attached, I put 1x3 trim on both sides and then added a little tiny piece under the 4x4…I soon learned that it was better to just jigsaw out the square from a 1x3, to make for a cleaner look. After the 1x3 trim is complete, I started adding the case moulding.

I started by making the first cut on the case moulding by swinging the bottom arm of my Miter saw to the left 45 degrees, made my cut and then placed it against the legs above the 1x3 trim and measured my next cut. I then swung the bottom arm of my miter saw to the right at 45 degrees and made my second cut. I did this for each leg until the trim was wrapped all the way around.
After the case moulding was finished I started attaching the ½” moulding on top of the 1x6 moulding.

Because I didn’t rip the boards, I only needed 7 boards for the table top middle. So I only needed 9 total 2x6x8 instead of 10.
I also wanted to give my tabletop a more classy look, so I added 2-5/8 case moulding on the longer sides and 1x3 moulding on the ends. I applied these using glue and my RYOBI brad nailer.

For the finish, I first applied wood conditioner to the table top after sanding it down really well.

Part of me just wanted to go with the wood conditioner look haha but I was committed at this point to my original idea! Next Time!
For the stain I mixed up three Minwax stains, I don’t have the exact amounts because I was just playing around with it but the three stains I used were Classic Gray, Provincial, and Dark Walnut. This was my 1st time mixing stain and it was pretty fun!!!! Happy Mixing! After the stain dried I used 3 coats of Polycrylic! This stuff is good!!! A little more expensive, but good stuff!
Now let’s take a look at the finished product!!


I think I just might be building one for myself!!! Thanks for reading!!!!
