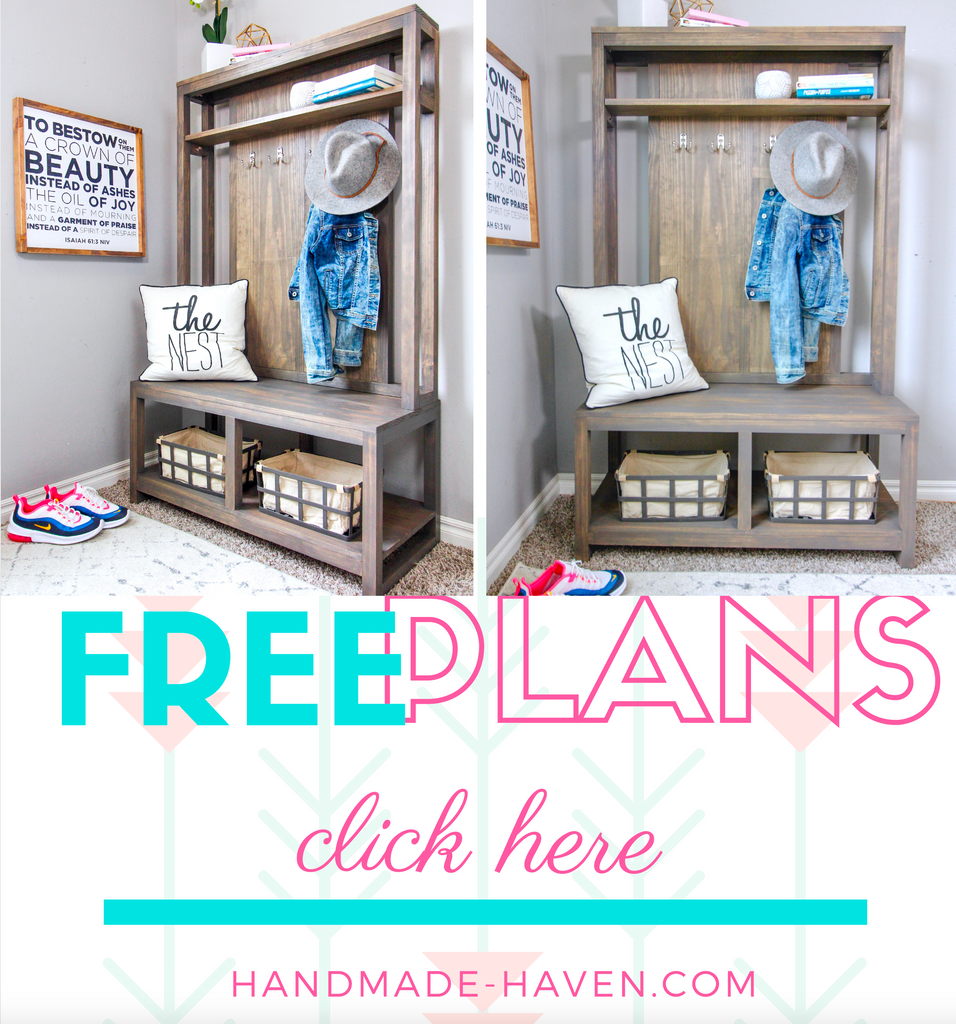
“A DIY Hall Tree Bench that’s making all the mudrooms jealous”
The entryway is usually the first thing that people see when they come into a house, so I figured why not create a fun DIY hall tree bench that could bring some style to the doorway.
“This post is sponsored by Build Something”
I know many people are always looking for fun storage ideas that aren’t just functional but stylish as well, so I have partnered up with my good friends at Kreg Tool to bring you the free plans for this beautiful DIY Hall Tree.
But before you head over, be sure to check out my process below of how I built this DIY hall tree.
I love all things modern, so I figured I would choose a design that was a little different from traditional hall tree benches that I’ve seen.
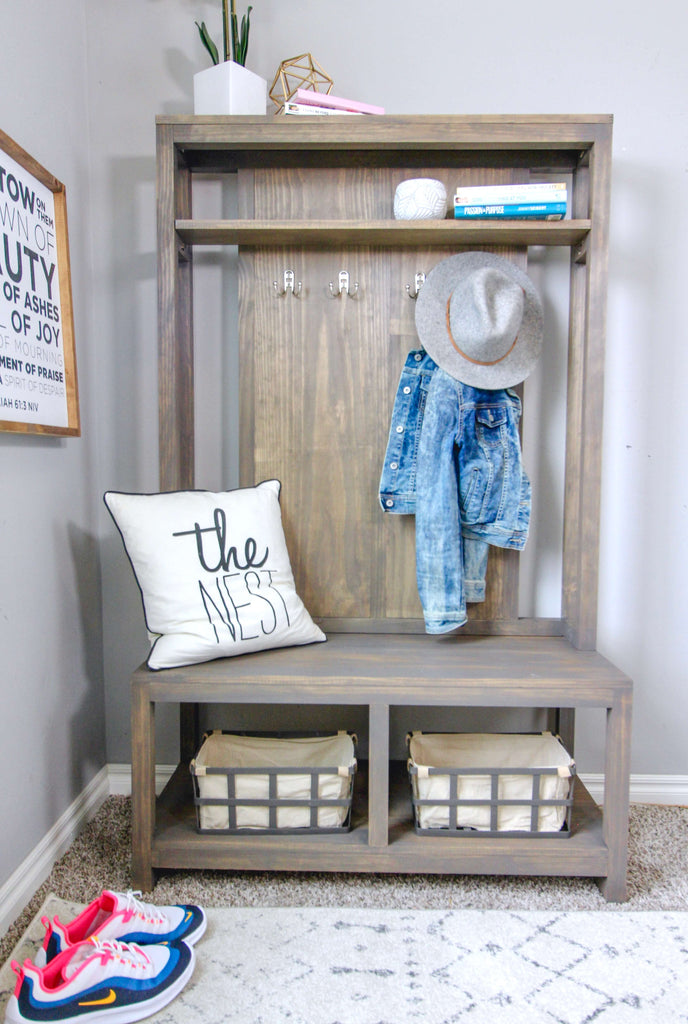 I saw this design online and just had to re-enact it. It can serve as storage, a coat rack and much more. The options are endless to what you can do with this DIY Hall Tree.
Also if you are looking for other great ideas for your entryway, be sure to check out some of my other plans posted up on the blog.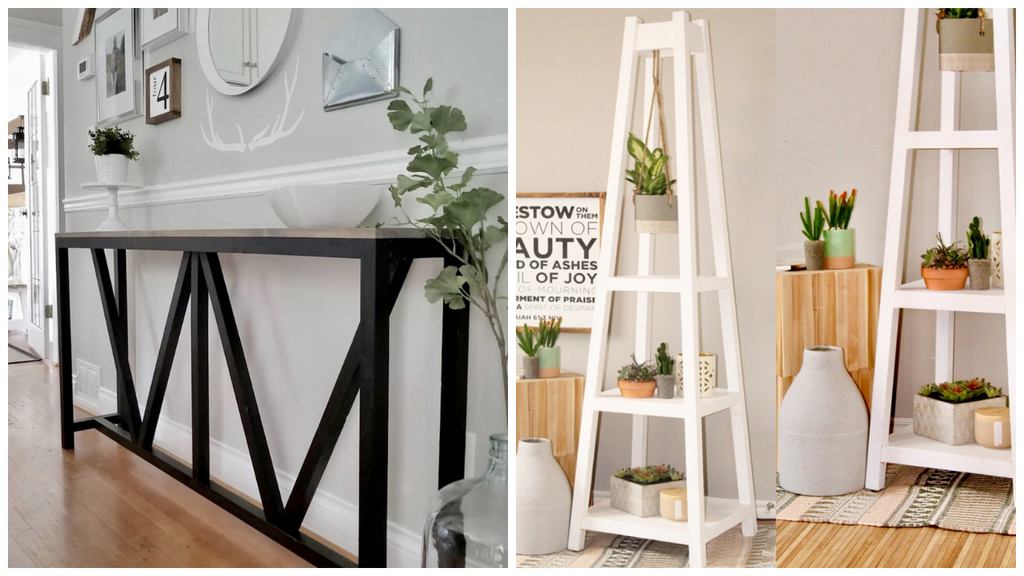 All of my other entryway projects can be found here.
There are some affiliate links in this post, meaning I get a small commission if you purchase through these links, at no cost to you. Click Here to read my full disclosure.
Dimensions
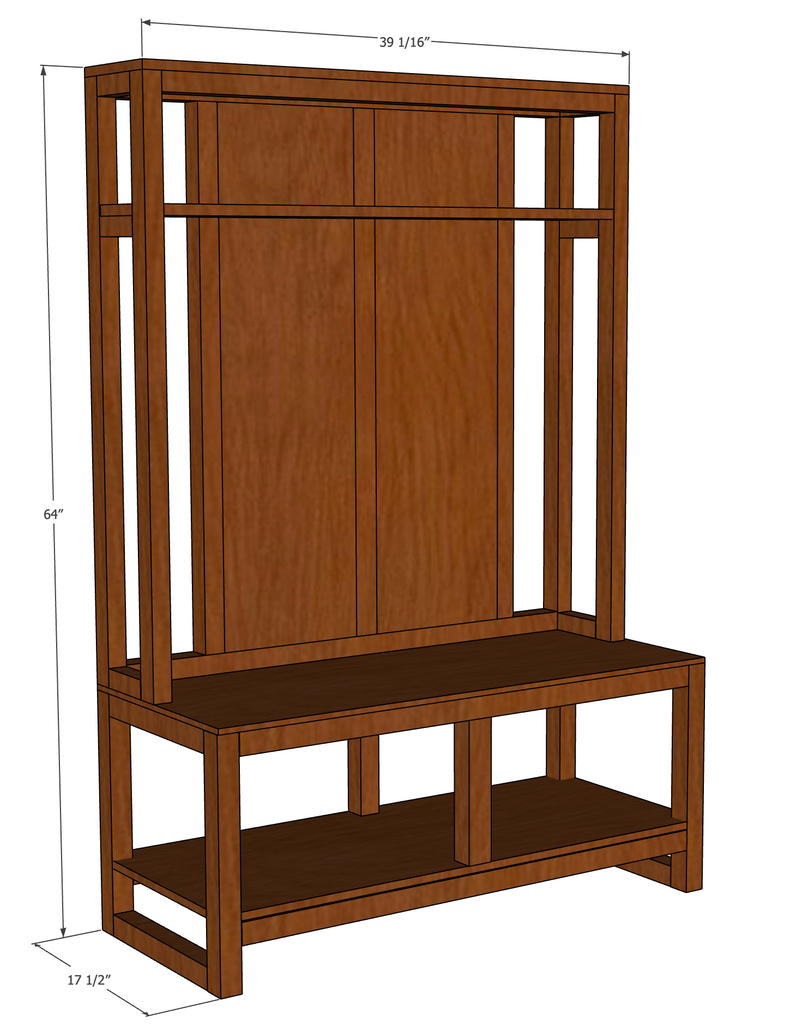
Supplies
13 - 2x2 @ 6ft
2 - 1x12 @ 6ft
2 - Panel Boards - 17.5" x 39"
2 - 1x8 @ 6ft
1 1/2" Brad Nails
Drill
For this build, I made an attempt to try and document my process through video just in case you guys wanted to give this DIY Hall Tree a go. Check out the video above and then be sure to head over to Build Something for the free plans on how I created this DIY Hall Tree Bench.
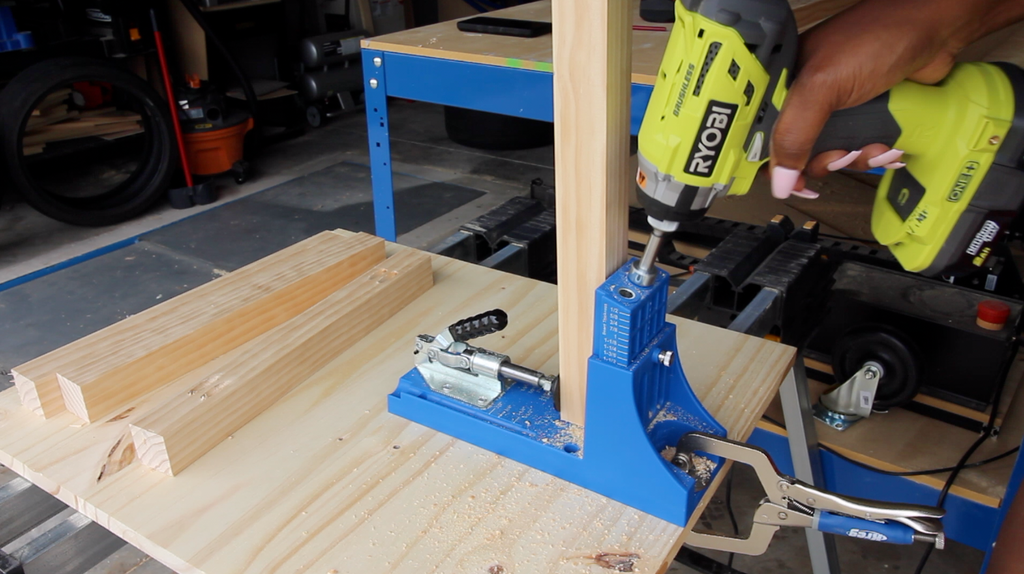 Of course, throughout this build, I utilized my handy dandy Kreg Jig. I say this often, but my Kreg Jig is one of my top tools that I use on most, if not all, of my builds and it’s a tool I highly recommend. I personally use the K4 master system and it hasn’t disappointed me yet.
If you don't use pocket holes often and you're looking for a more simpler version of the Kreg Jig, the R3 Kreg model is a great alternative and a little cheaper.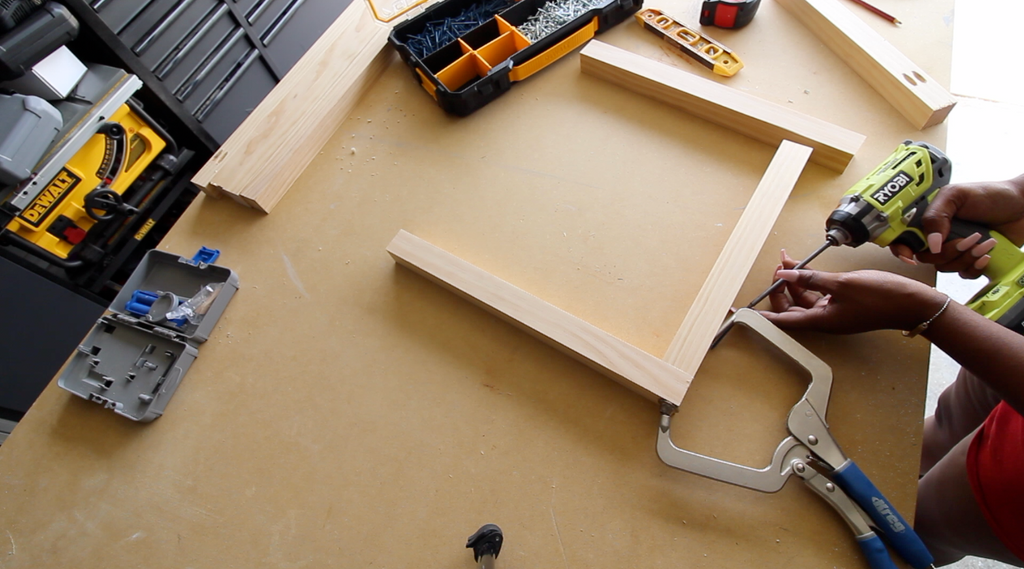 Another handy tool I utilized was my Kreg clamp. I am always flying solo when it comes to building, so those clamps definitely come in handy. I would recommend this clamp if you utilize pocket holes often.
This hall tree was fairly easy to build; I completed it in one day. Although, it may take longer for some, it was a fairly easy project to tackle and I can’t wait to see you guys tackle it yourselves.
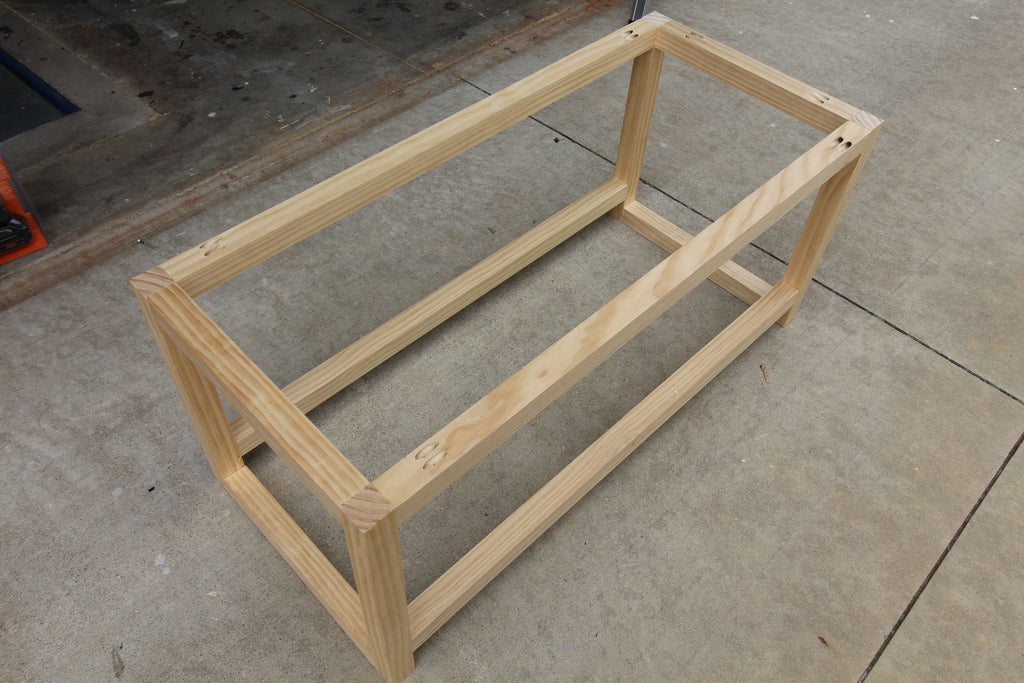
If you're wondering where I got this cool blue workbench from; I got it from Kreg. It is one of my favorite workbenches specifically because of the fact that I can roll it around in the shop and its just the right size to be able to build my projects on top of it, so I don't always have to build from the ground. Kreg really has some great products that I've used plenty of times throughout my building journey and I always get excited when I get the chance to partner together with them.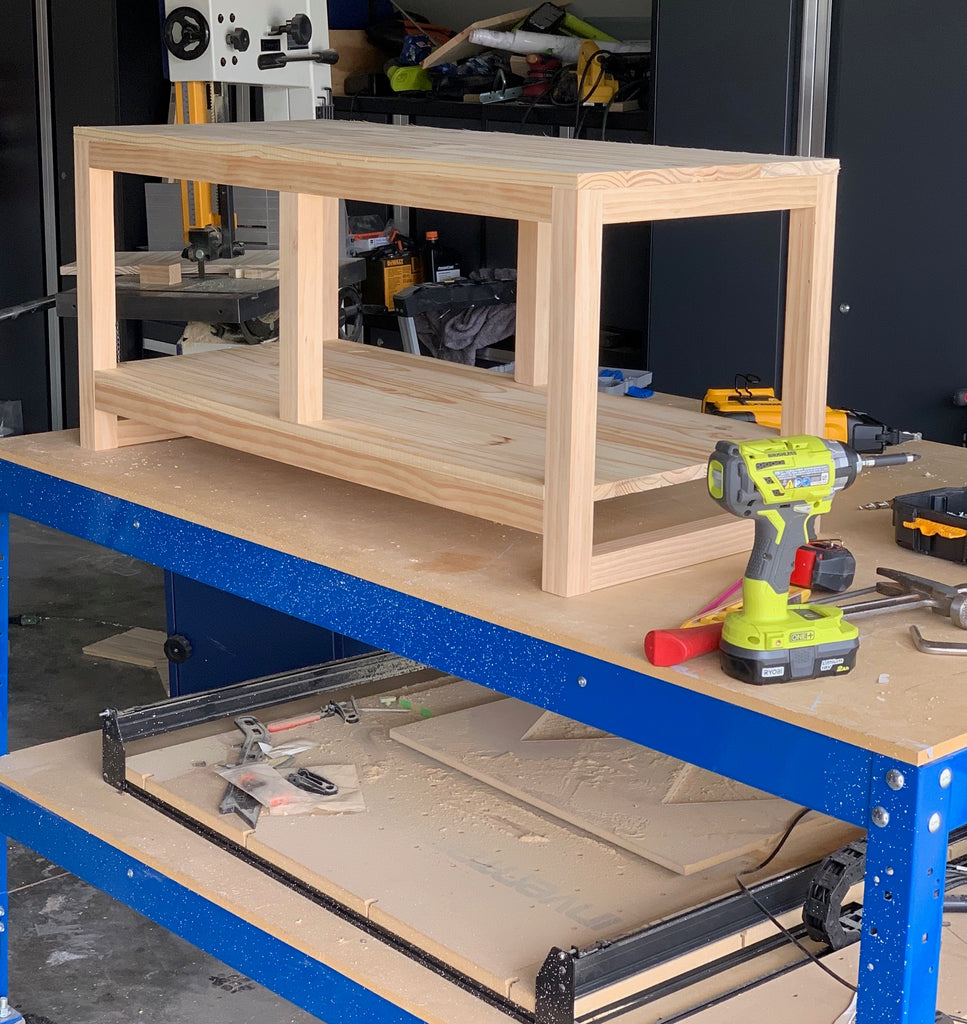 I opted to use Select Pine for this particular build because it makes it look really clean. It does drive up the price tag quite a bit, but in my opinion, it was well worth the extra money. I got it from my fav orange store, The Home Depot. Regular pine would work just fine for this build, but you may have to put in a little extra work to make it look as nice.
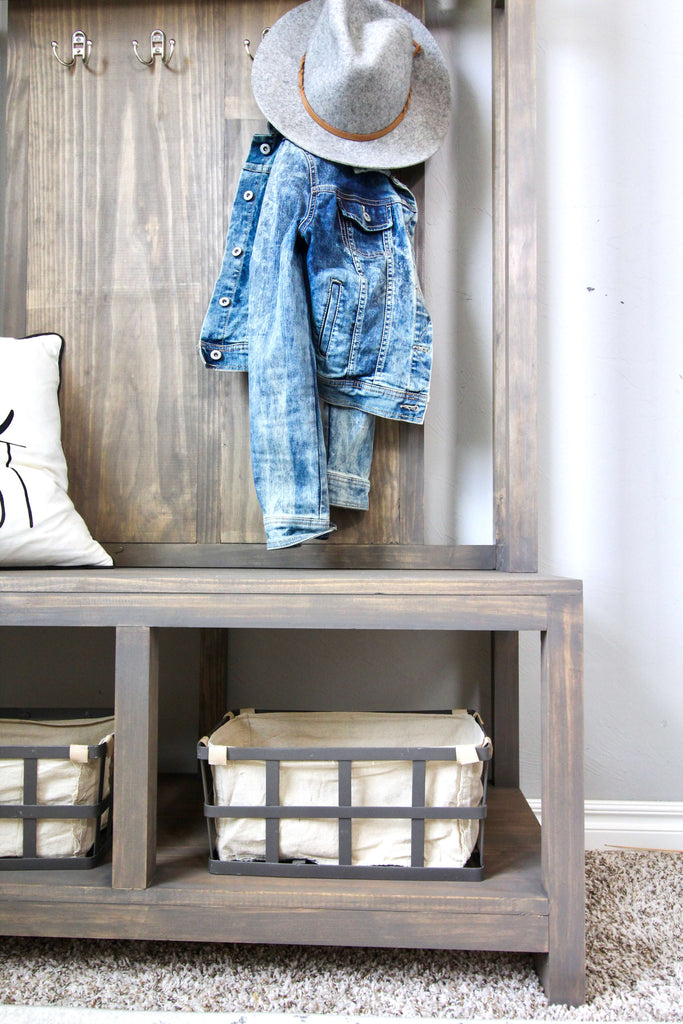
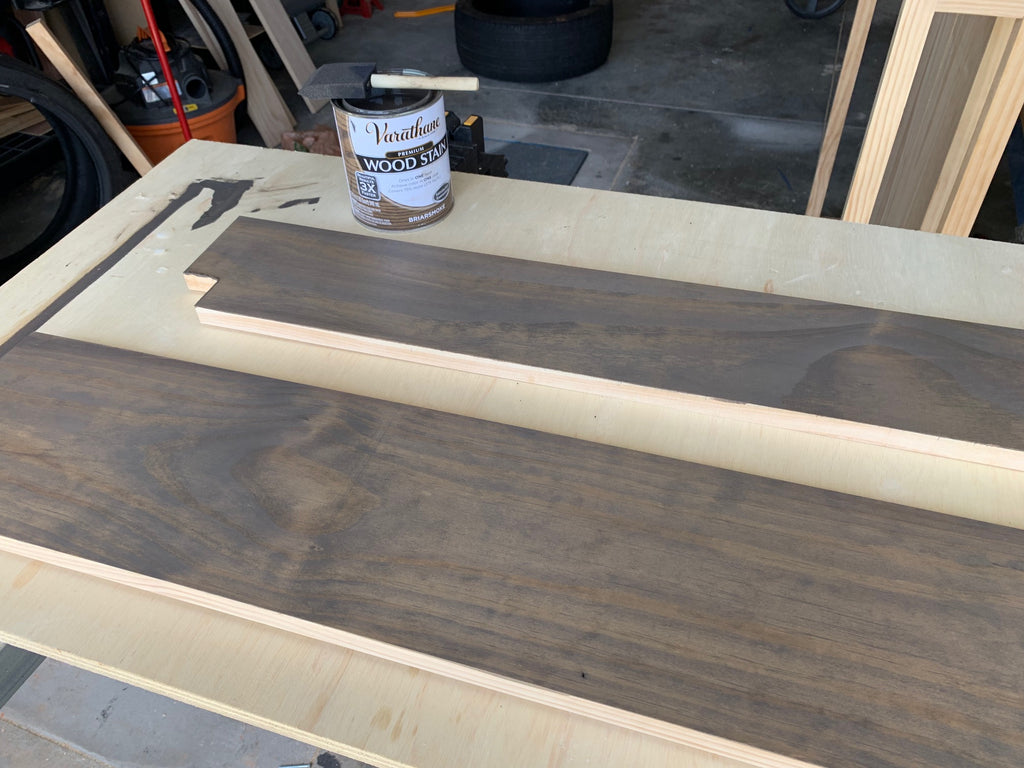
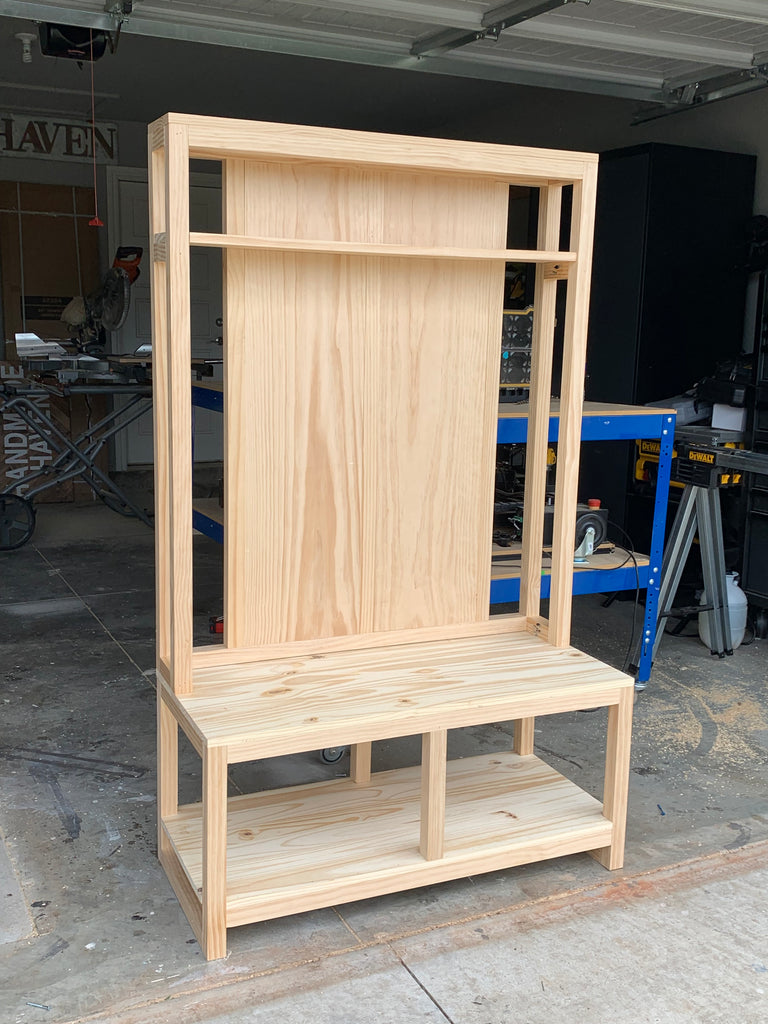 For the finish, I decided to go with one of my favorite stains, Rustoleum’s Briarsmoke. I love this stain color because it gives my build a modern, rustic look. Before applying the stain, I did wipe down the hall tree with a stain pre-conditioner first. This prevents any blotching on the build.
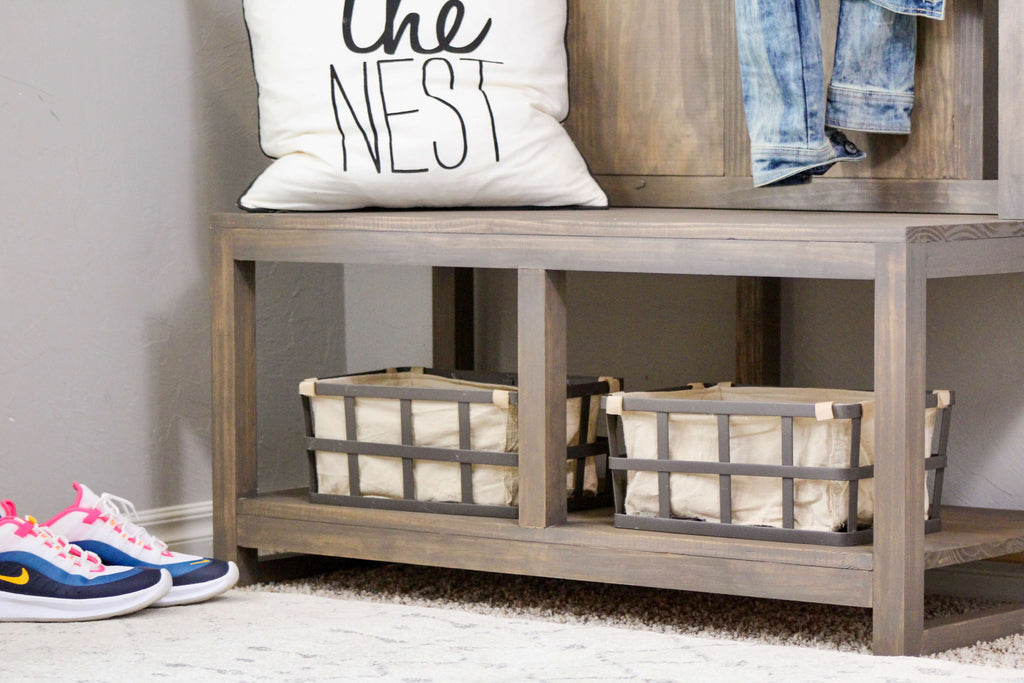
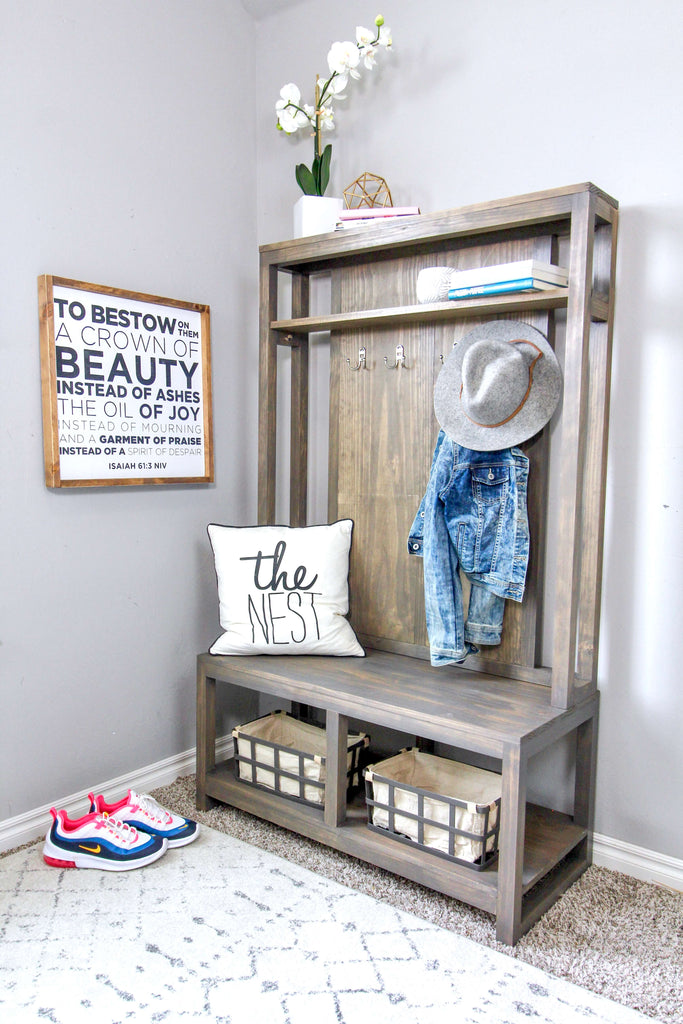
 Before you head over for the free plans, let’s take one more look at this beauty. I’m really happy with how this DIY Hall Tree bench came out and I hope that you guys have fun building it as well.
For the free plans, head on over to Build Something and enjoy!
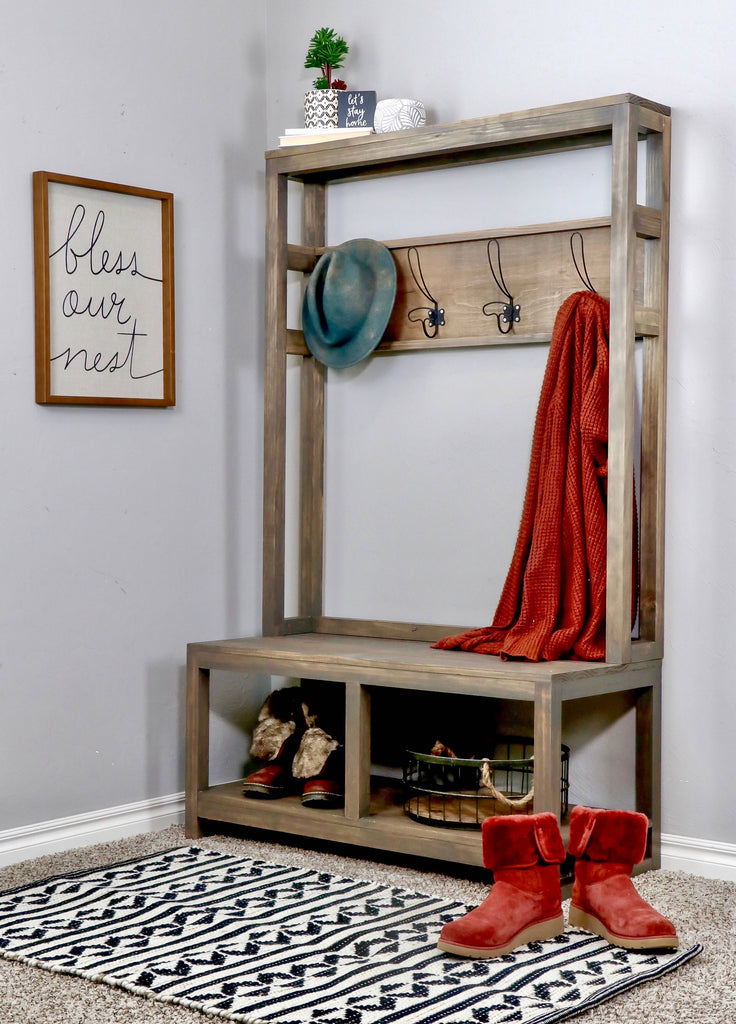
But before you go, be sure to check out this other similar hall tree I built here.
 See you over at Build Something!
Thanks for reading guys and I can't wait to see all of your great builds.
XOXO Ashley


