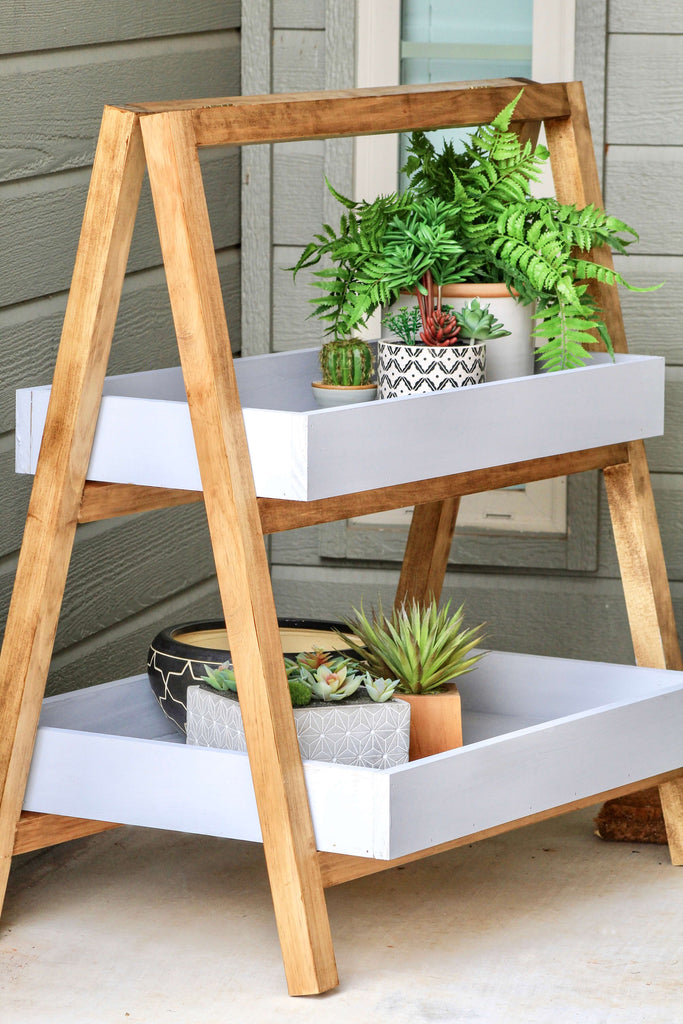
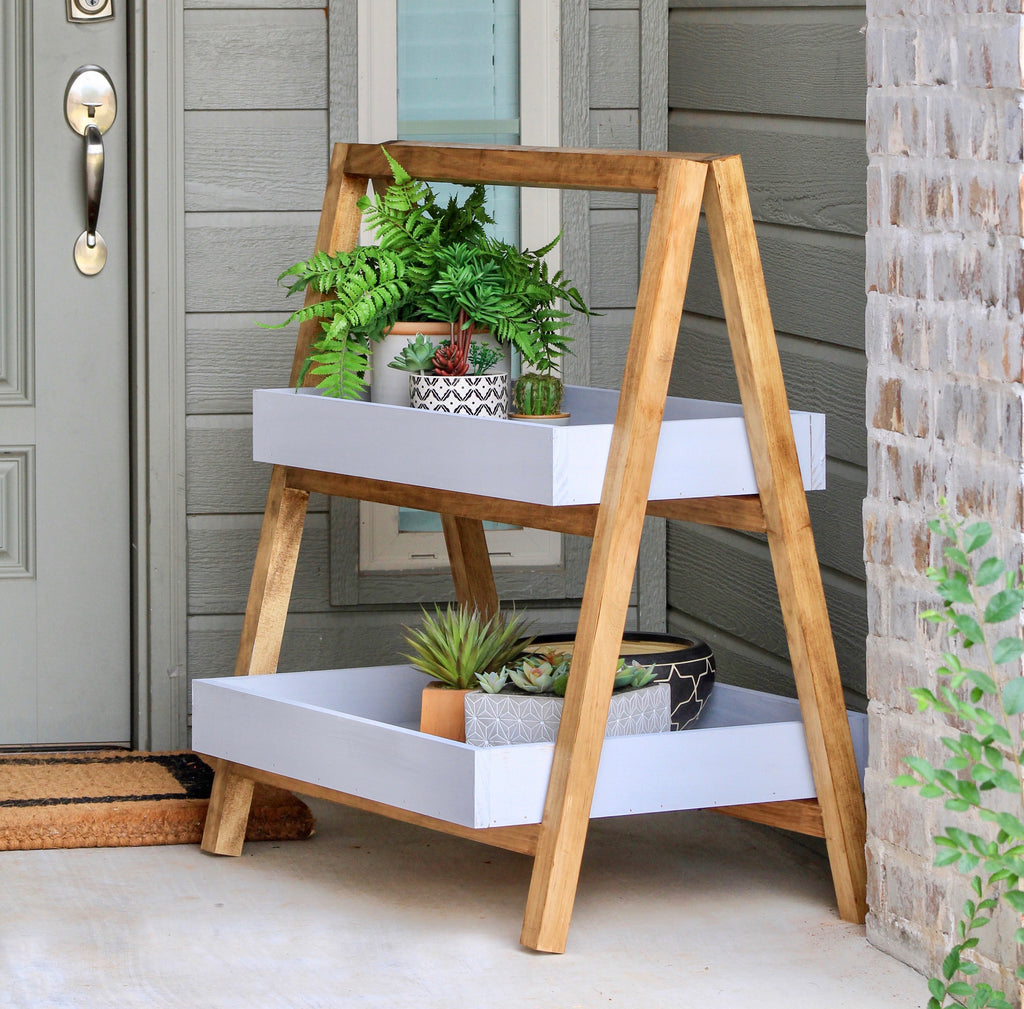
"Modernize your outdoor entryway with this fun A-Frame plant stand"
With the summer still going, I figured I would make a quick fun project for the outdoors. I am in love with all things modern these days, so I thought why not create a fun A-Frame plant stand.
"This post is sponsored by The Home Depot."
There are some affiliate links in this post, meaning I get a small commission if you purchase through these links, at no cost to you. Click Here to read my full disclosure.
Now let's get into the nitty gritty!
To complete this project you will need the following materials , mostly available at The Home Depot:
- 5 - 2 x 2 x 8ft
- 3 - 1 x 4 x 8ft
- 1 - 4ft x 8ft - 3/4" piece of plywood
- 1 - 1 x 2 scrap wood
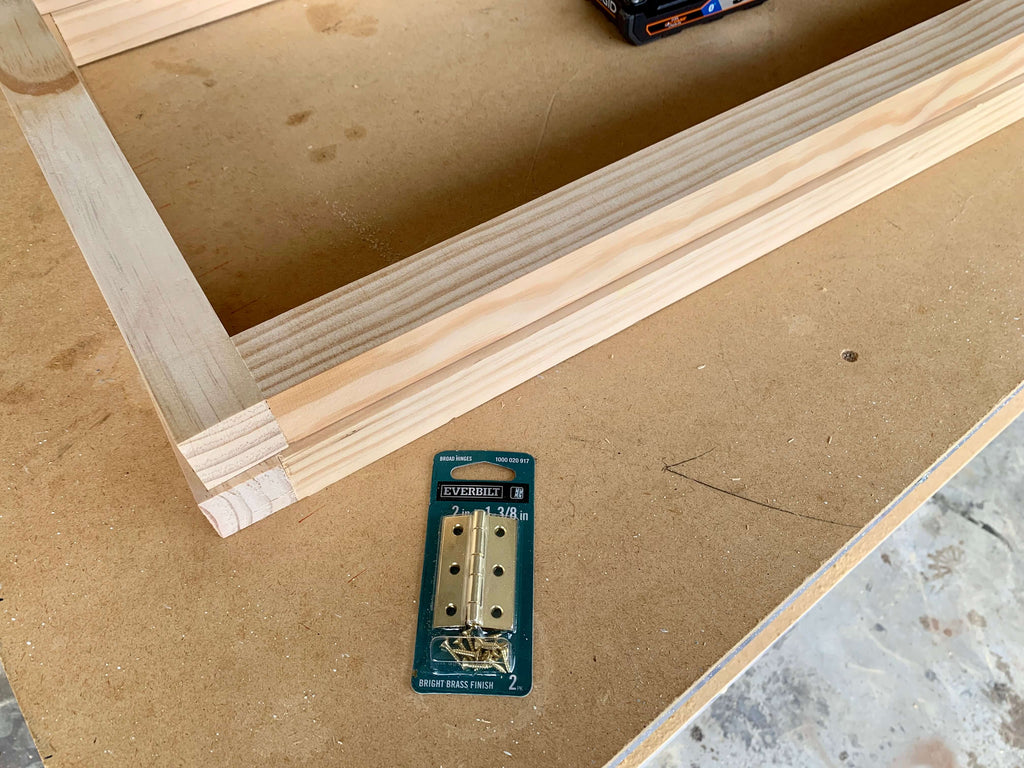
- Golden Hinges
- Brad Nails
- Wood Glue
- 2 1/2" Pocket Hole Screws
- Varathane Golden Oak
- Folk Art Chalk Paint - Parisan Grey (alternative option)
Tools Used
Cut List
- 4 - 2x2s @ 36"
- 6 - 2x2s @ 30"
- 2 - 1x4s @ 12 3/4"
- 2 - 1x4s @ 29 1/2"
- 2 - 1x4s @ 20"
- 2- 1x4s @ 29 1/2"
- 1 - 3/4" piece of plywood @ 11.75" x 28.5"
- 1 - 3/4" piece of plywood @ 19" x 28.5"
Seeing instructions in writing isn't always helpful, so check out this video tutorial on how I built this Modern A-Frame Plant Stand before looking over the steps.
Step 1: Build the A-Frame for the Plant Stand
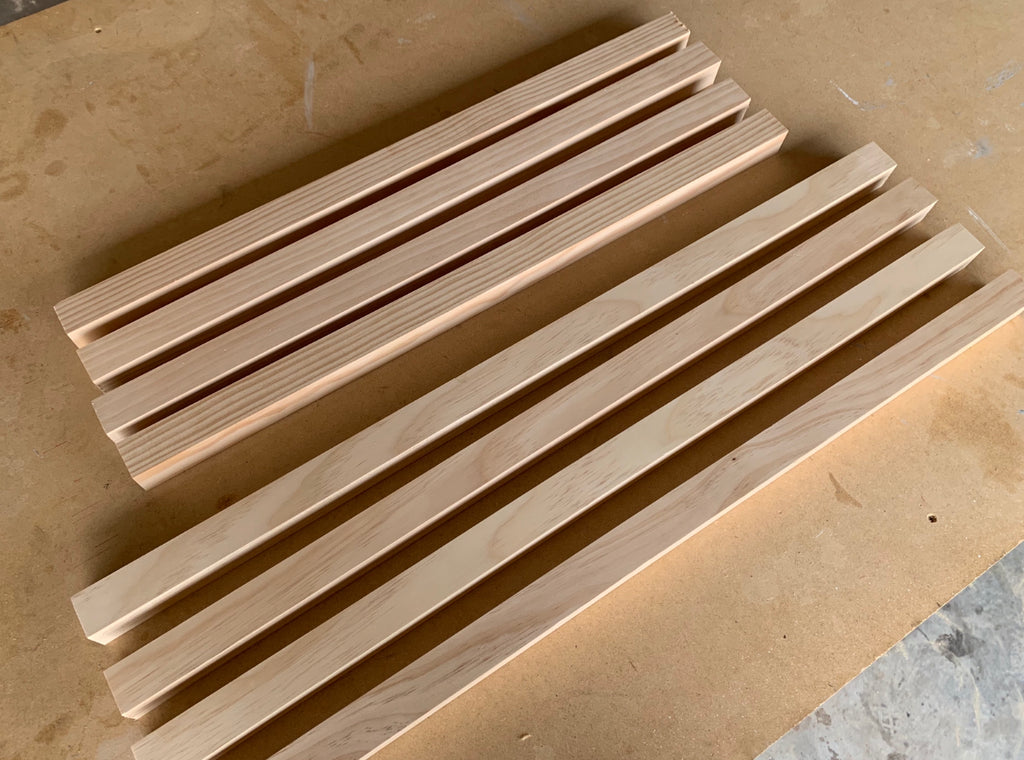
First I gathered all the wood I would need to build the frame of the plant stand and cut all of my wood down to size. I decided to use SELECT PINE wood for this build because it always gives a clean look.
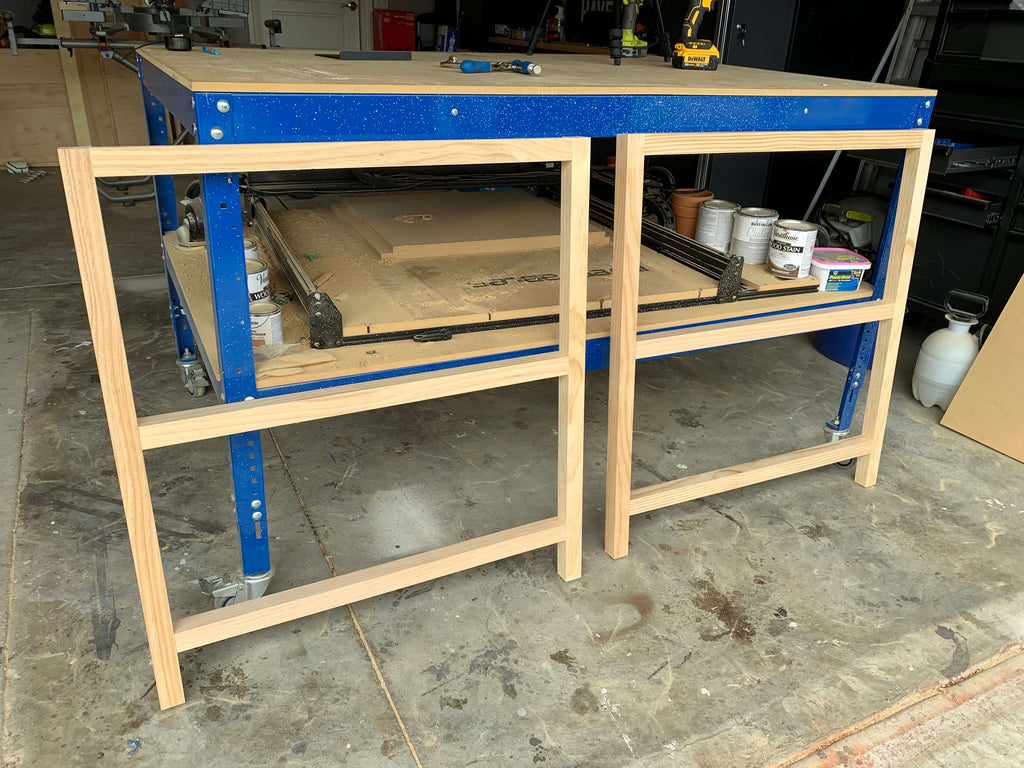
To attach the assembled sides together, I used a Kreg Jig on a 1 1/2" setting, with 2 1/2" pocket hole screws. I also used my Kreg Right Angle Clamp to assist with assembling the frame.
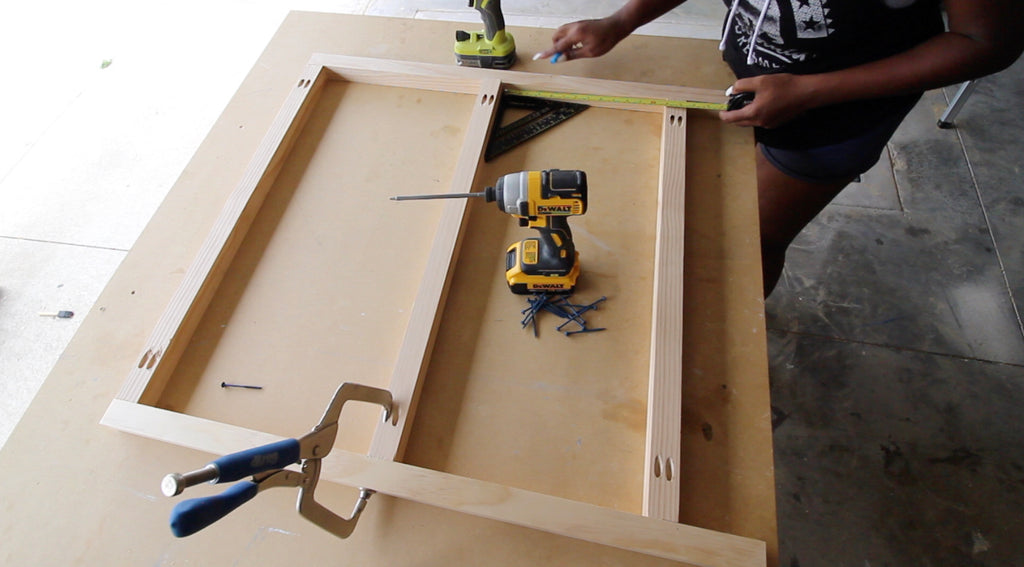
Once you have your two frame sides assembled, they should look similar to the picture below.
It is important to make sure these two pieces are as equal as possible, since this will be the main base for your plant stand.
Step 2: Add the Golden Hinges to the A-Frame Plant Stand
Now that the A-Frame is all assembled, it is time to add the Golden Hinges. I added one side of the hinges to one side of the plant stand frame first.
I placed the hinge down where I wanted it to be and made marks with a pen where the screws would drill into. I then drilled in some pilot holes using a 3/32" drill bit. This prevents wood from cracking and makes it easier to get the screws into place.
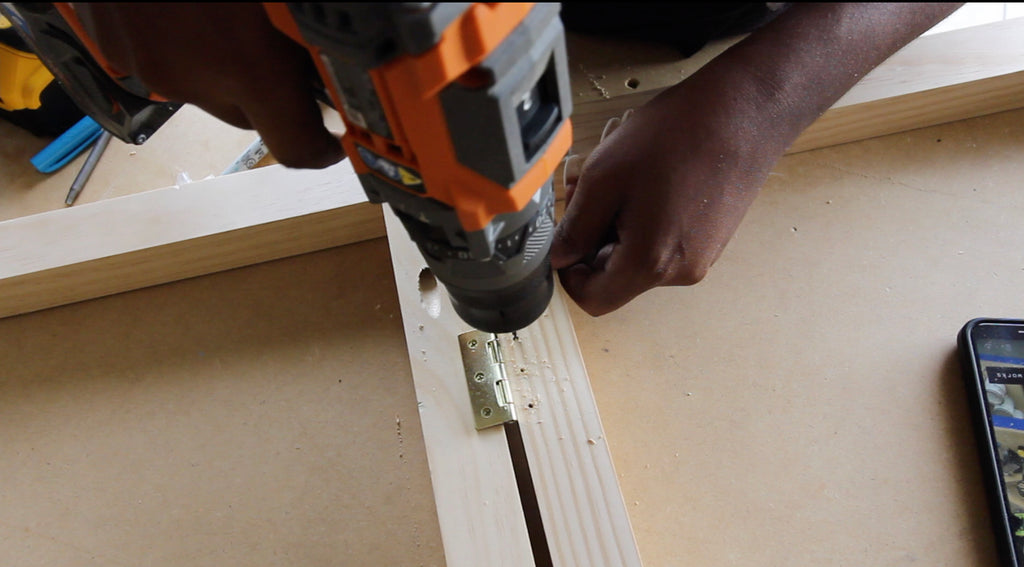
Then I used a screwdriver to screw in the screws. With small hardware like this, you want to stay away from power tools to prevent stripping a screw or messing up the project piece. Any screwdriver should suffice.
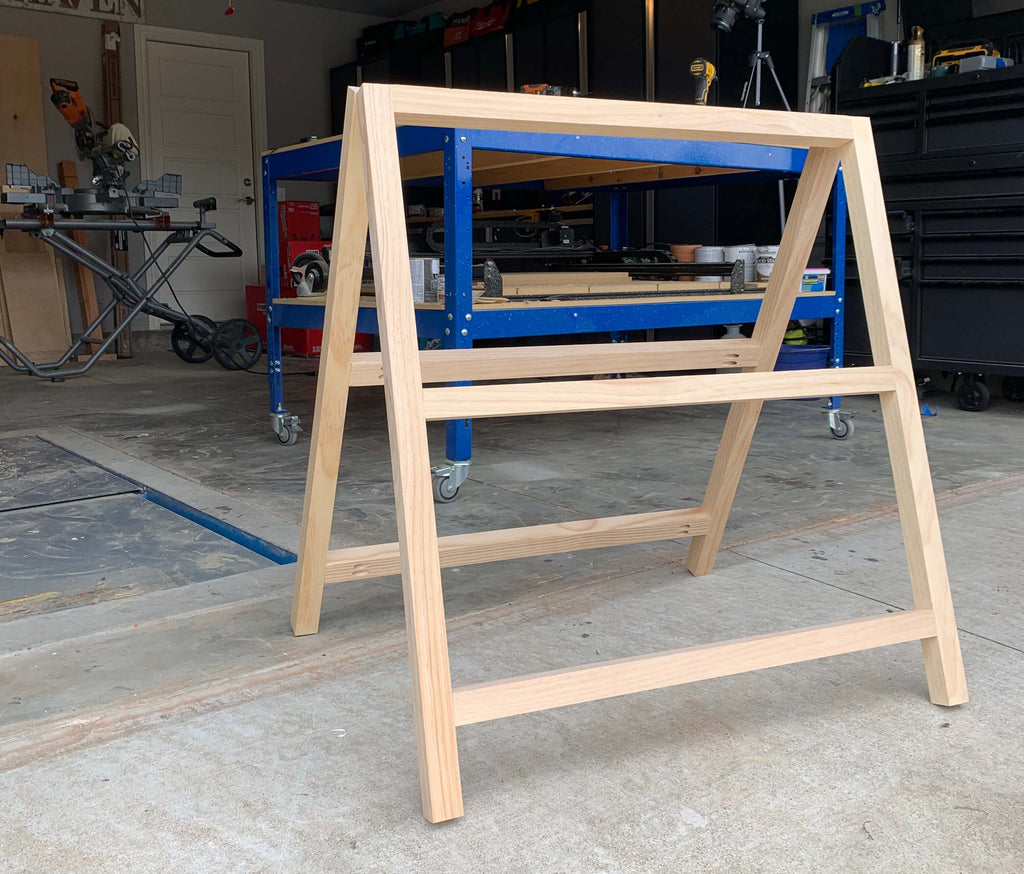
Once the hinges are in place, you should be able to spread the assembled pieces out to create an A-Frame.
Step 3: Build the Planter Boxes
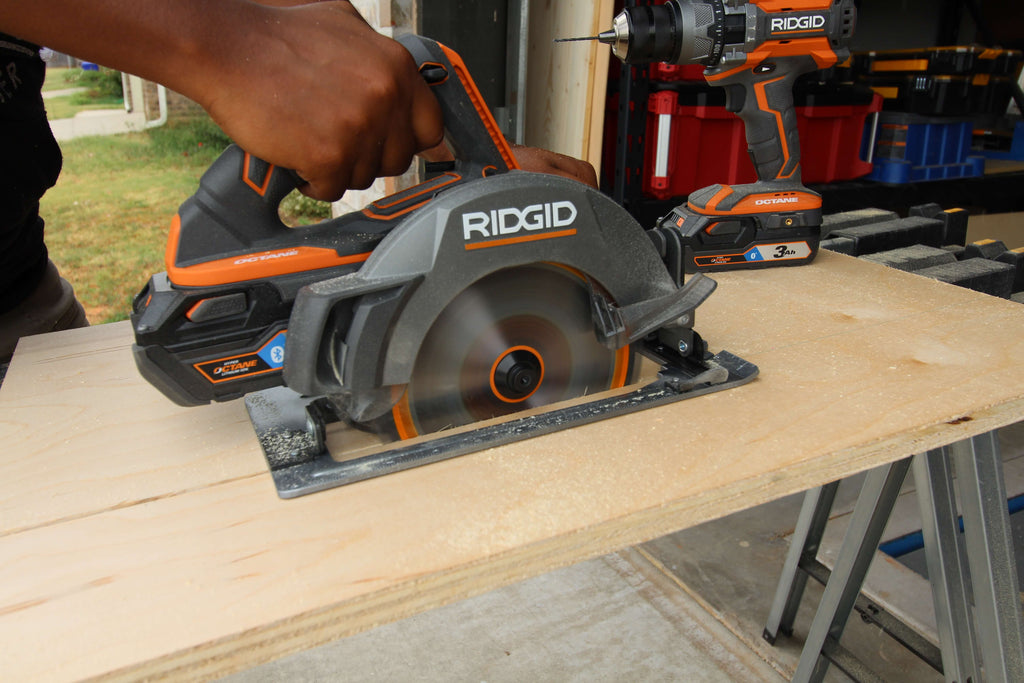
Now with the A-Frame ready to go, the last step is building the planer boxes. First, I started cutting down my plywood with my Ridgid OCTANE Circular Saw.
This circular saw is said to be 30% more powerful than any it's previous versions and is industry leading 2-11/16 in. depth of cut and RIDGID is running a deal now that gives you an option of a free toll when you purchase a qualifying kit. Check it out here.
This saw also features an integrated chute with an included vacuum adaptor, which I thought was pretty cool. I really liked how smooth this circular saw cut through the plywood. Doubled with the RIDIGD Octane battery, this saw cut like a breeze.
Once the plywood was cut all down, I started building the boxes by attaching the 1x4s to the plywood with wood glue and brad nails. I used my brad nailer to secure the 1x4s into place.
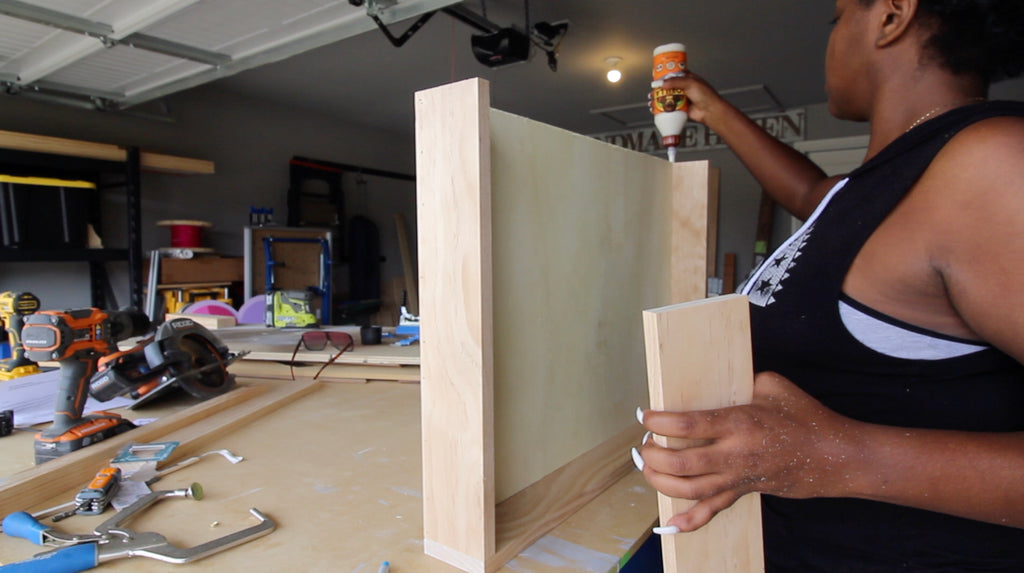
If you want your plant stand to be a little more sturdy , I would recommend using pocket holes or screws to assemble the boxes, but I opted for the quickest way.
Step 4: Paint/Stain the A-Frame Plant Stand
I decided to go with paint and stain for the A-Frame Plant Stand. For the stain I used, Golden Oak and I wanted the planter boxes to kind of look like concrete so I decided to finish the planter boxes in Folk Art Chalk Paint in Parisan Grey.
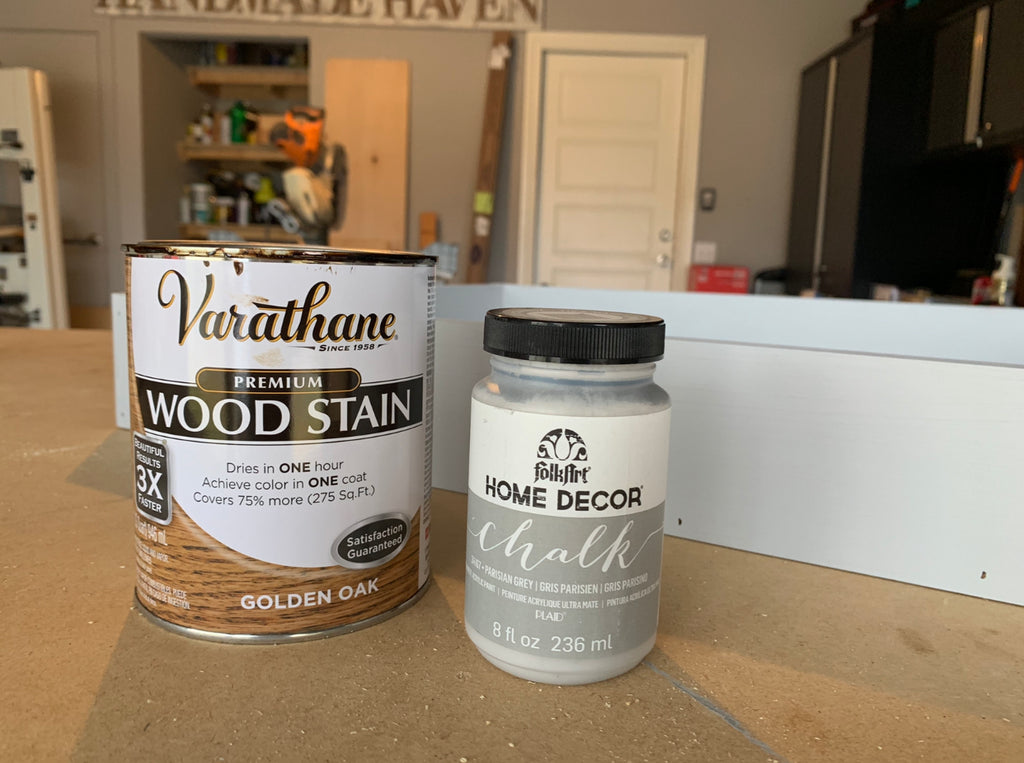
Now because this is an outdoor build, I'm not sure how well the chalk paint would hold up, but luckily my front entrance is covered, so it gets covered from a lot of weather. If you are building this for somewhere outside your house that isn't covered, I would recommend a more durable option for paint.
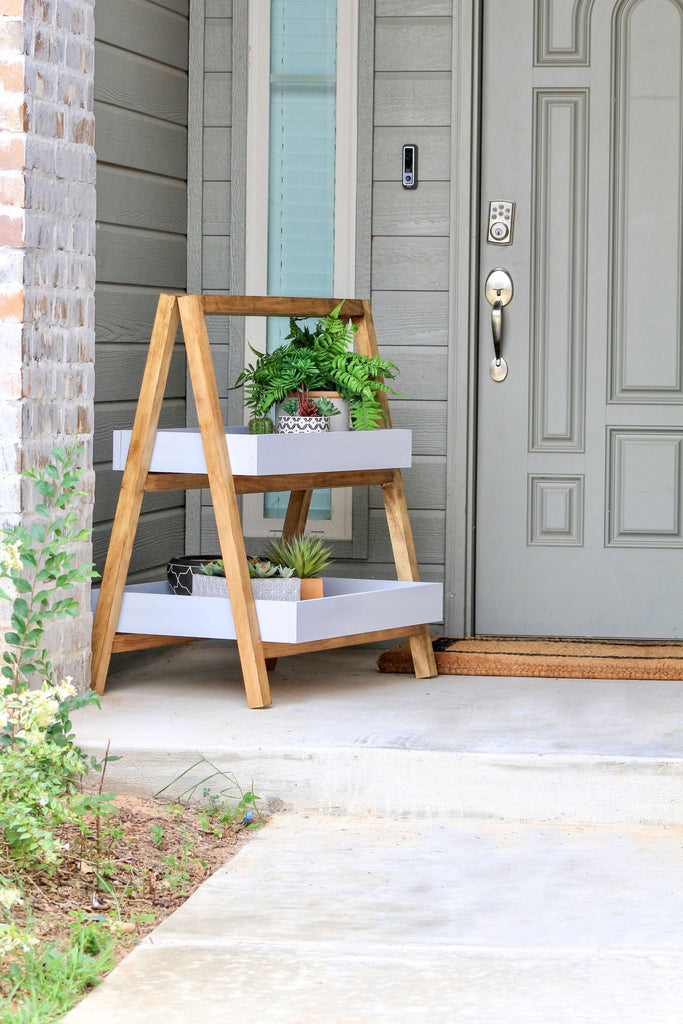
Let's take another look at this beauty. Isn't she lovely?

Thanks for reading guys, XOXO Ashley

