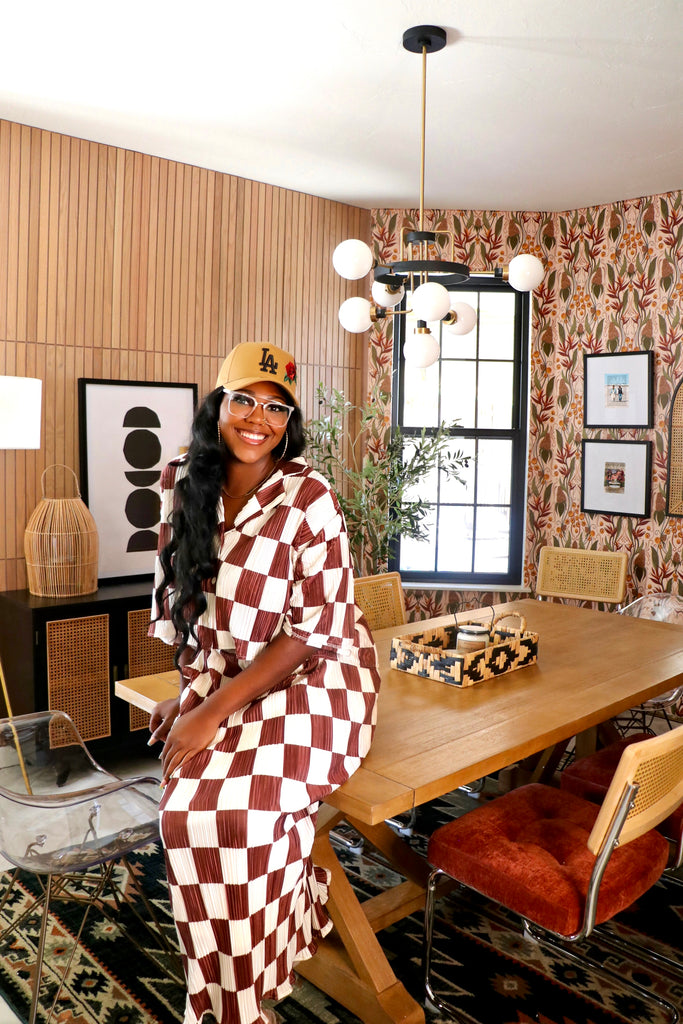
"A bold wallpaper never hurt anybody."
If you've followed me for a while, you know that I am no stranger to a fun wallpaper; so I was super excited to get to install this lovely wallpaper that I found. But to make things even better, this wallpaper collection happens to belong to a really good friend of mine David Quarles IV and I'm happy to get to feature it in my home.
There are some affiliate links in this post, meaning I get a small commission if you purchase through these links, at no cost to you. Click Here to read my full disclosure.
Materiels
- WallPaper Panels - Ruths Garden in Rose
- Wallpaper Paste
- Paint Roller/Stick
- Exacto Knife
- Credit Card
- Cloth
- Laser Level
The Before
I always like taking a look at the before so we can see just how much of a transformation we are getting and man was this a major transformation.
This room was just a plain white room, and I knew I really wanted to infuse it with some color; so I decided on this bold wallpaper.

The Wallpaper Selection

Wallpaper Installation
I'm normally used to installing peel and stick wallpaper, so this was my first time using the wallpaper paste and I must say; it was a lot easier to handle on the wall than peel and stick. Now there was a lot more prep work, but I found it to be fairly easy getting the wallpaper installed.
 The first thing we did was roll the wallpaper paste on the back of the panel; we found it a lot easier to just lay the panel on the ground and roll it; this method worked really well for us.
 Once the adhesive sat for a second we started installing the panel on the wall. I always like to install the panel so that and inch of it goes past the ceiling line so that I can cut a straight line after the install. For the first panel, I made sure to use my laser level to ensure the first panel was straight; if it's not straight you will be able to tell later when you go panel by panel so be sure to take your time and make sure that first panel is correct.
 Once the first panel was up, the rest really was a breeze. Cutting around the window got a little tricky but no too bad and the wallpaper was looking AMAZING! So happy with my choice!
 The wallpaper went so well with the paint color and oak slat wall; I just couldn't wait to get it all finished.
Now it's time for the reveal! I won't leave you completely hanging, so here's a little sneak peak! Now head on over to the Dining Room post for the final reveal!

As always, thanks for reading guys!

