
X Console Table
Hey Guys! I am excited to be sharing a new project with you today. This Rustic X console. Console tables have always been one of my favorite things to build and this Rustic X Console table is no different, it's definitely a show stopper!
"There are some affiliate links in this post, meaning I get a small commission if you purchase through these links, at no cost to you. Click Here to read my full disclosure."
Dimensions:

Materials List:
- (2) 2x4s @ 8 ft
- (2) 1x12s @ 6ft
- (8) 2x2s @ 8ft
- (1) 2x6 @ 10 ft
- (1) 2x6 @ 8ft
Cut List
Materiels
Step 1:
Assemble the top and bottom shelf of the Rustic V Console by attaching the (11 1/4") 2x2s and the (52 1/8") 2x2s to 1x12 with wood Glue and brad Nails. I used my brad nailer to nail these boards down.

Measure your 2x2s against the 1x12 before making your cuts for the best fit Attach the (11 1/4") 2x2 sides 1st.

Your two shelves should look something like the above picture when you are finished with step 1.
Step 2:
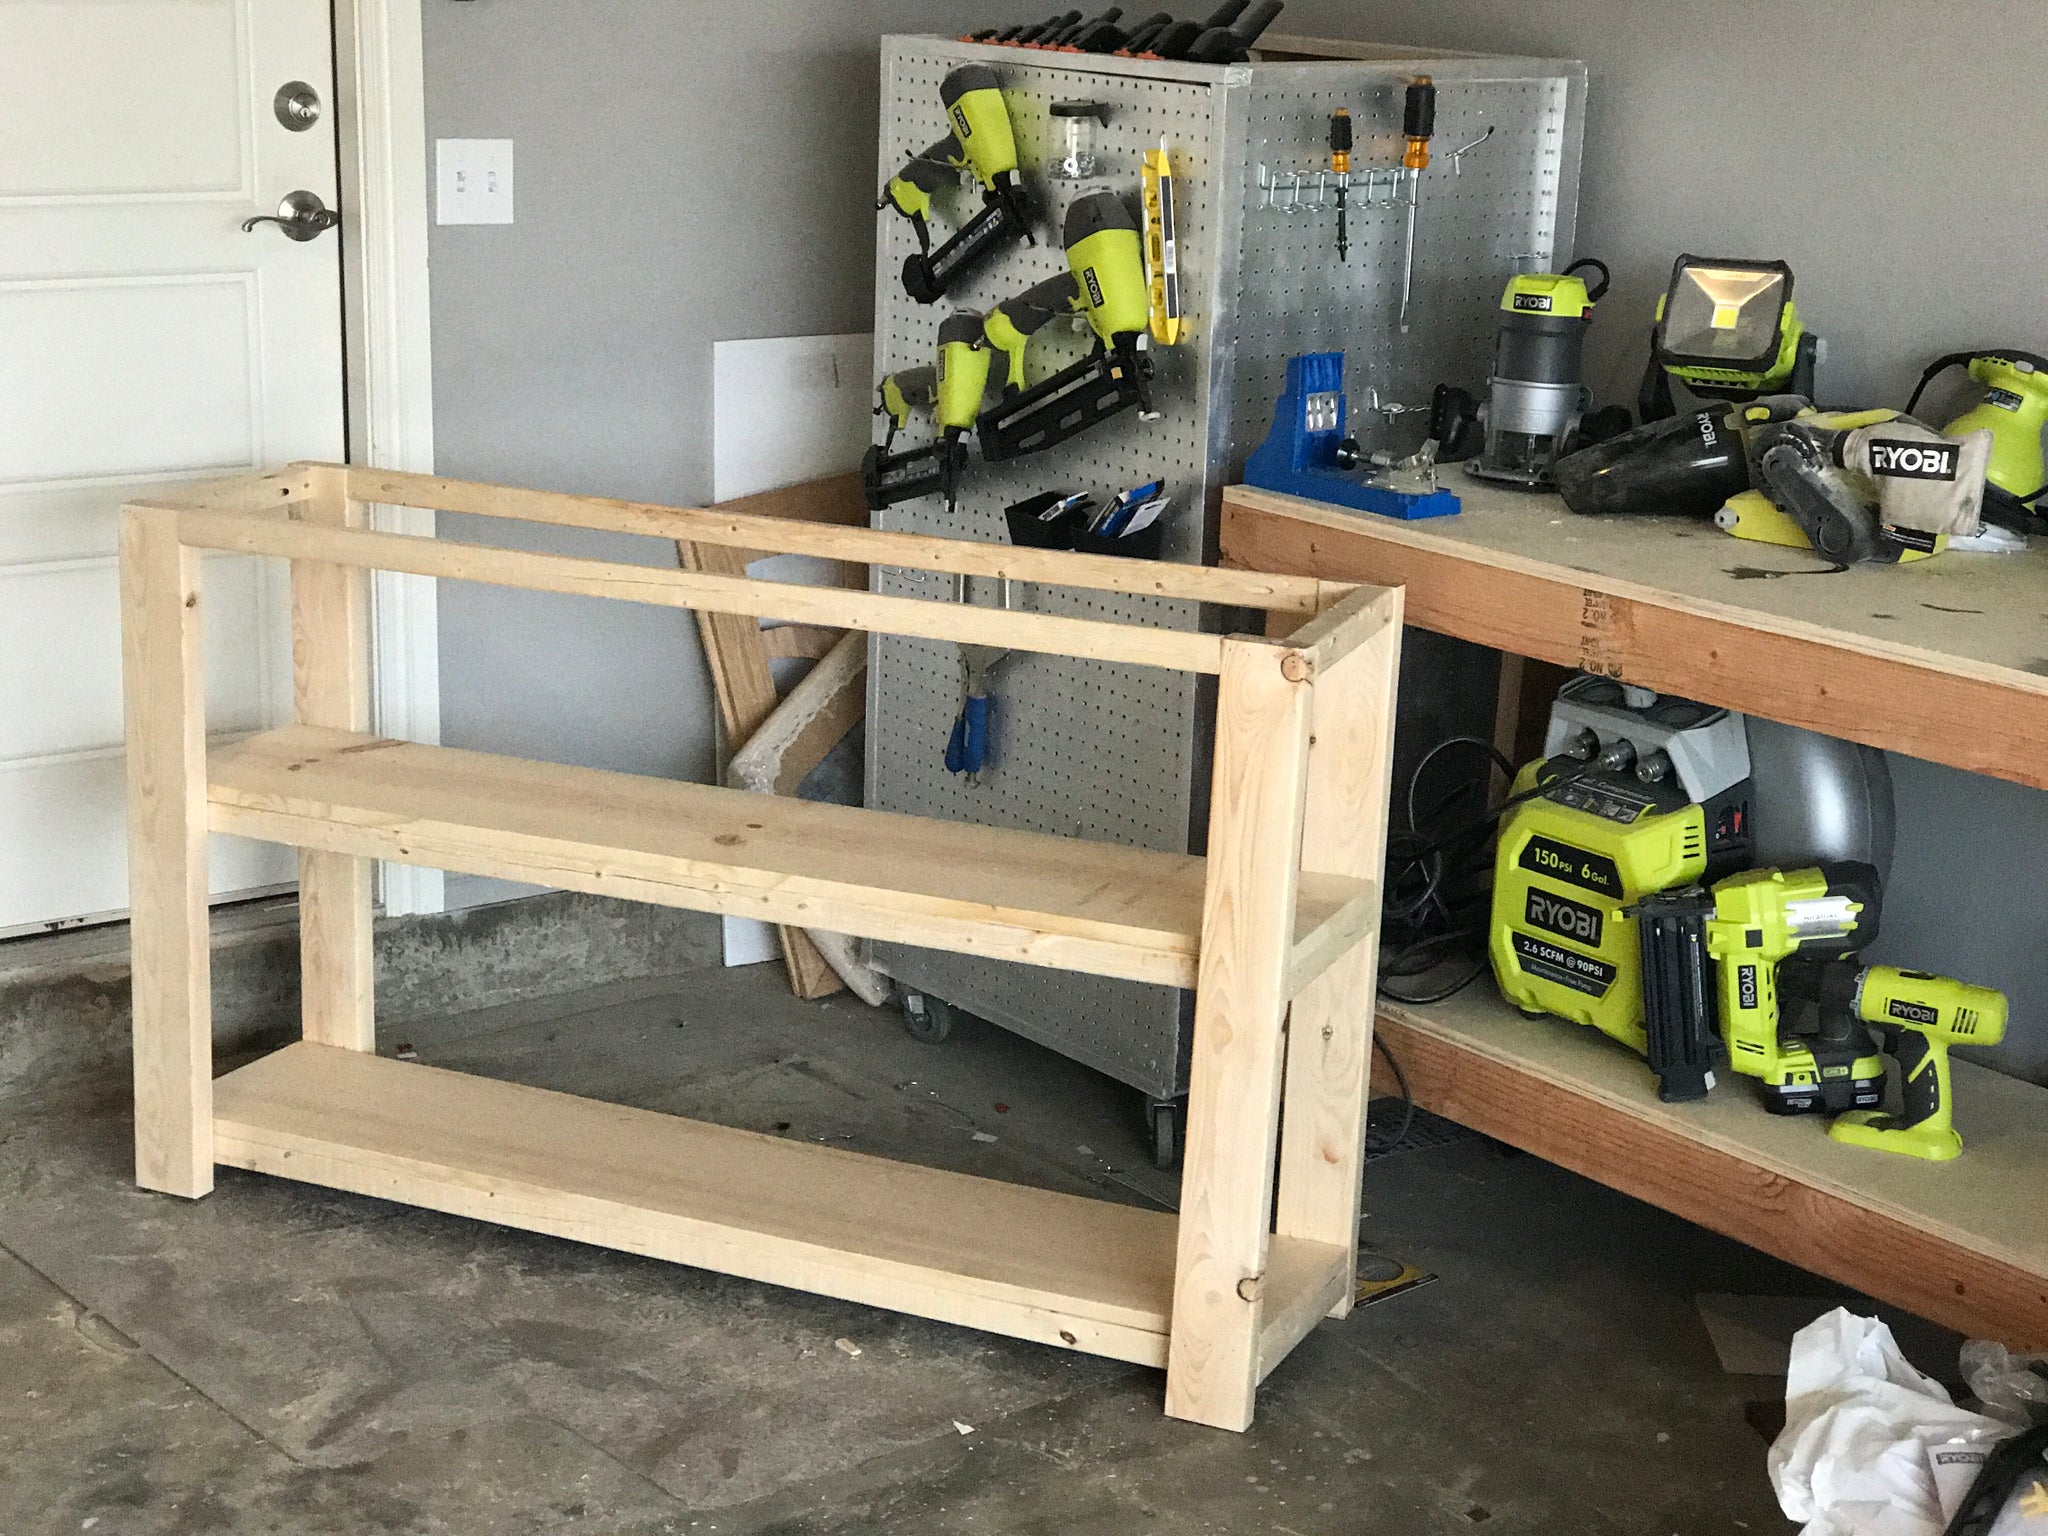
Attach the (32") 2x4 legs to the bottom assembled shelve using 2 1/2" Wood Screws.

To attach the 2x4 legs to the shelves, lay two 2x4s on the ground and stand the shelve upright to attach the shelf to the legs. You will screw the 2 1/2" wood screws into the 2x2s straight into the (32") 2x4s.

Then flip the shelf over to attach the shelf to the other 2x4 legs. Then repeat the same process for the top assembled shelf.

Your console should look similar to the picture below after step 2.

Step 3:
Attach the (11 1/4") 2x2s and the (49 1/8") 2x2s to the top of the console with a Kreg Jig K4 Pocket Hole System with a 1 1/2" setting using 2 1/2" Pocket Hole Screws along with Wood Glue.
 The pocket holes should be placed on the inside of the 2x2s so that they will be hidden by the console tabletop.
Your console base should now be complete and ready for the tabletop.
Step 4:
Assemble the rustic console top by attaching 2x6s with a Kreg Jig K4 Pocket Hole System on a 1 1/2" setting, with 2 1/2" Pocket Hole Screws to attach along with Wood Glue and attach the assembled tabletop to the console with 2" wood screws from underneath.

Your console should know look like this:

Step 5:
Add X braces to sides of the console using wood Glue and 2" Brad Nails. For this console my angle cuts were made at approx. 36 degrees. For the best fit, measure your wood pieces against the console, measure and then cut.

As seen here, I am putting the 2x2 up against the console; I then mark a line from the back and just make my cut from that. It makes its a lot easier to cut the X to the right fit.

Once I make the cut for my longer x brace piece and secure that down, I use the same technique for the smaller x pieces and fit them into place with wood Glue and 2" Brad Nails.
 and DONE! My X console table is complete. I used Minwax Provincial for my finish and it turned out great!.
The best part about this project is that it didn't take a whole lot of time and it was fairly cheap. Sounds like a win win to me.

I can't wait to see the X console table you create.I can't wait to see the X console table you create. Thanks for Reading Guys, XOXO Ashley

Home Renovations

Spa-Like Bathroom Reno

Hidden Pantry

Fireplace Makeover

Lake Bathroom Remodel

Vintage Bath Remodel

Pantry Makeover

Closet Final Reveal

Shoe Closet Installation

Closet Wardrobe Build

Kitchen Refresh for $3200

Custom Shoe Closet
Room Makeovers

Man Room Transformation

Girls Room Makeover

DIY Mirrored Wall

Office Makeover

Tribal Room Makeover

Bonus Room Makeover

Dining Room Makeover

Guest Bedroom Makeover

Teen Bedroom Makeover

Movie Room Transformation

Craft Room Makeover

Bathroom Refresh

Kitchen Refresh
Accent Walls

Wall Paneling Install

Pantry Makeover

DIY Office Nook

Brick Accent Wall
Furniture Projects

House Frame Kid's Desk

A-Frame Wooden Desk

A-Frame Plant Stand

Farmhouse Console

DIY Vanity Desk

DIY Plate Rack

Hall Tree Bench

DIY Faux Fireplace

Leather Woven Headboard

Ladder Bookcase

Leather Woven Bench

Shoe Cabinet
How-To Section

How To Limewash

How to Chose Windows

Install Vinyl Flooring

How To Paint Fabric
