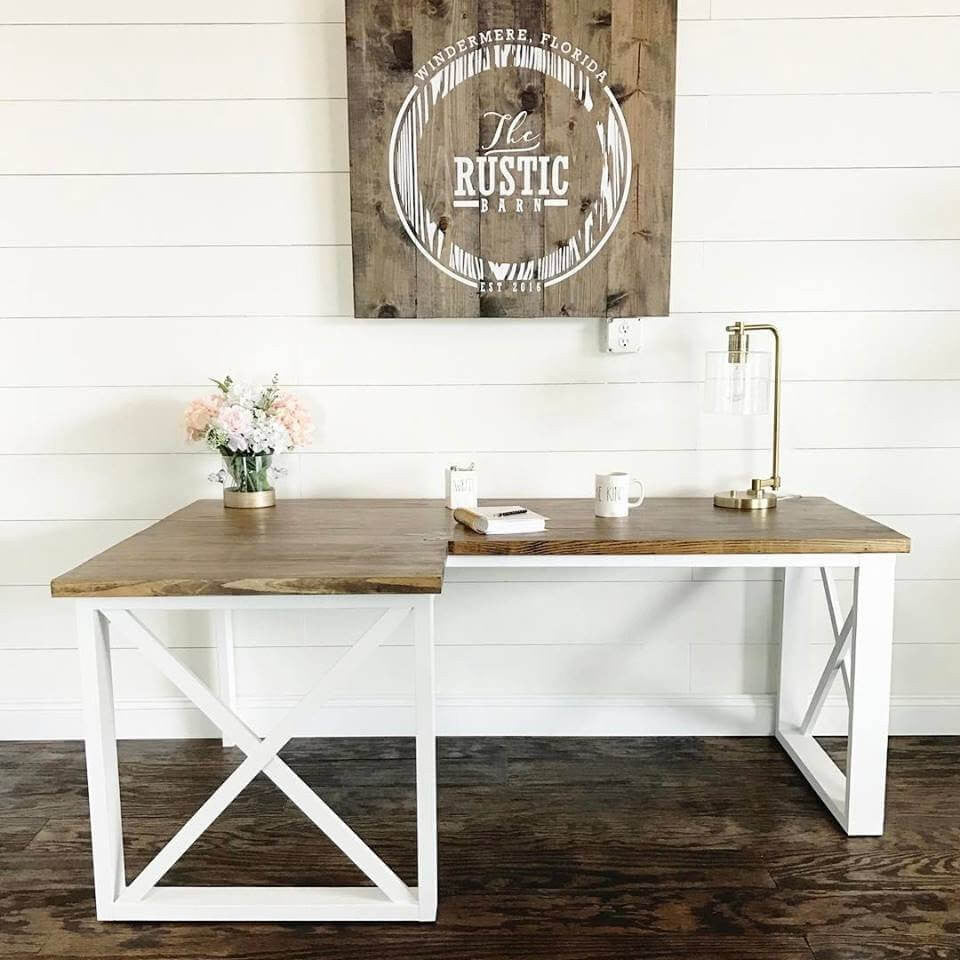
Build a DIY L Shaped Desk that will have all your friends raving over your office space. This L Shaped Desk is giving me all the feels. I love getting to partner with other great builders and today I'm presenting the plans for a build from Jolene, owner builder and designer at The Rustic Barn.
Guys go
check her out she has some amazing builds! Today I am sharing some
L Shaped Double X Desk plans!
In the words of Stevie Wonder "Isn't She Lovely"?! Check out the woodworking plans on how to build a L Shaped Desk below. Happy Building!
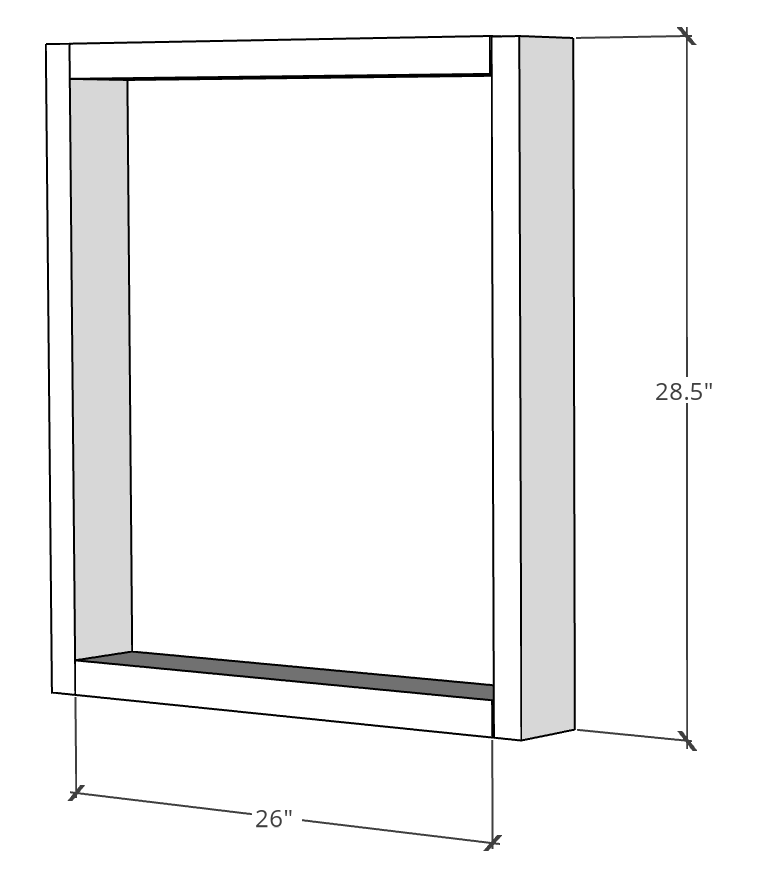
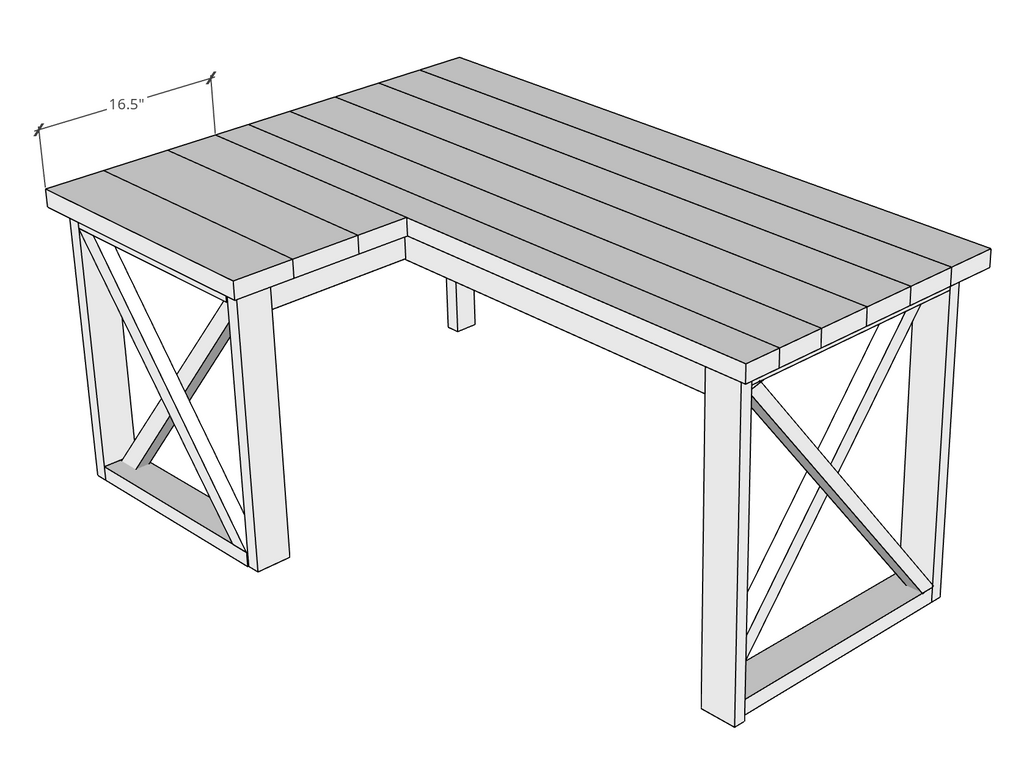
Dimensions:
(There are some affiliate links in this post, meaning I get a small commission if you purchase through these links, at no cost to you. Click Here to read my full disclosure)
Materials List:
- 7 - 2x4s @ 8ft
- 2 - 1x2s @ 8ft
- 7 - 2x6s @ 8ft
- 1 - 2x3 @ 8ft
Step 1: Create the Leg Frames
The first thing you'll do to create your L Shaped Desk is build the outer frame of your desk legs. You will be attaching the vertical 2x4 legs to the horizontal 2x4s using a
Kreg Jig and
pocket Hole Screws. You will need to build two leg frames for this L shaped Desk.
Step 2: Add X Trim
Next we will add the decorative X trim. In order t get the most accurate measurement for the X trim, hold your 1x2 up to your assembled desk side and mark where you need to cut and cut accordingly.
You will attach the 1x2 brace to the 2x4 square using a brad nailer, brad nails and wood glue. The first 1x2 should be flush with the front of the 2x4 square. Then you will repeat this step for the other square side of the L shaped Desk.

You will add decorative X trim to both of the assembled desk side frames.
Step 4: Assemble the Desk Base
With the desk sides assembled, we can now start forming the desk. You will be using a middle 2x4 brace to attach your 2x3 leg and assembled side together. You will be using a
Kreg Jig here again to attach them together.
Make sure to pre-drill Kreg holes on the inside of the middle 2x4 brace before attaching for adding the desk table top later.
Next, you will attach a 2x4 brace to the other square x base using a
Kreg Jig 
and then attach to the 2x3 using a Kreg Jig. Make sure to pre-drill Kreg holes on the inside of the 2x4 brace for attaching the desk table top later.
You will then add a middle support brace to the other side of the square x base using a
Kreg Jig. Make sure to pre-drill Kreg holes on the inside of the middle support brace for attaching the desk table top later.
Next, you will attach the 2x4 support brace to the middle of the square x base using a
Kreg Jig. This 2x4 brace will be turned face up instead of on its side to be flush with the top of the square X base.
Attach the 2x4 support brace to the other side of the square x base using a
Kreg Jig. Make sure to pre-drill Kreg holes on the inside of the 2x4 brace for attaching the desk table top later.
Next, attach the 2x4 support brace to the middle side of the square x base using a
Kreg Jig. This 2x4 brace will be turned face up instead of on its side to be flush with the top of the square X base. Instead of pre-drilling pocket holes into this 2x4 piece you will use wood screws later on to attach this board to the top.
Step 5: Assemble the Tabletop
Assemble the l shaped desk table top by attaching size 2x6s together and three shorter 2x6s together using a
Kreg Jig. After assembling the top, attach it to the desk base using the pre-drilled Kreg holes.
Once the L Shaped desk is all assembled, fill all seen pocket holes with wood for a clean look. For help on how to easily fill pocket holes, check out my technique here.
and you are finished! Your finished desk should look similar to the photo seen above.
Lets take another look at this awesome desk! Now's your chance to build a L Shaped Desk of your own.
Upload Complete
Your photo upload was successful. Please submit the following so that we may review and post your submission:


